Configuration of AWS Network
- Flow
- Enter AWS Website and Joining at there
- Create VPC
- Create Subnet
- Create Internet Gateway and Attach this to VPC
- Create NAT Gateway
- Create Route Table
- Mapping with Subnet and Route Table
4. Create Internet Gateway
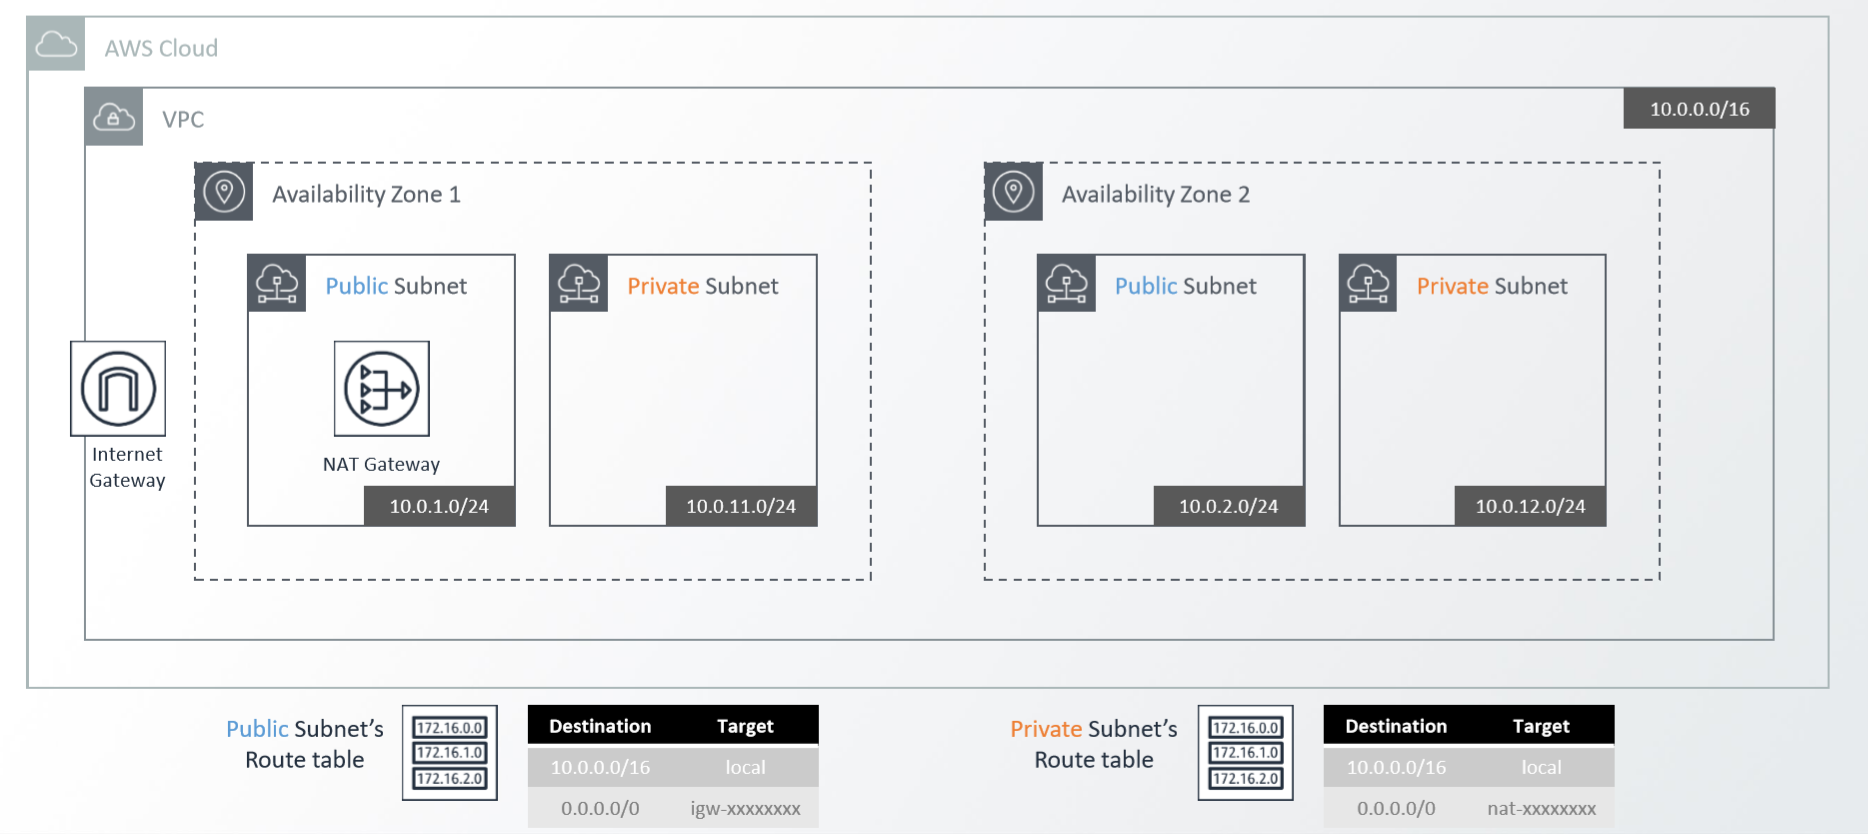
It is the component of VPC and actually a sort of gateway to access Internet. in the real configuration of network, the router is for connecting every each isolated network. whenever some datas go to the terminal in the another network, these data should encounter the router. in this case, We can think the concept of gateway and actually Internet Gateway also is not too different with these. in this point, Let’s understand that Internet Gateway is for connecting with Internet usually used everywhere.
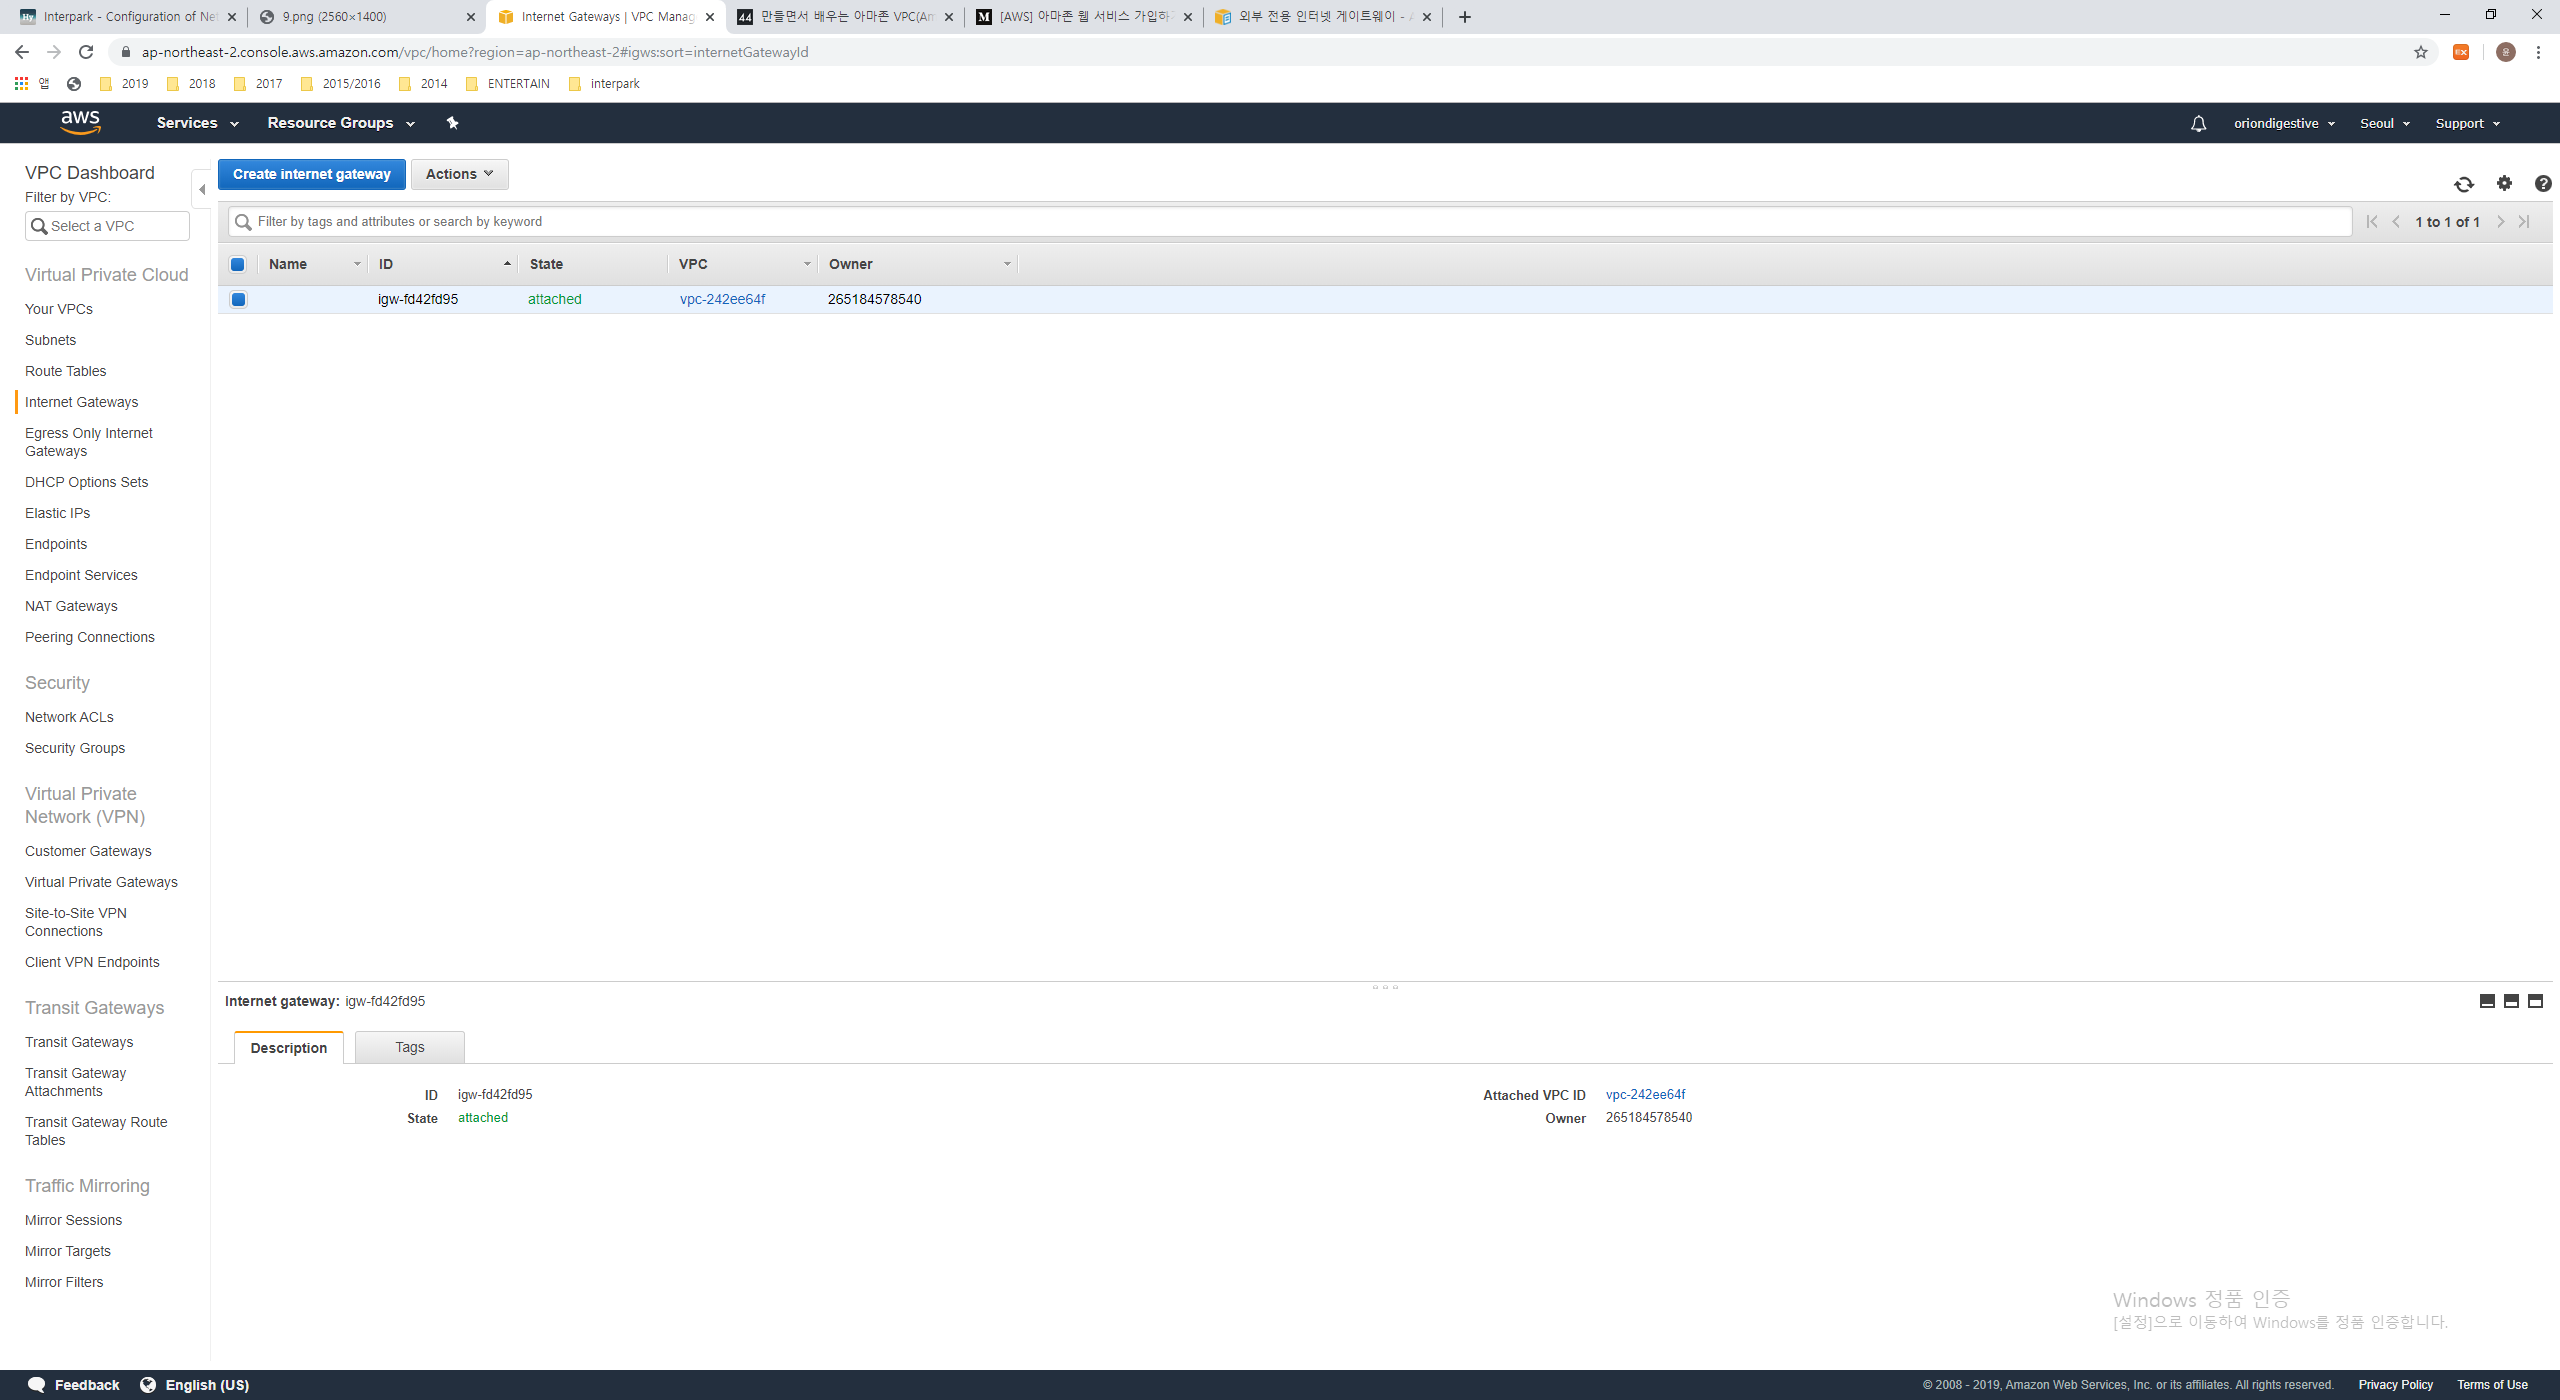
Press the ‘Internet Gateways’ tabs at the left side menus. Let me see that, You can see the Internet Gateway already configured. We don’t want to use this. Let’s start to create new Internet Gateway using the button named ‘Create Internet gateway’.
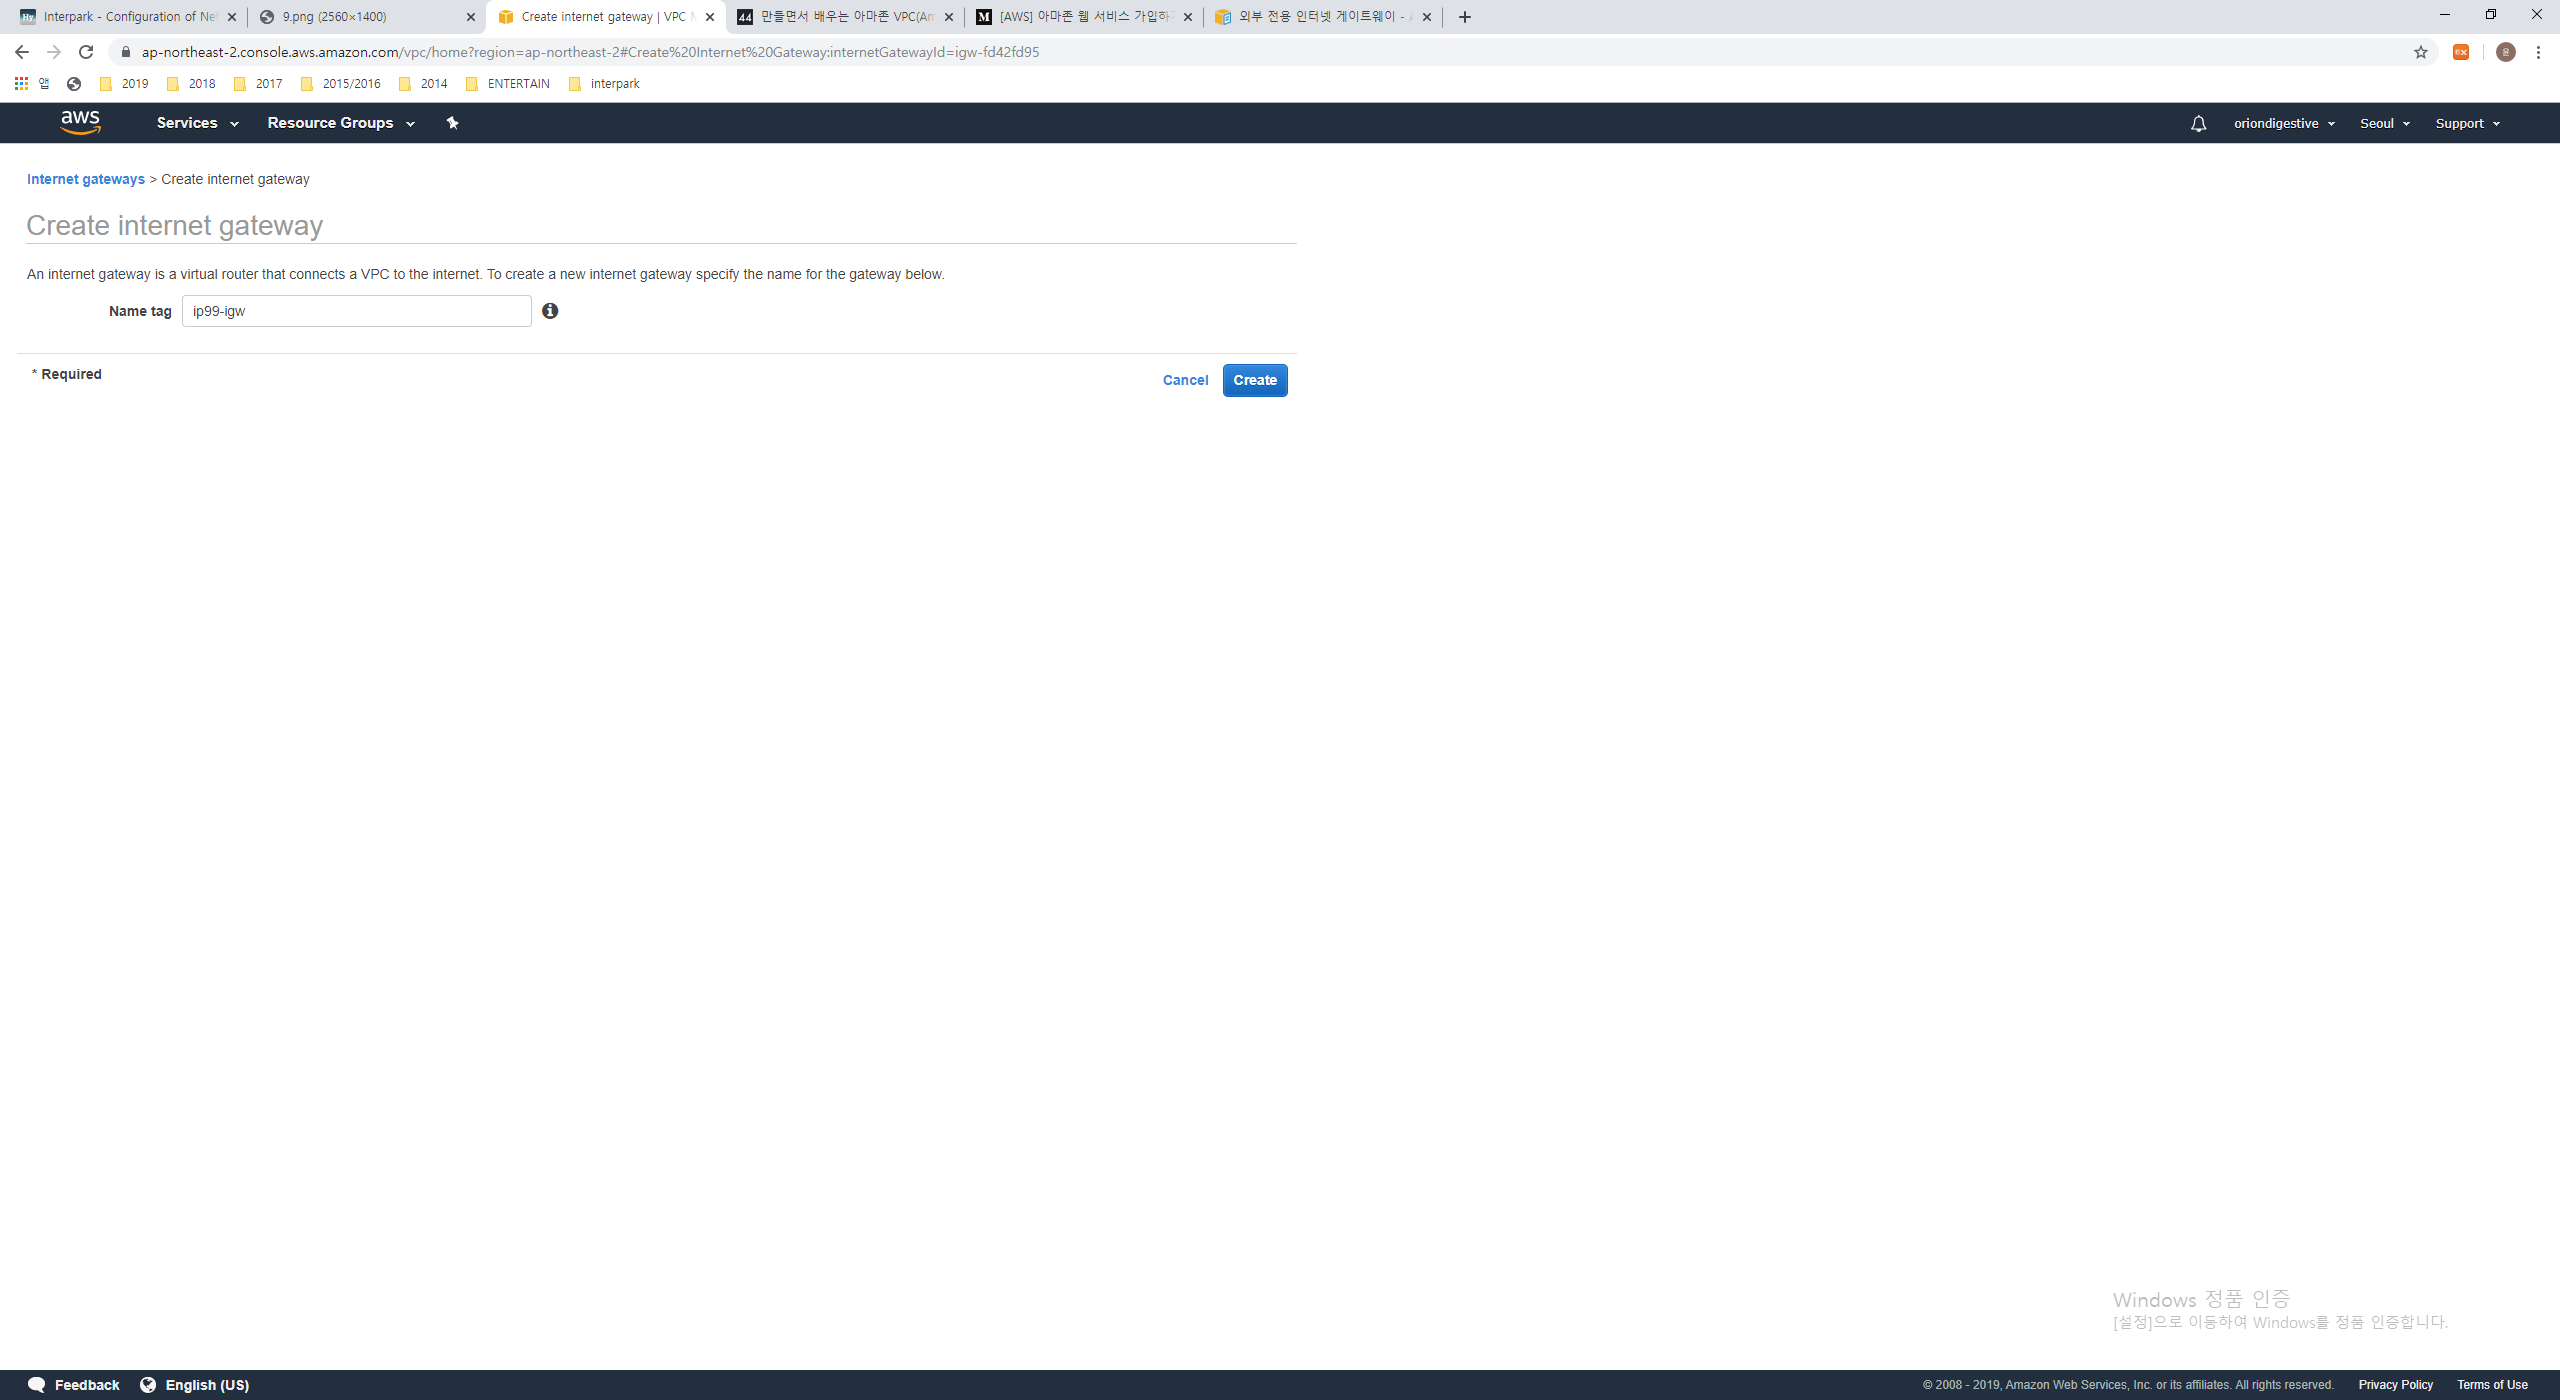
We can create the Internet Gateway with just a Name tag.
1 | Name tag : ip99-igw |
when your typing finished, Let’s press the ‘Create’ buttion for creating Internet Gateway.
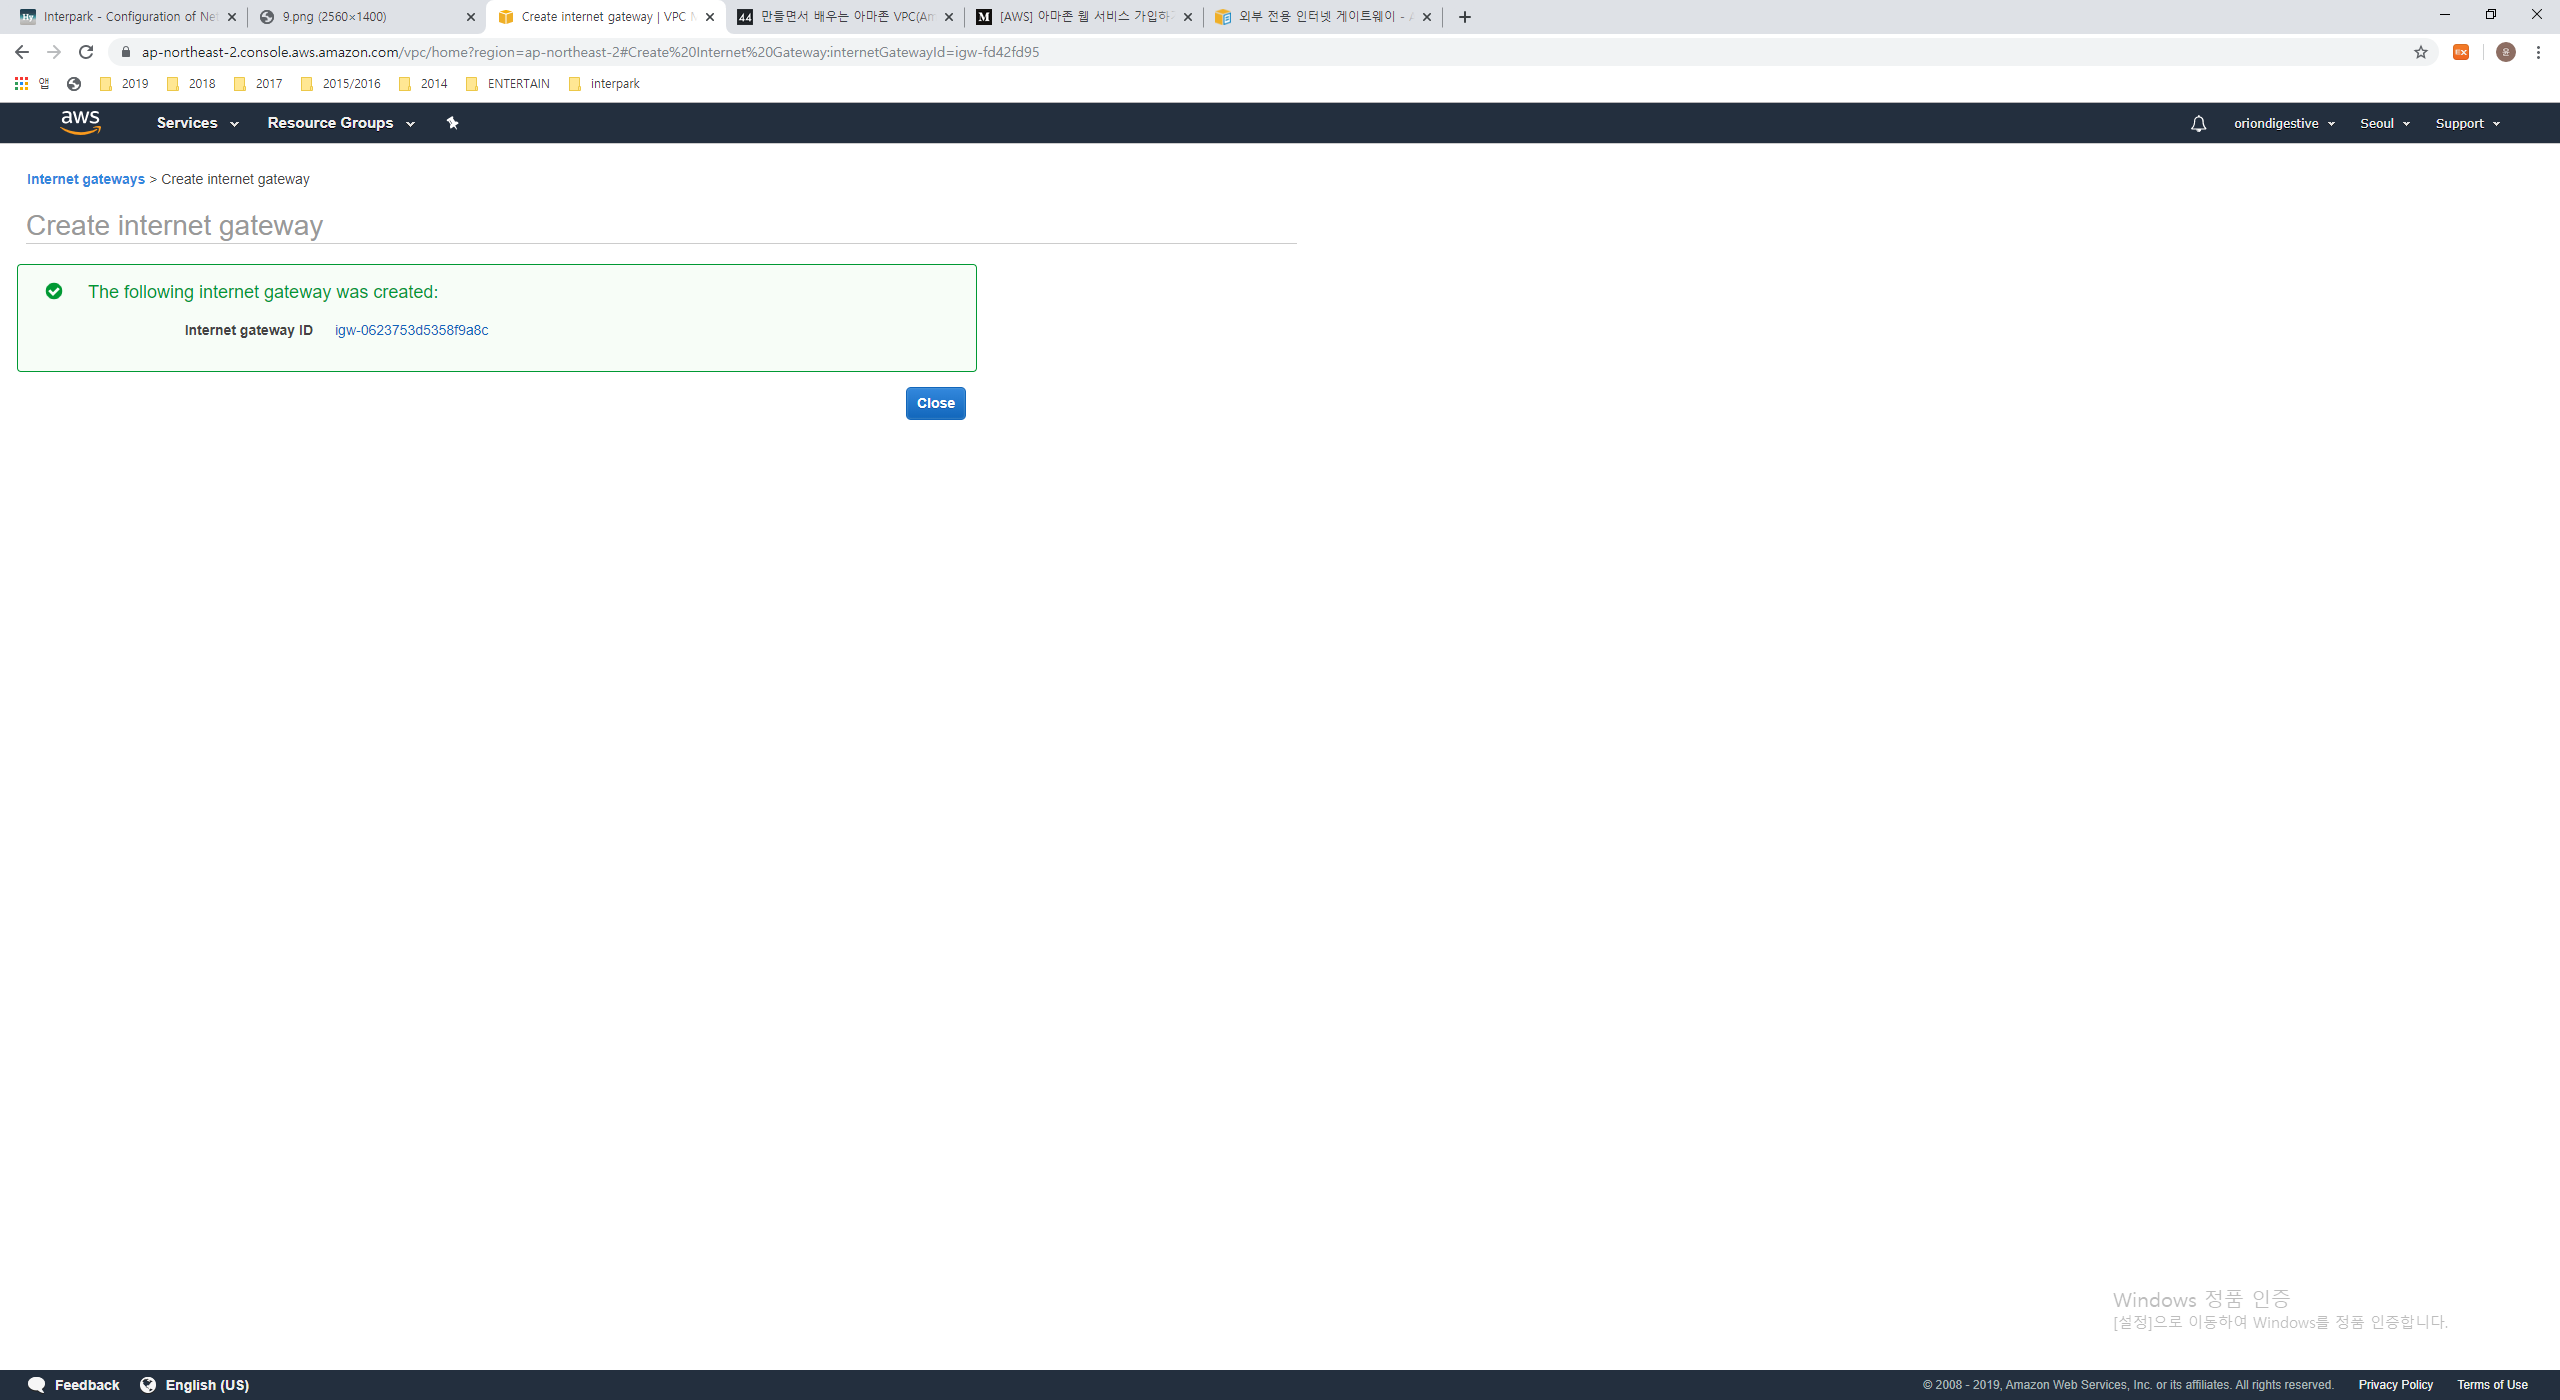
If you create Internet Gateway successfully, then you can see the label ‘The following internet gateway was created : Internet gateway ID …’ in the green box like the above.
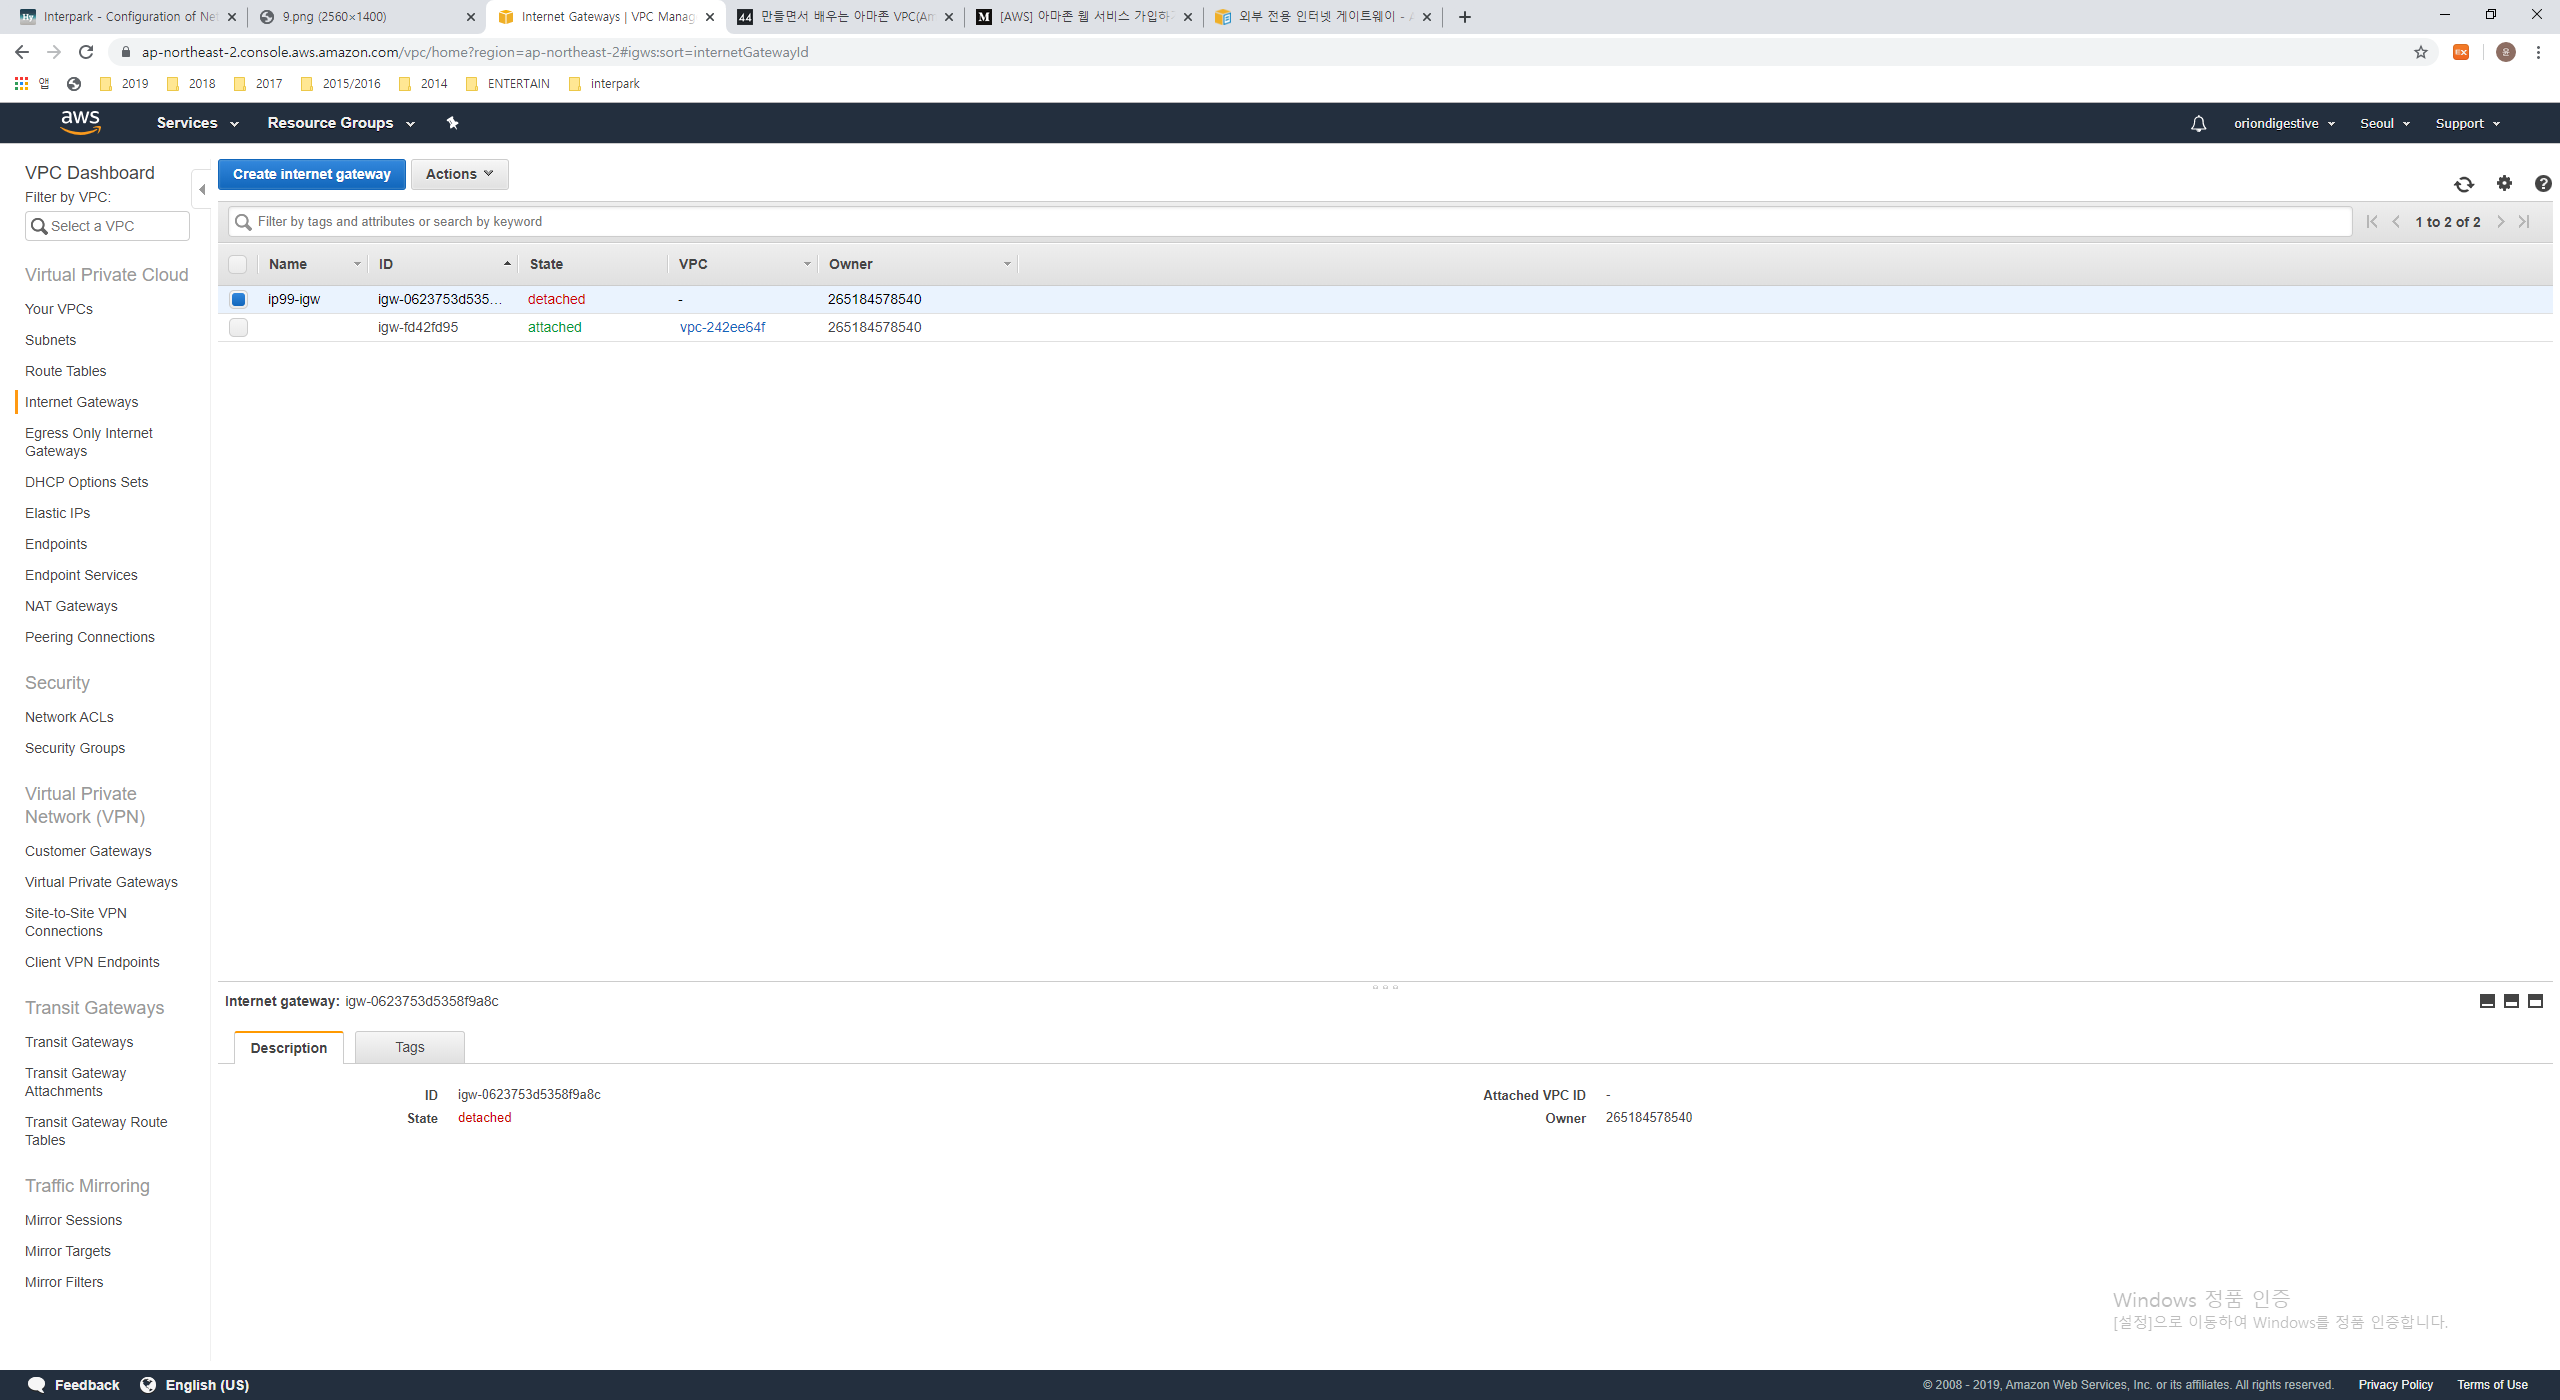
Let’s see the Internet gateway named ‘ip99-igw’ except existing the one been from previous. this internet gateway’s the state is detached now because It doesn’t have any VPC Connection. so We will connect this with the ‘ip-99’ VPC made by us.
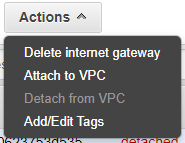
Press the ‘Actions’ button and click ‘Attach to VPC’. then The screen is switched something for choosing target VPC.
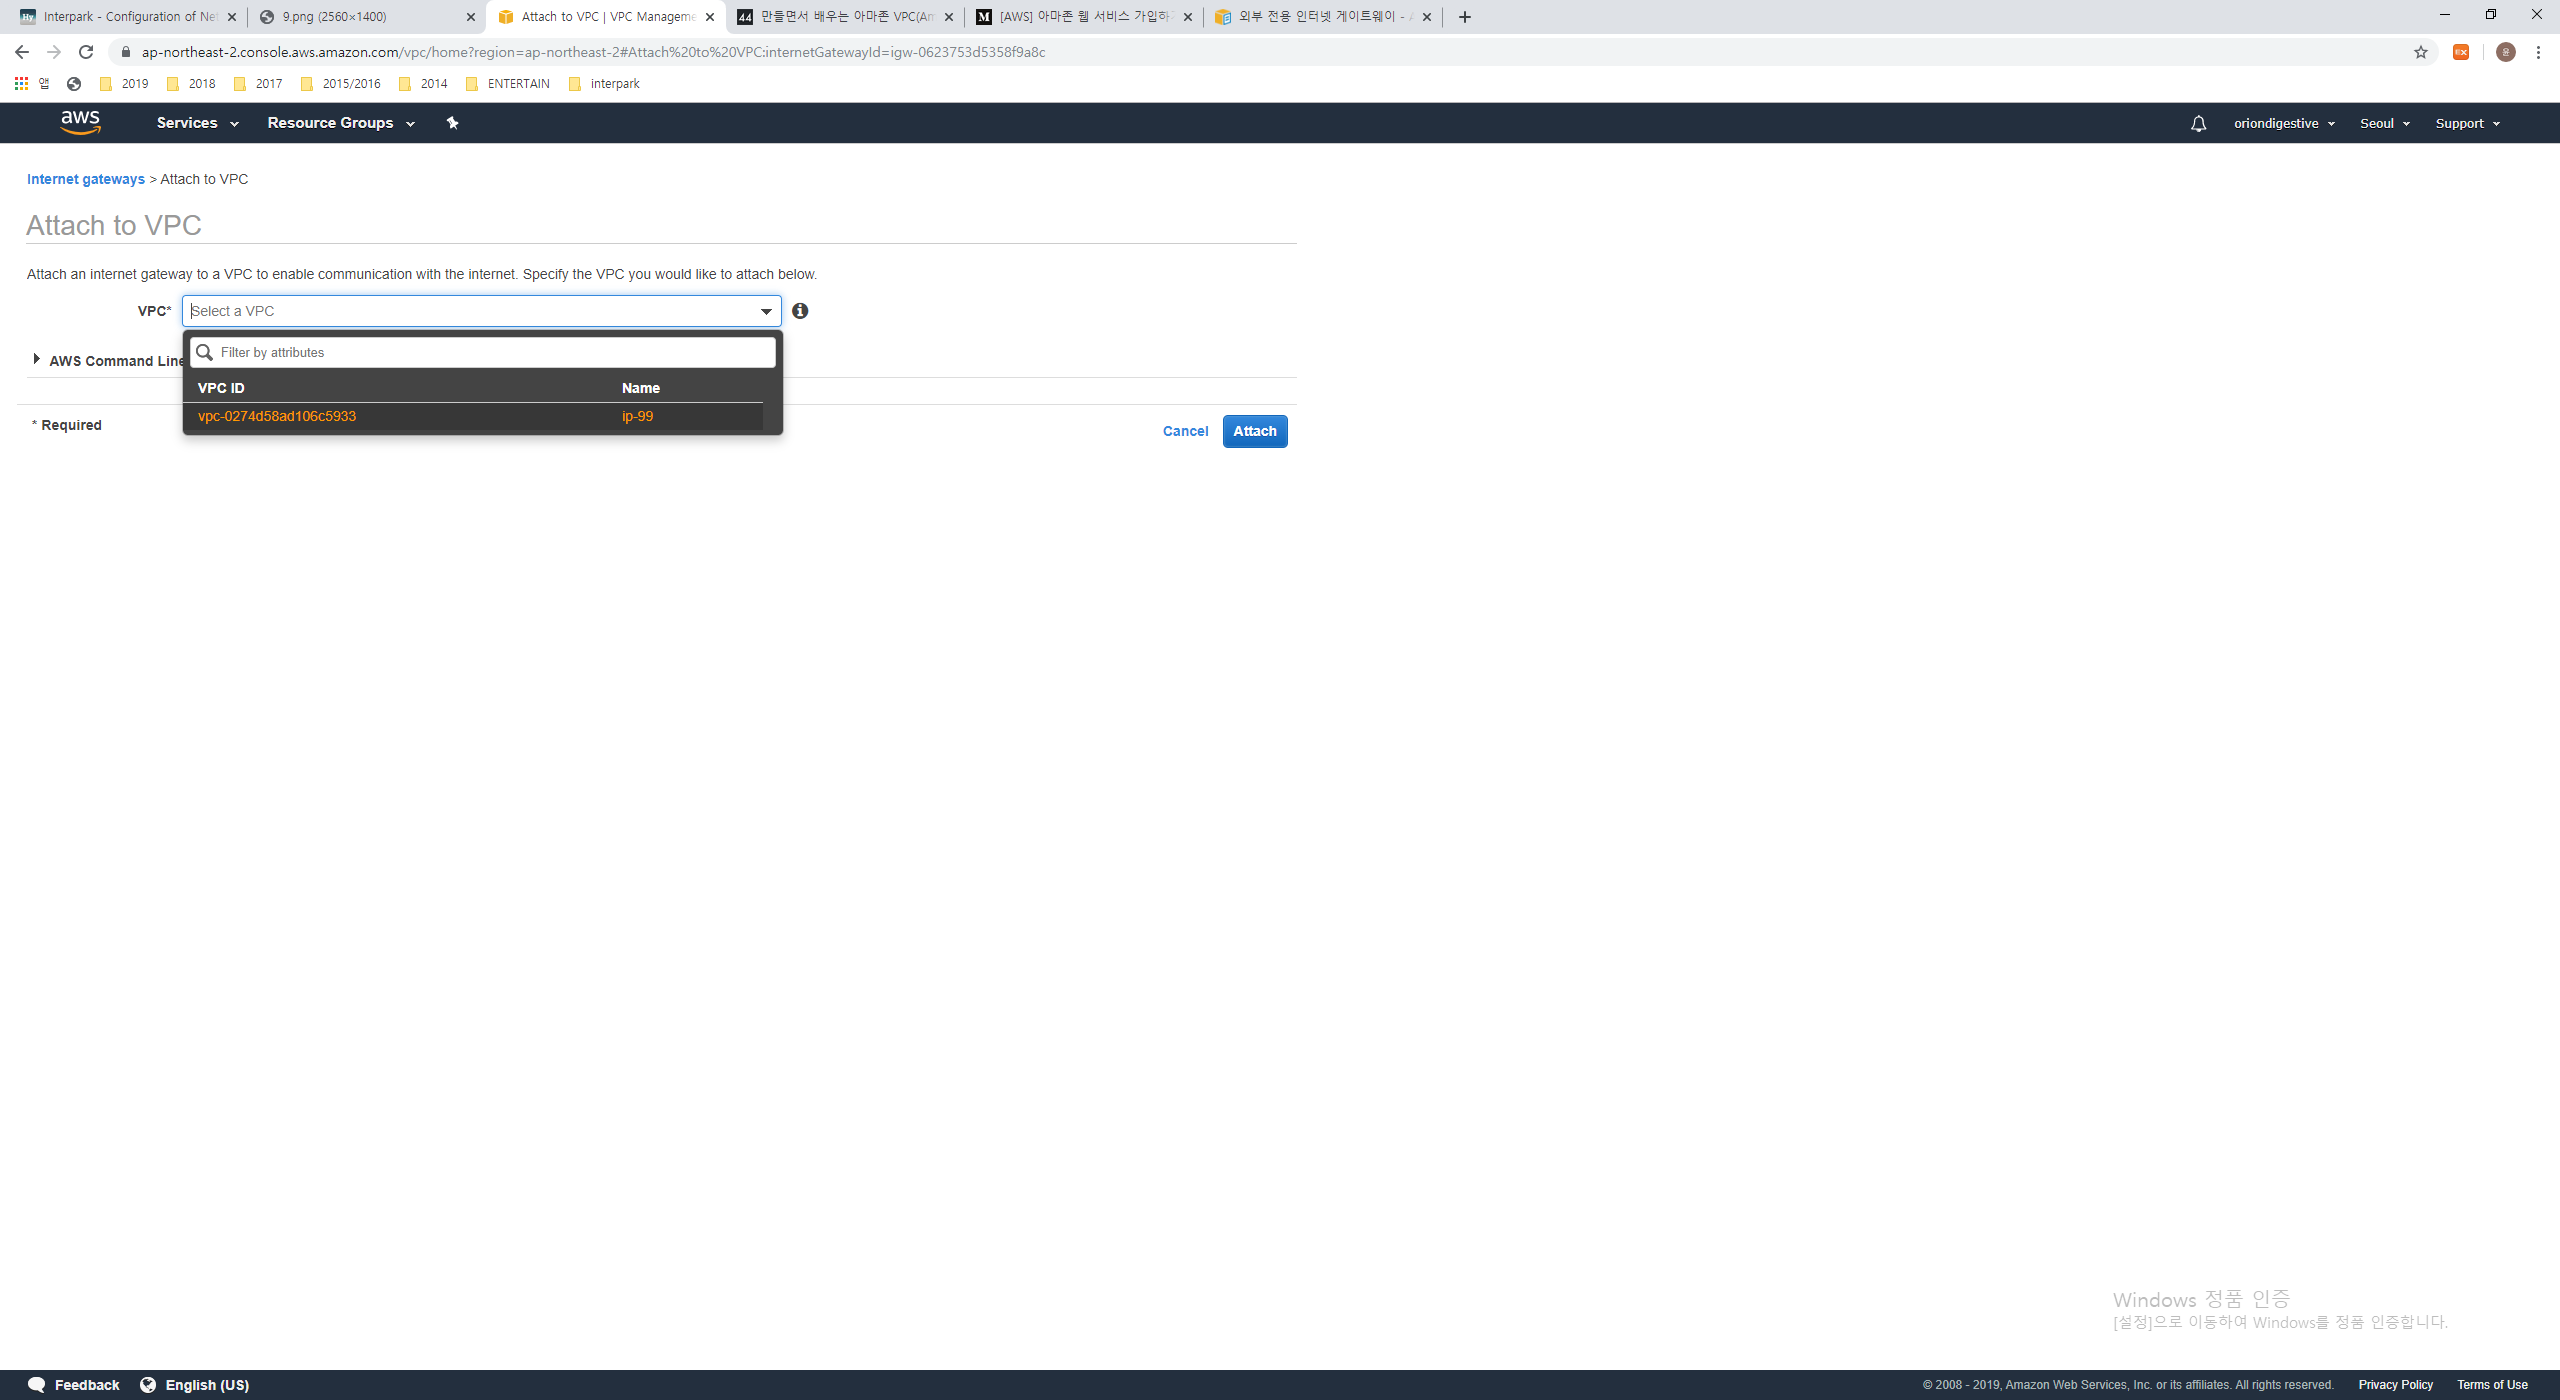
Choose the VPC named ip-99, Press ‘Attach’ button.

like the above picture, Eventually We can check that ‘ip99-igw’ Internet gateway is attached with ip-99 VPC.
5. Create NAT Gateway
Actually NAT is the abbreviation of ‘Network Address Translation’. It means the technic to change the ip address when the network is changed. This technic has the two mainly advantage.
1 | 1. This technic can save the number of IPv4 address. |
First case, It operate like the ip sharing device. the public ip is only allocated with the main ip sharing device, and Another user use this device with the person who friend, parent or someone had your relationship. That is many peaple don’t need to get the ip address each one. so NAT can save the number of Ipv4 address. Once again, If you can’t understand this process then just imagine the ip sharing device in your house.
Second, It doesn’t matter to go out public network from private network and this case is usual. but the opposite case, If you want to access the any host been in the private network from public area, then It’s maybe not easy. because the terminal located public network can’t know the private ip address used private network. Definitely they only know the public ip address. so This technic can enhace the secure of private network either.
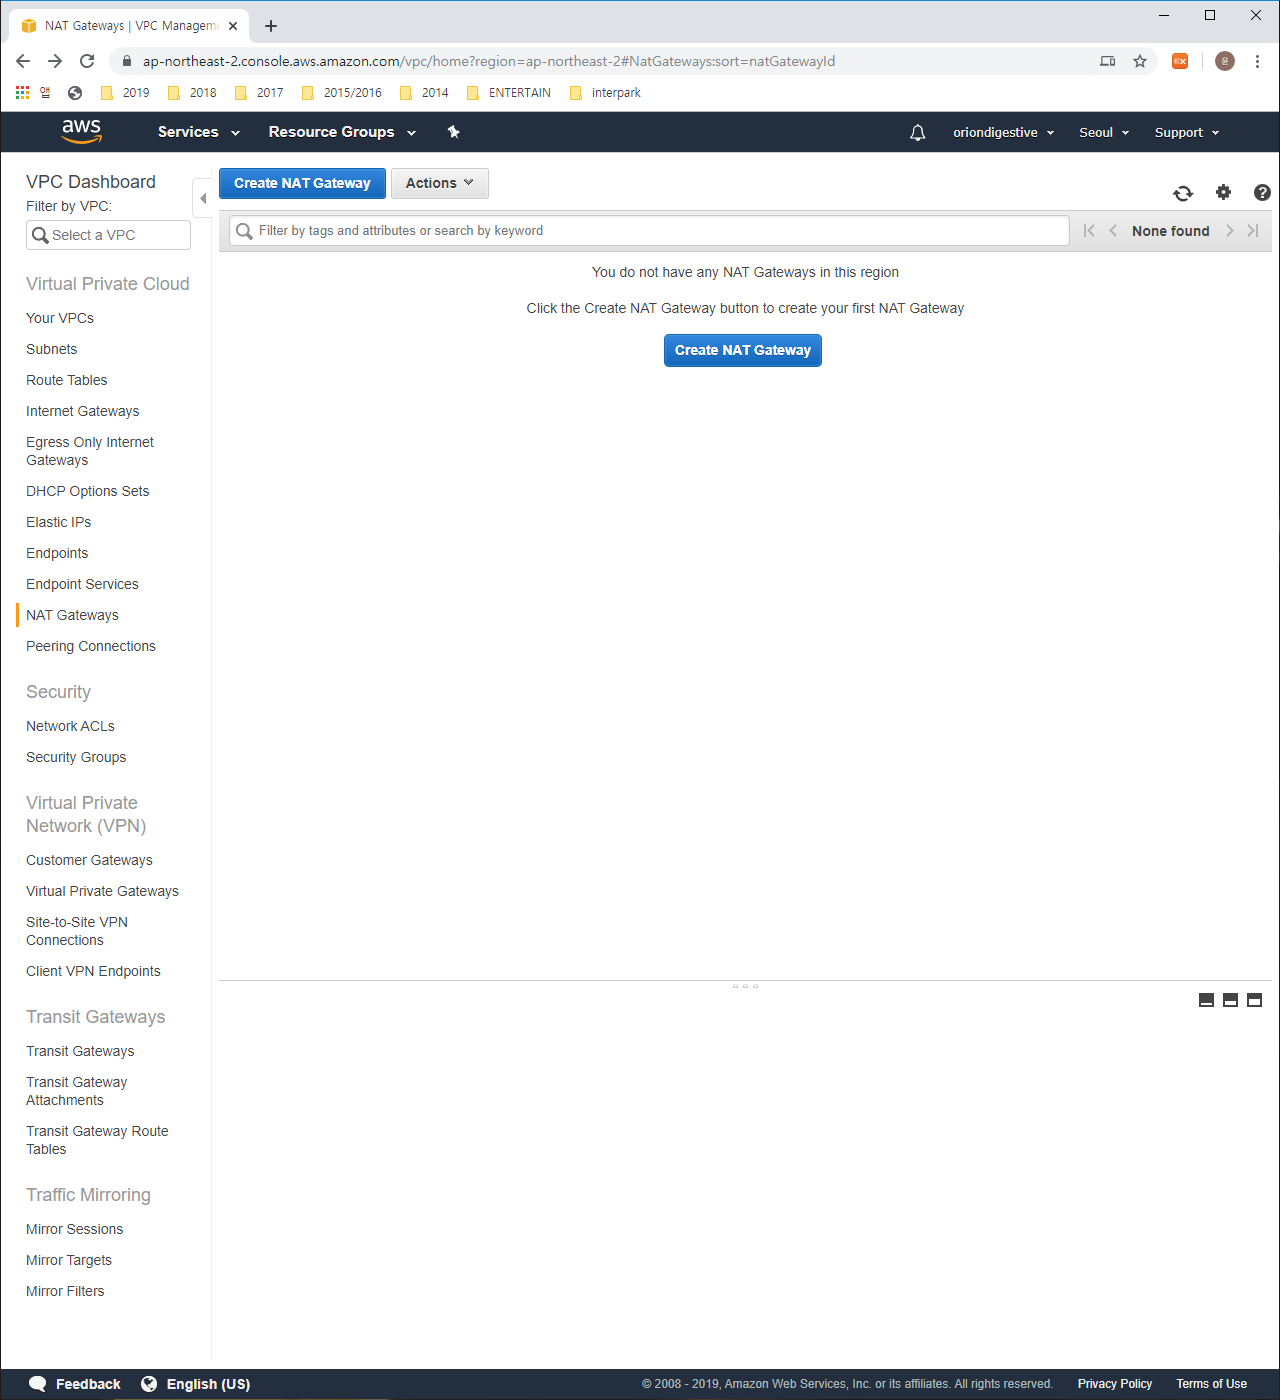
Let’s press the ‘NAT Gatewats’ btn from left side menu. then you can see like the above. Press the ‘Create NAT Gateway’ button.
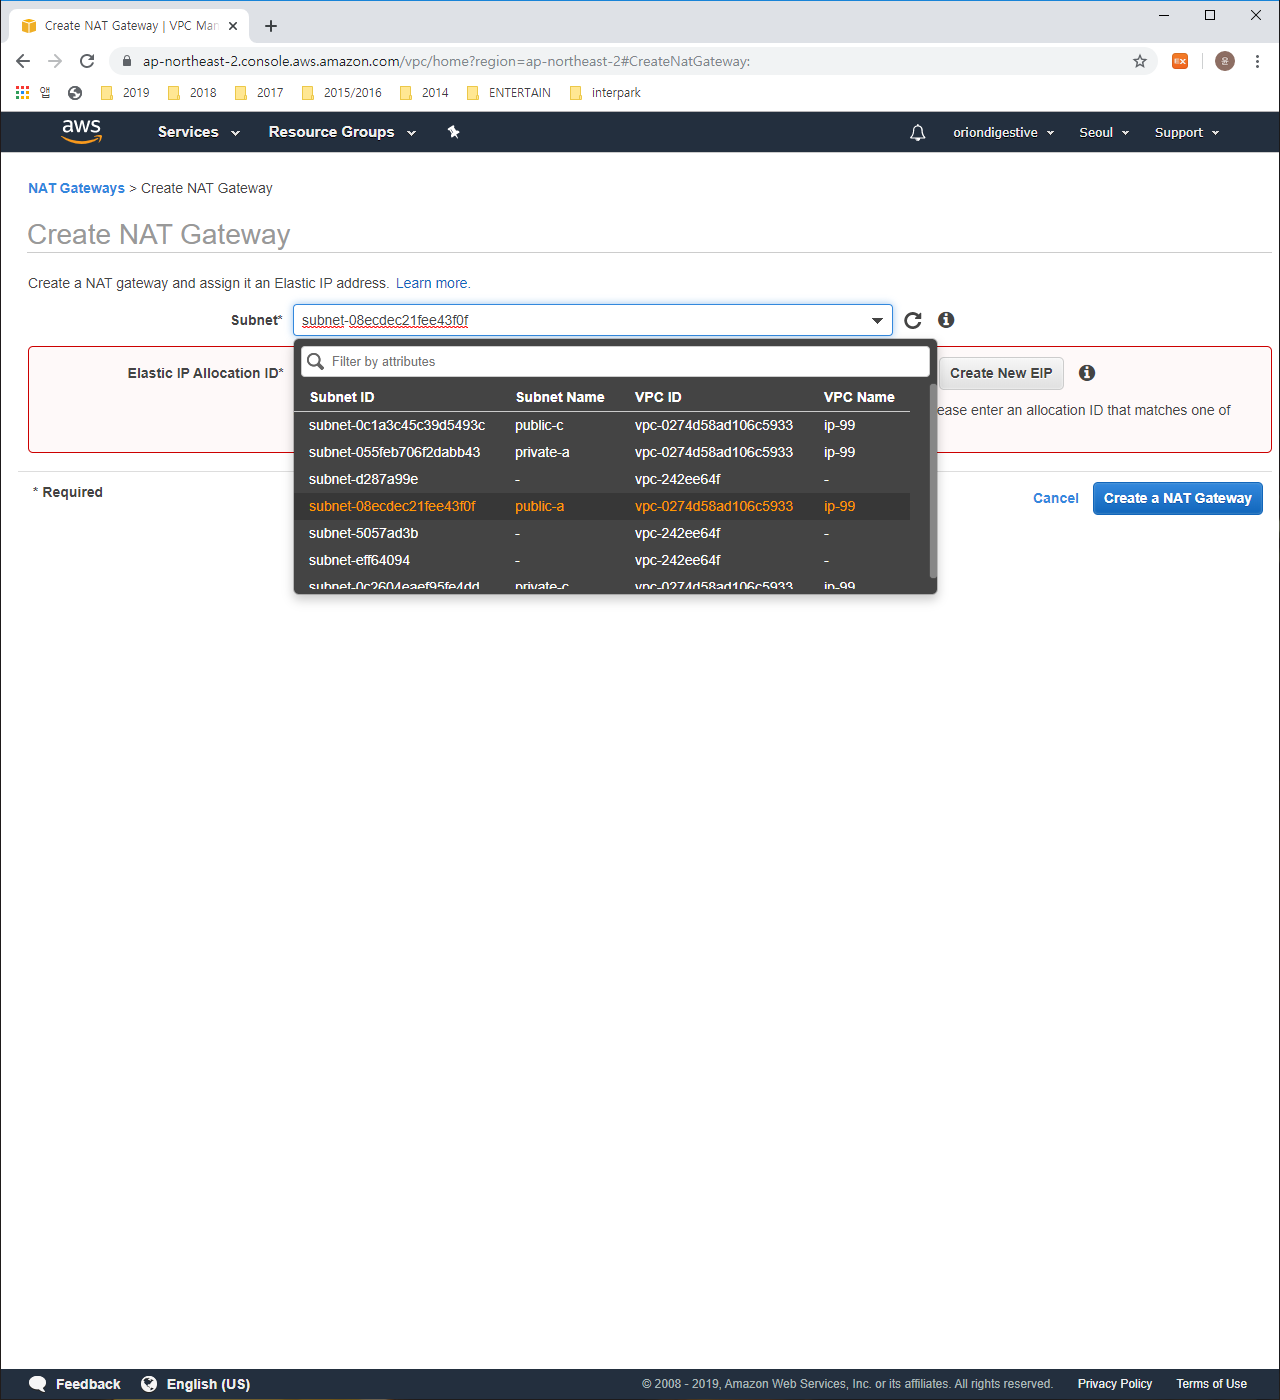
configure the subnet related to public-a to Subnet part and press the ‘Create New EIP’ button.
1 | Subnet : public-a |
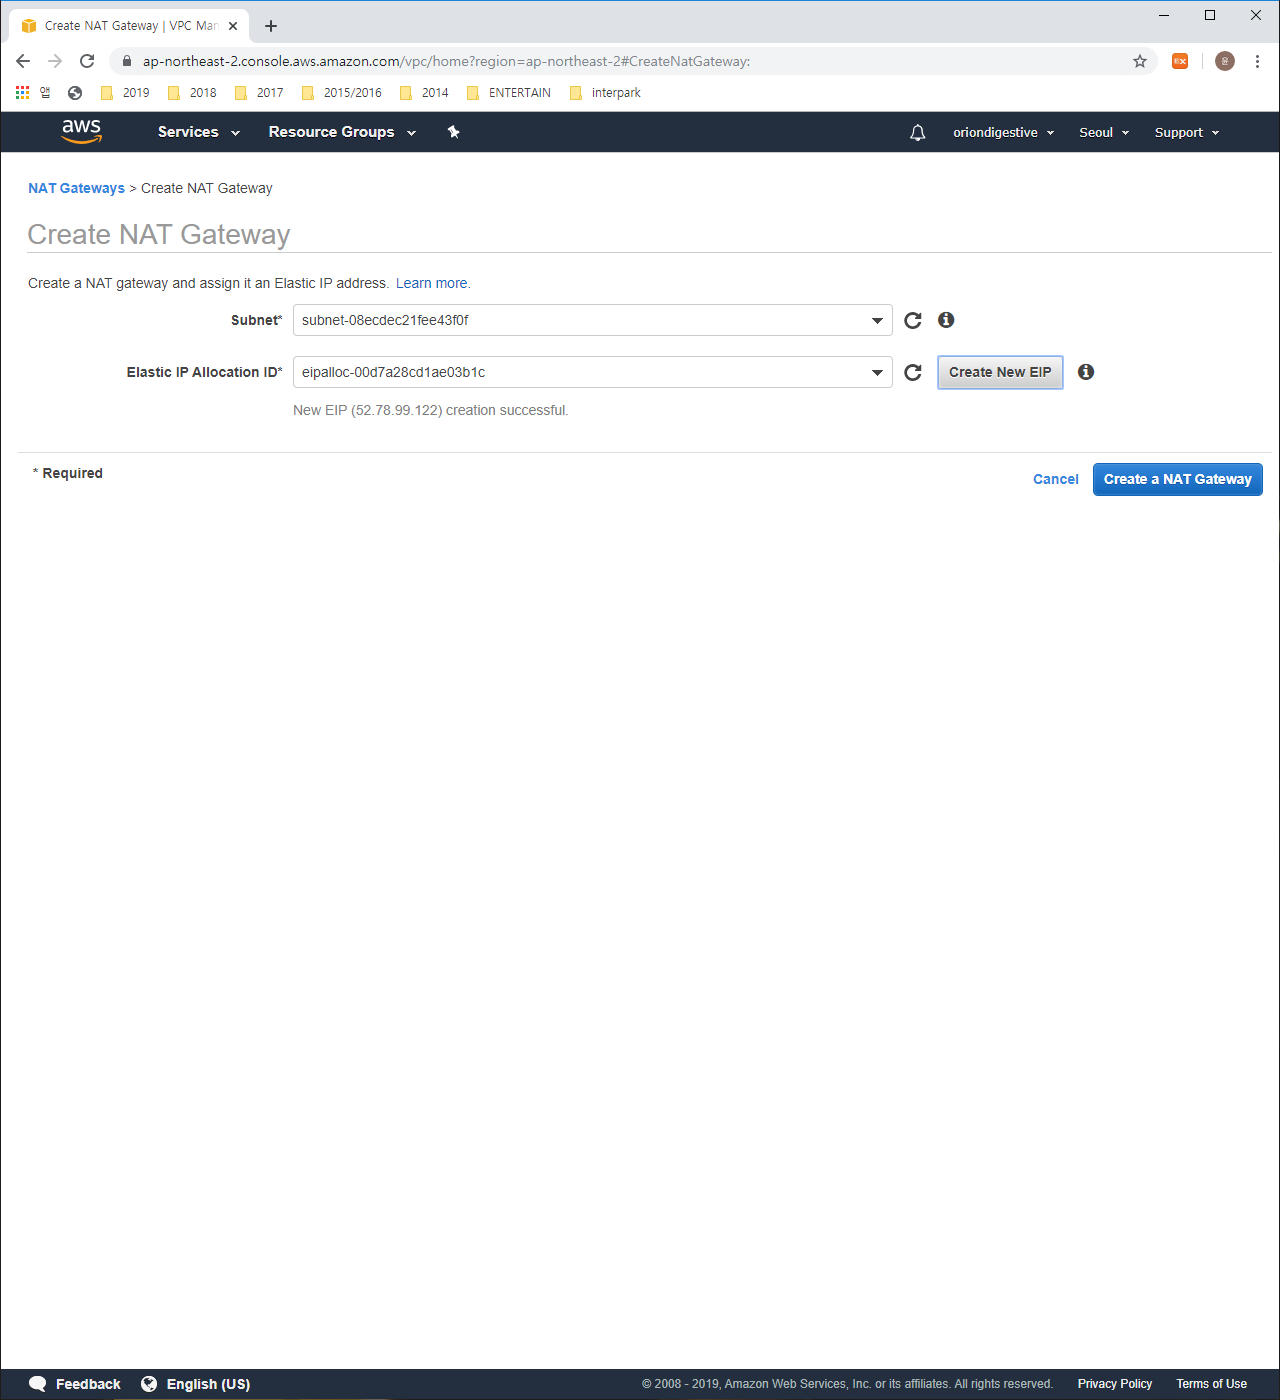
If you finished, Press the Create a NAT Gateway button.
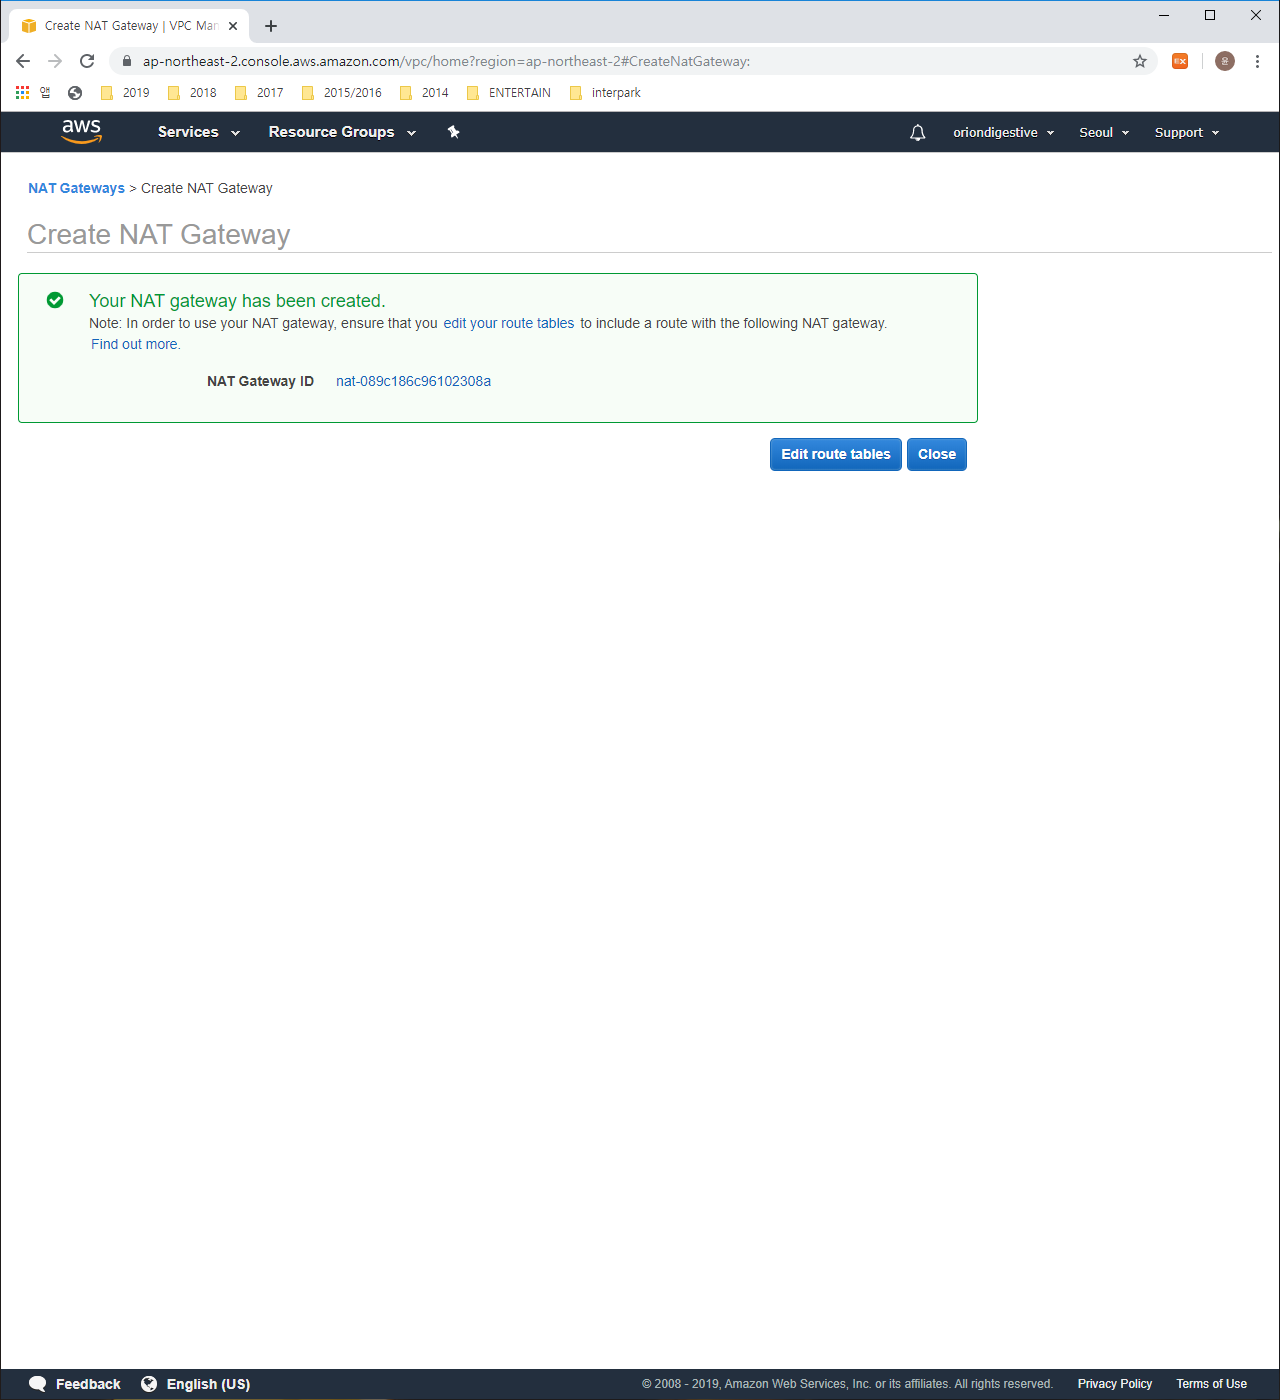
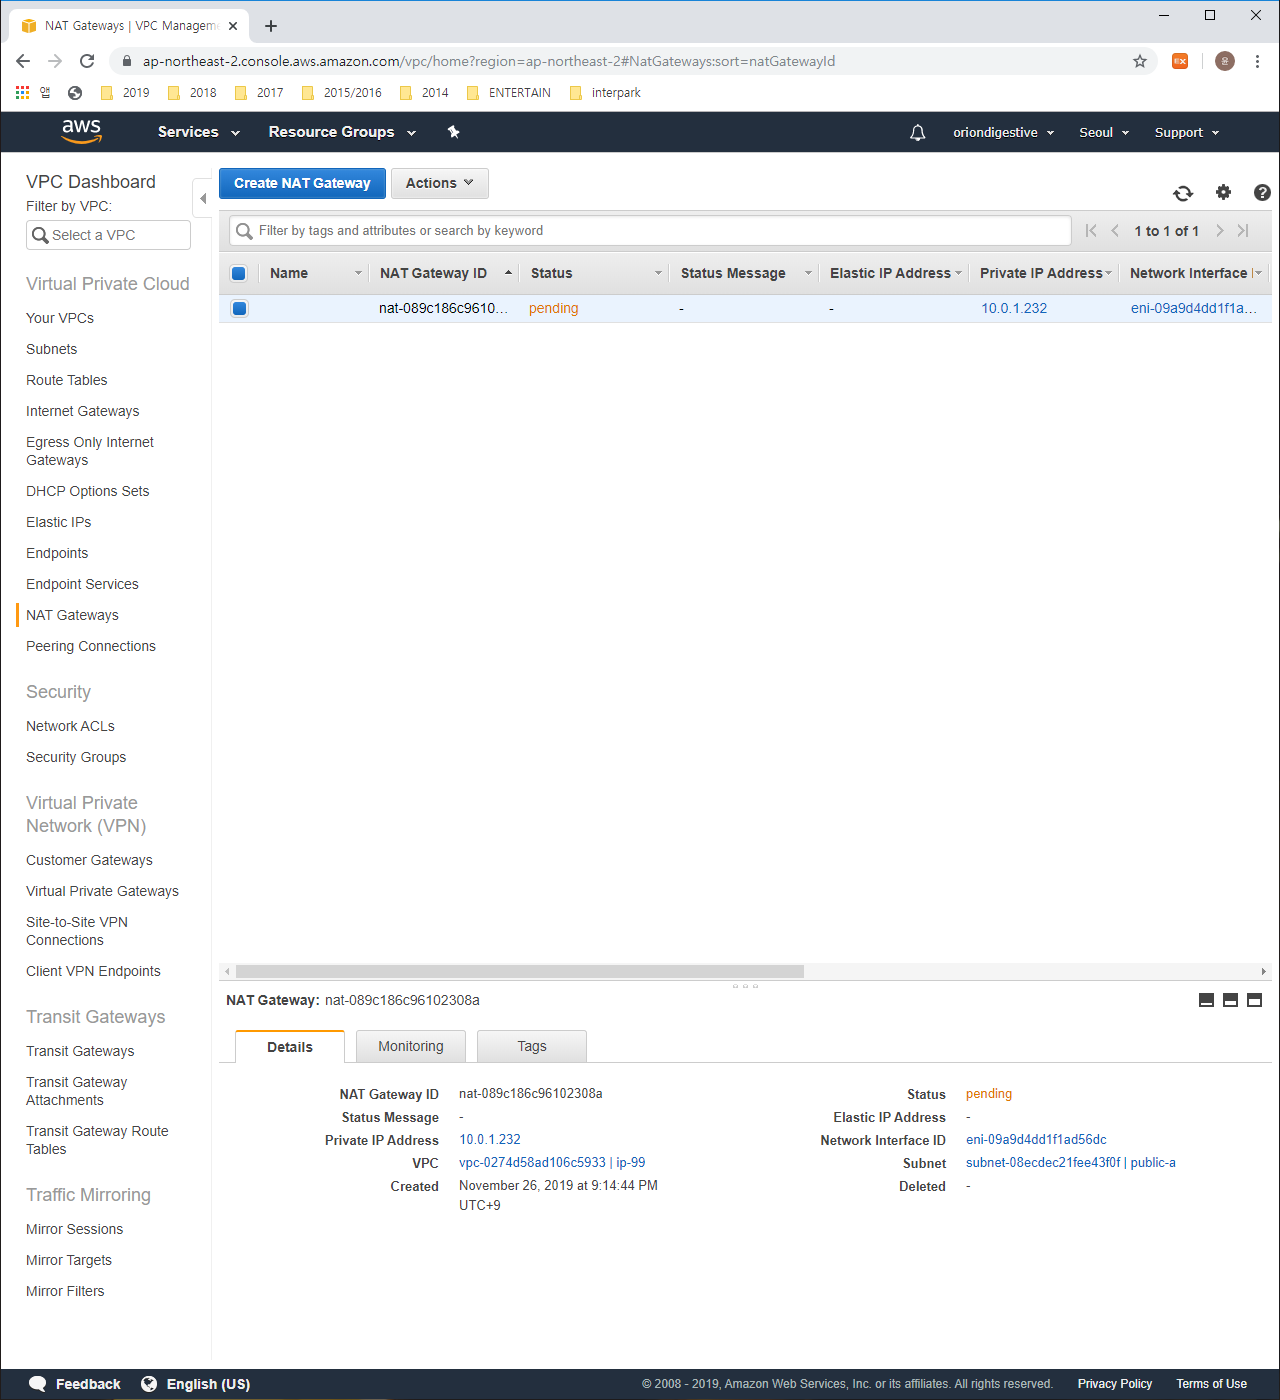
Those are a proof what you finished creating NAT Gateway successfully.
6. Create Route Table
When the router find the network to transfer some data to any hosts, It has any rules. this rule information is actually Route Table. In real network configuration, The router needs many setting for configuration network. Most of this setting task are definitely the things related to Route Table. more easily You can understand that the route table is like the map for the electric data. They can find the destination using this map. when the electric data want to go somewhere, this map will indicate any direction for going this place. sulely, The ways how to set this mapping information are lots of things. for example static, OSPF, and so on. but these ways are not the content for learning AWS. so I will write new article about those when i have the time enough. In here, These route table are created for the Subnets made by us.
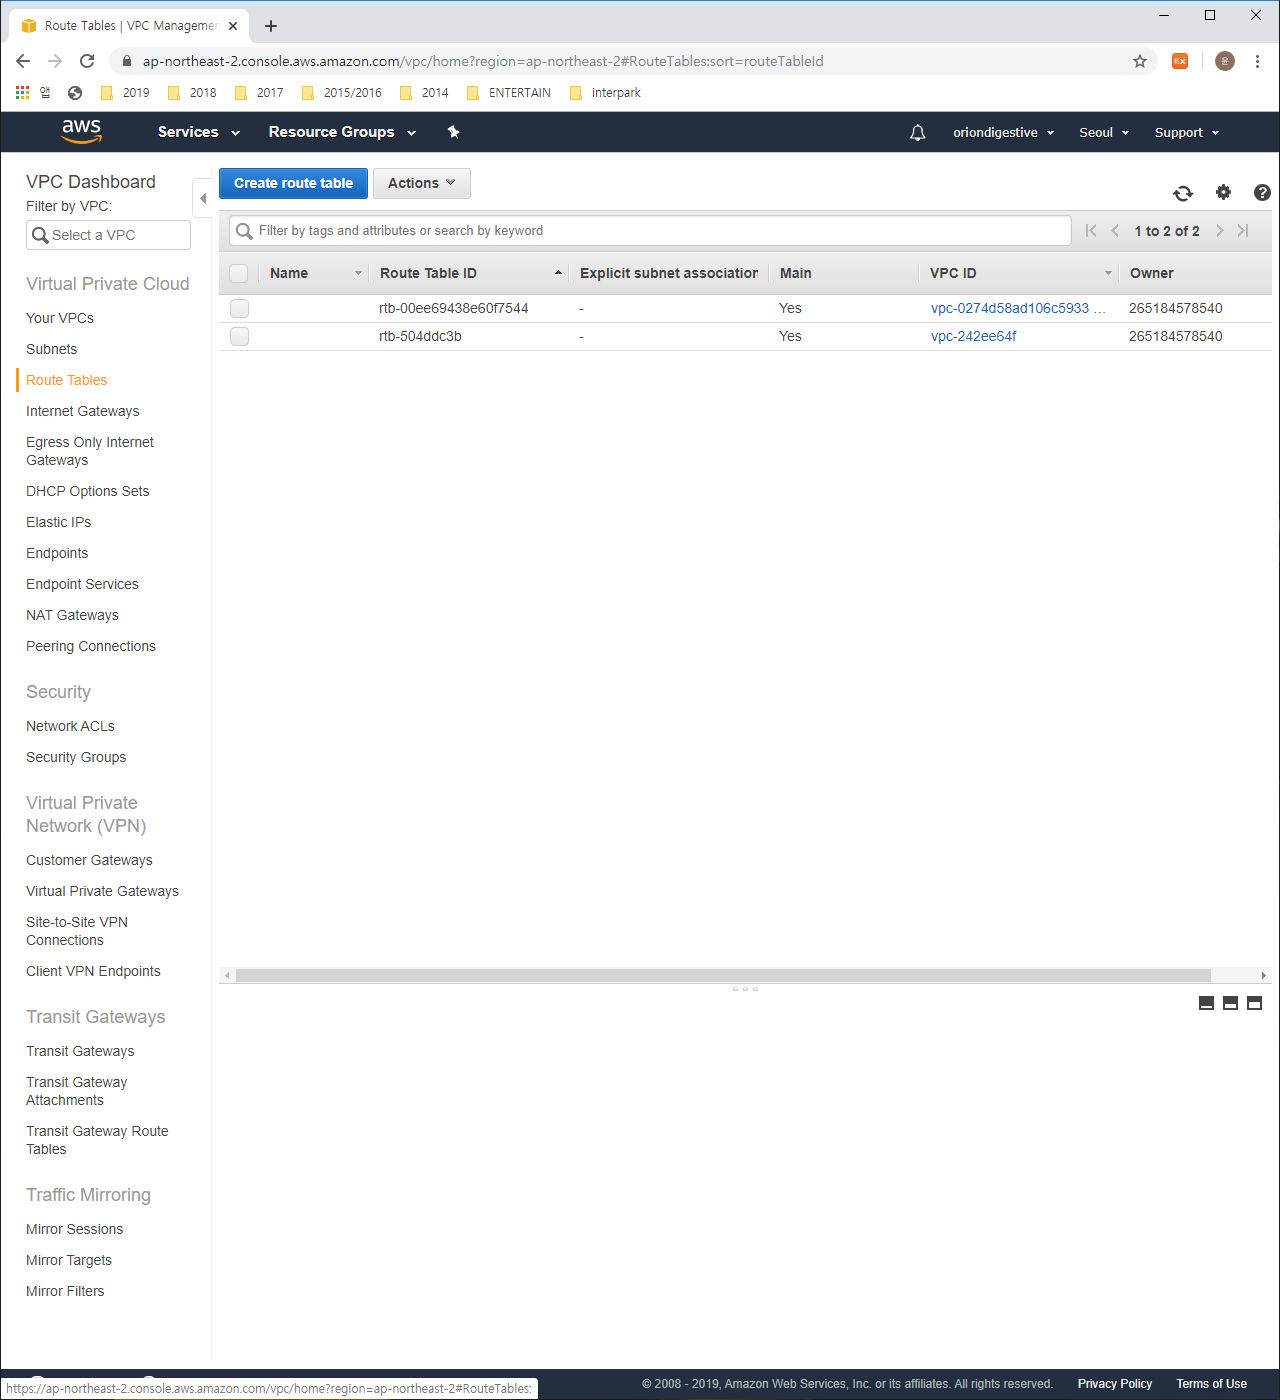
Press the ‘Route Tables’ button at the left side menu and press the ‘Create route table’ button.
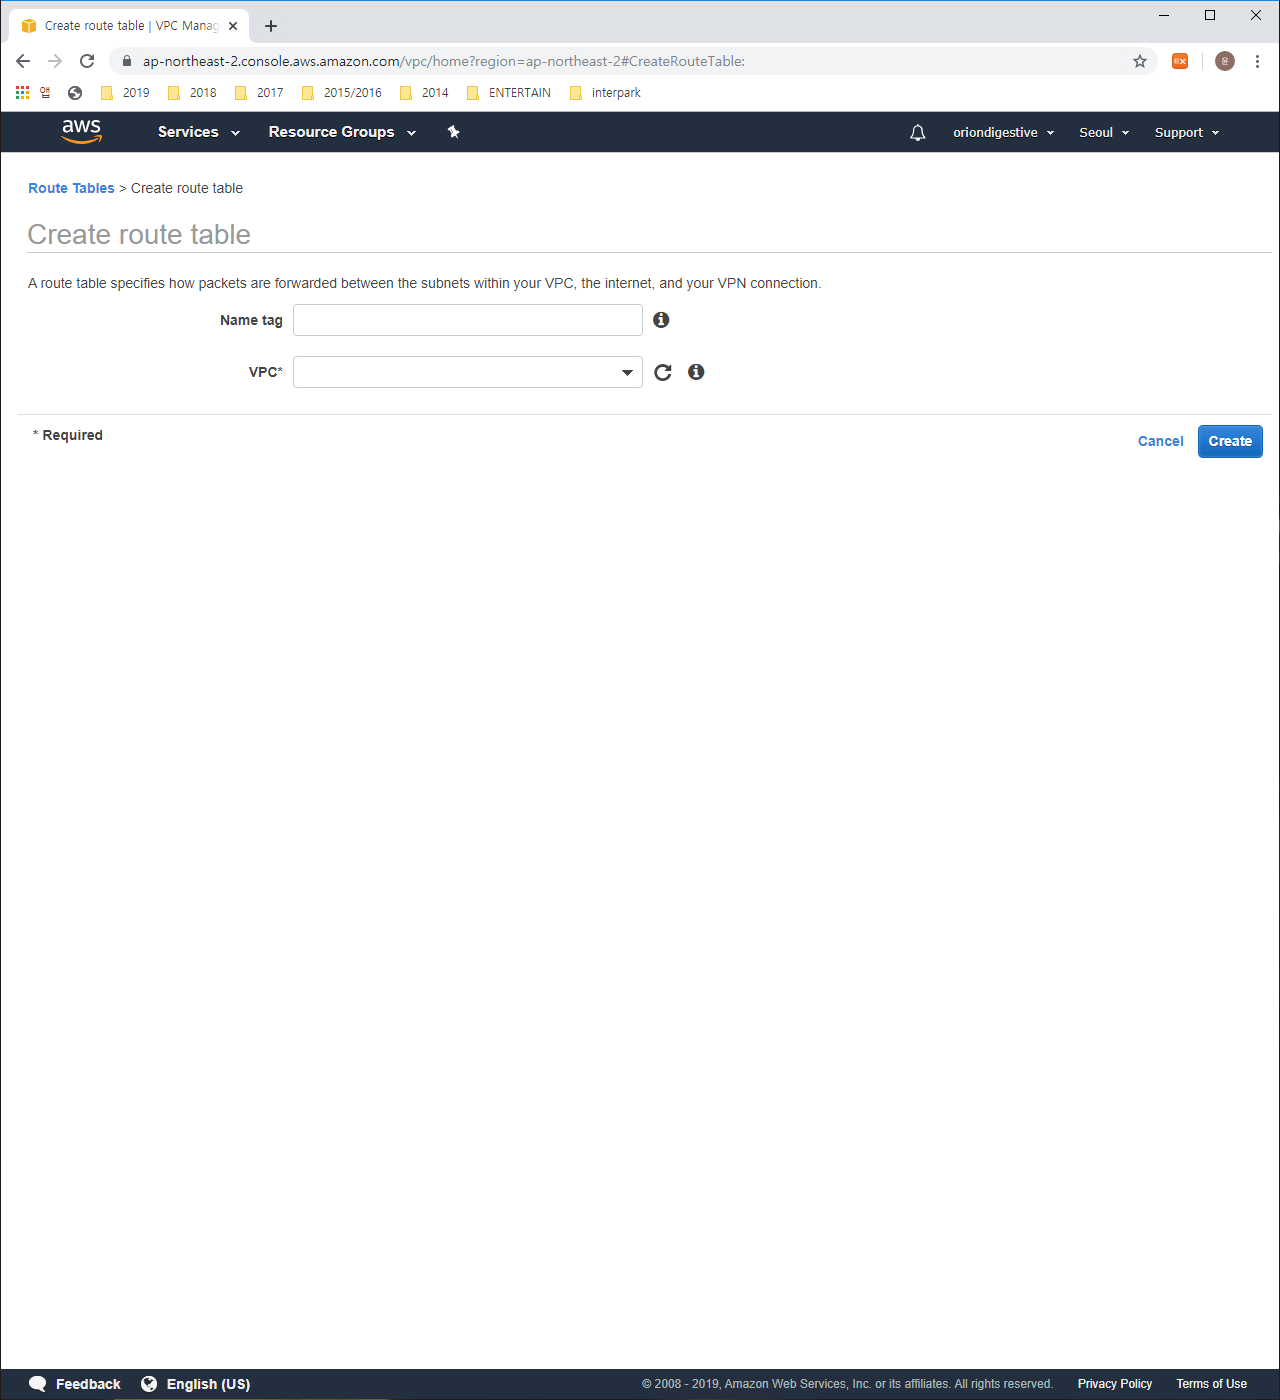
Let’s type like the below.
1 | Name tag : rt-public |
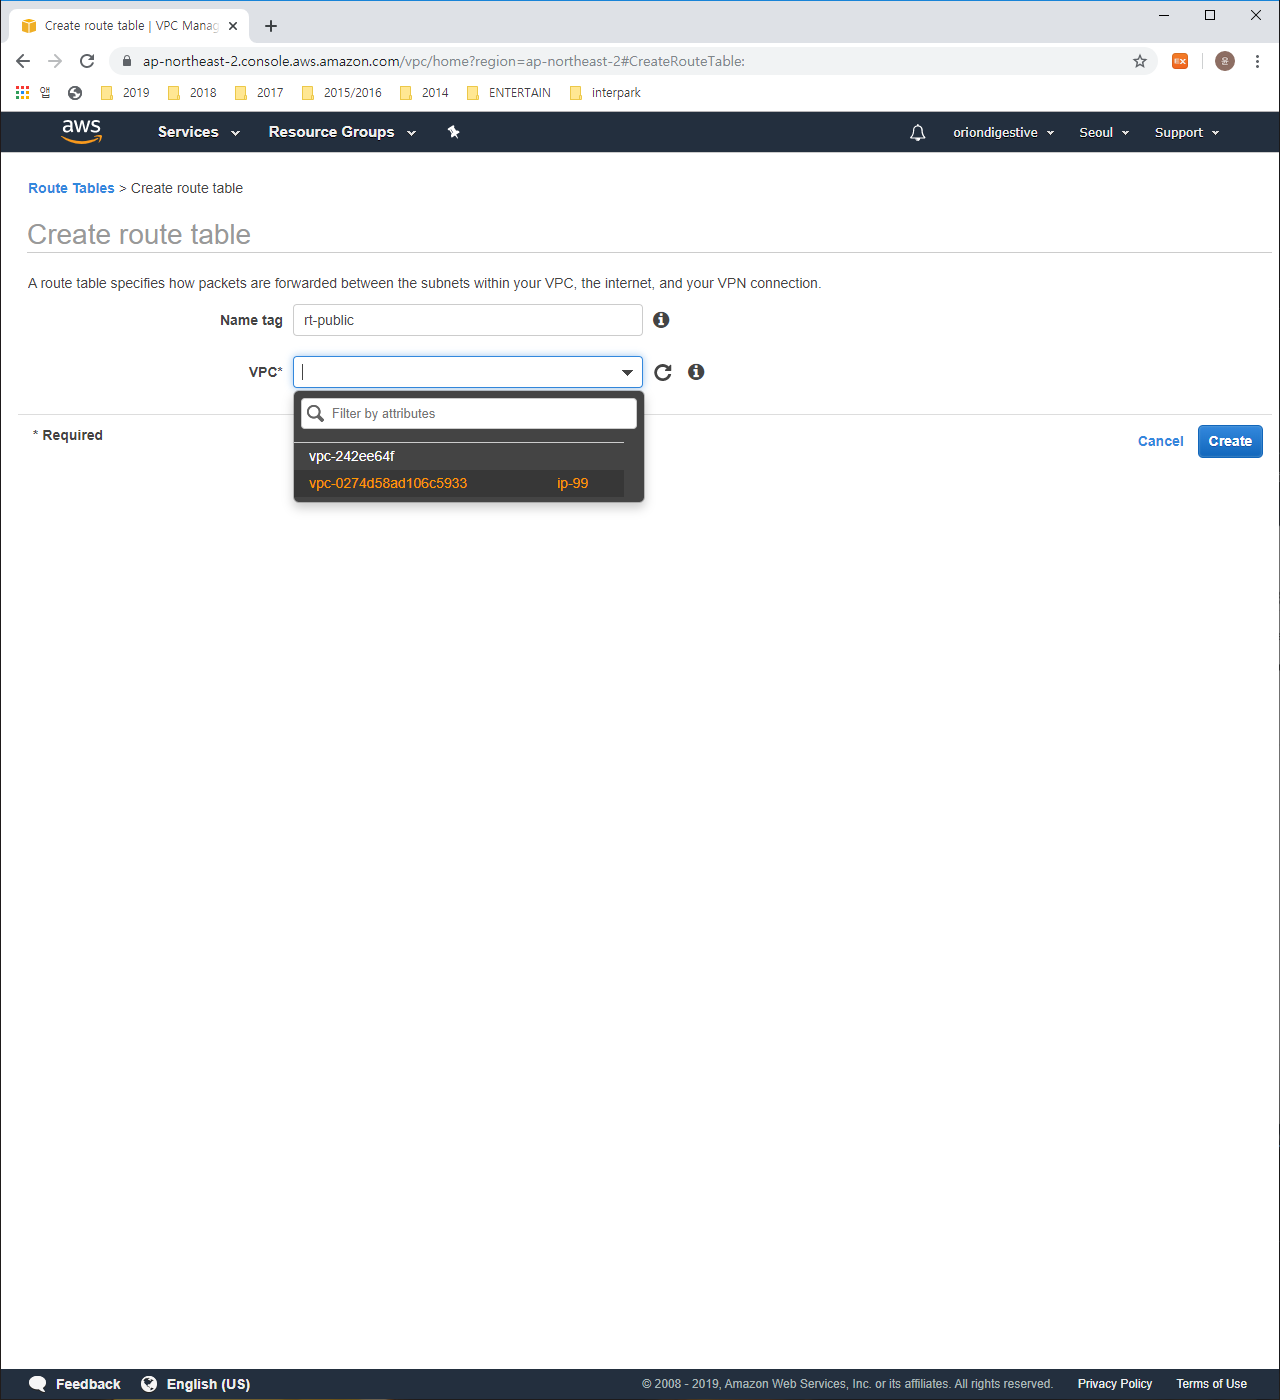
if you finished well, please make one more using the below informations.
1 | Name tag : rt-private |
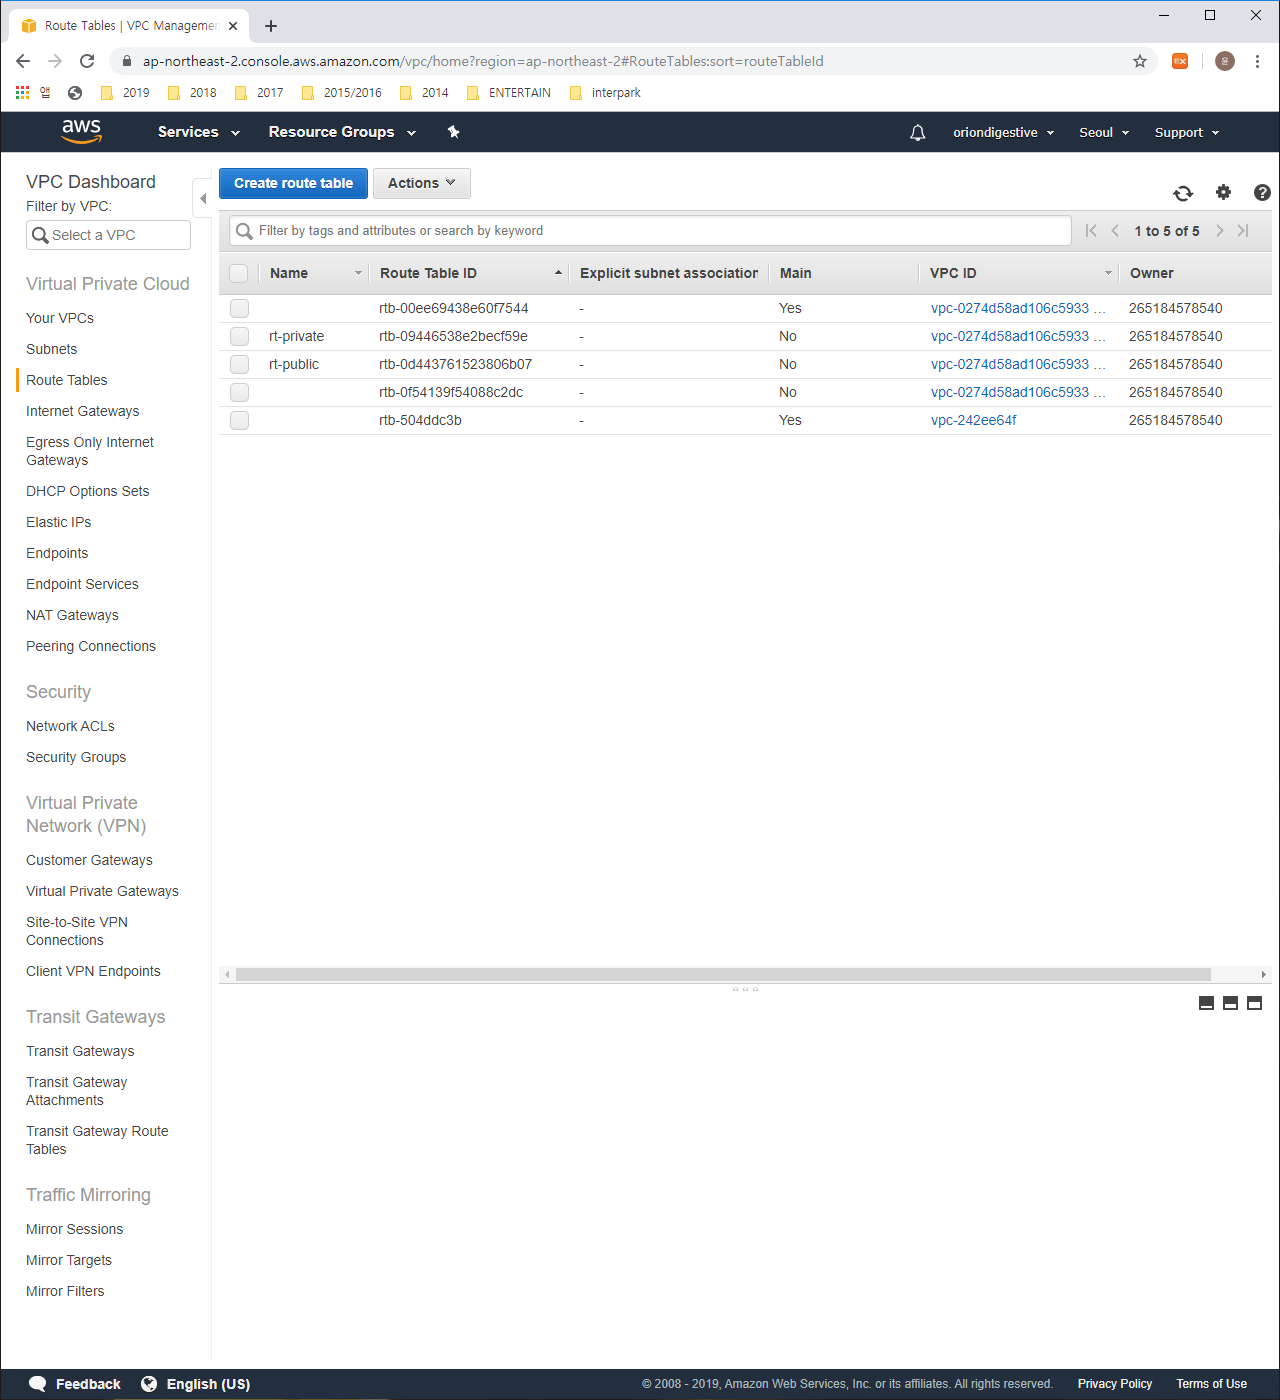
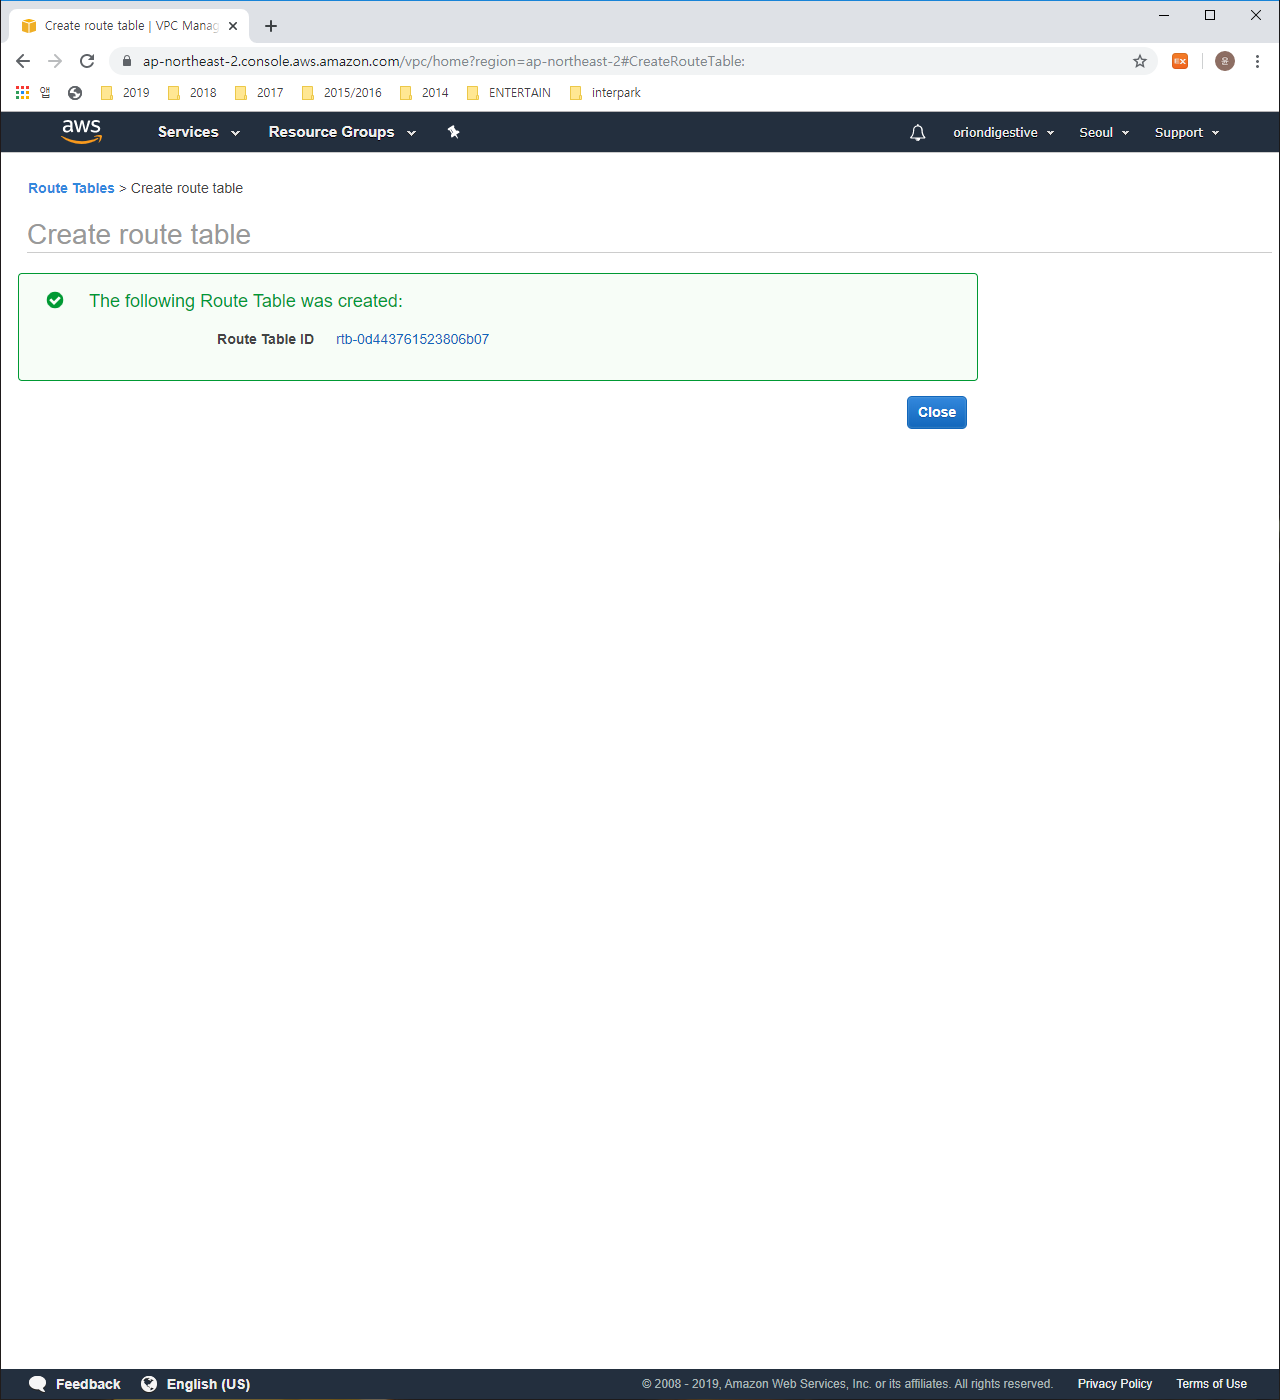
Eventually, You should have the two route tables named ‘rt-public’ and ‘rt-private’ like the above picture.

please follow the process written below
1 | press route table of rt-public > press the Route menu below > press the 'Edit routes' button |
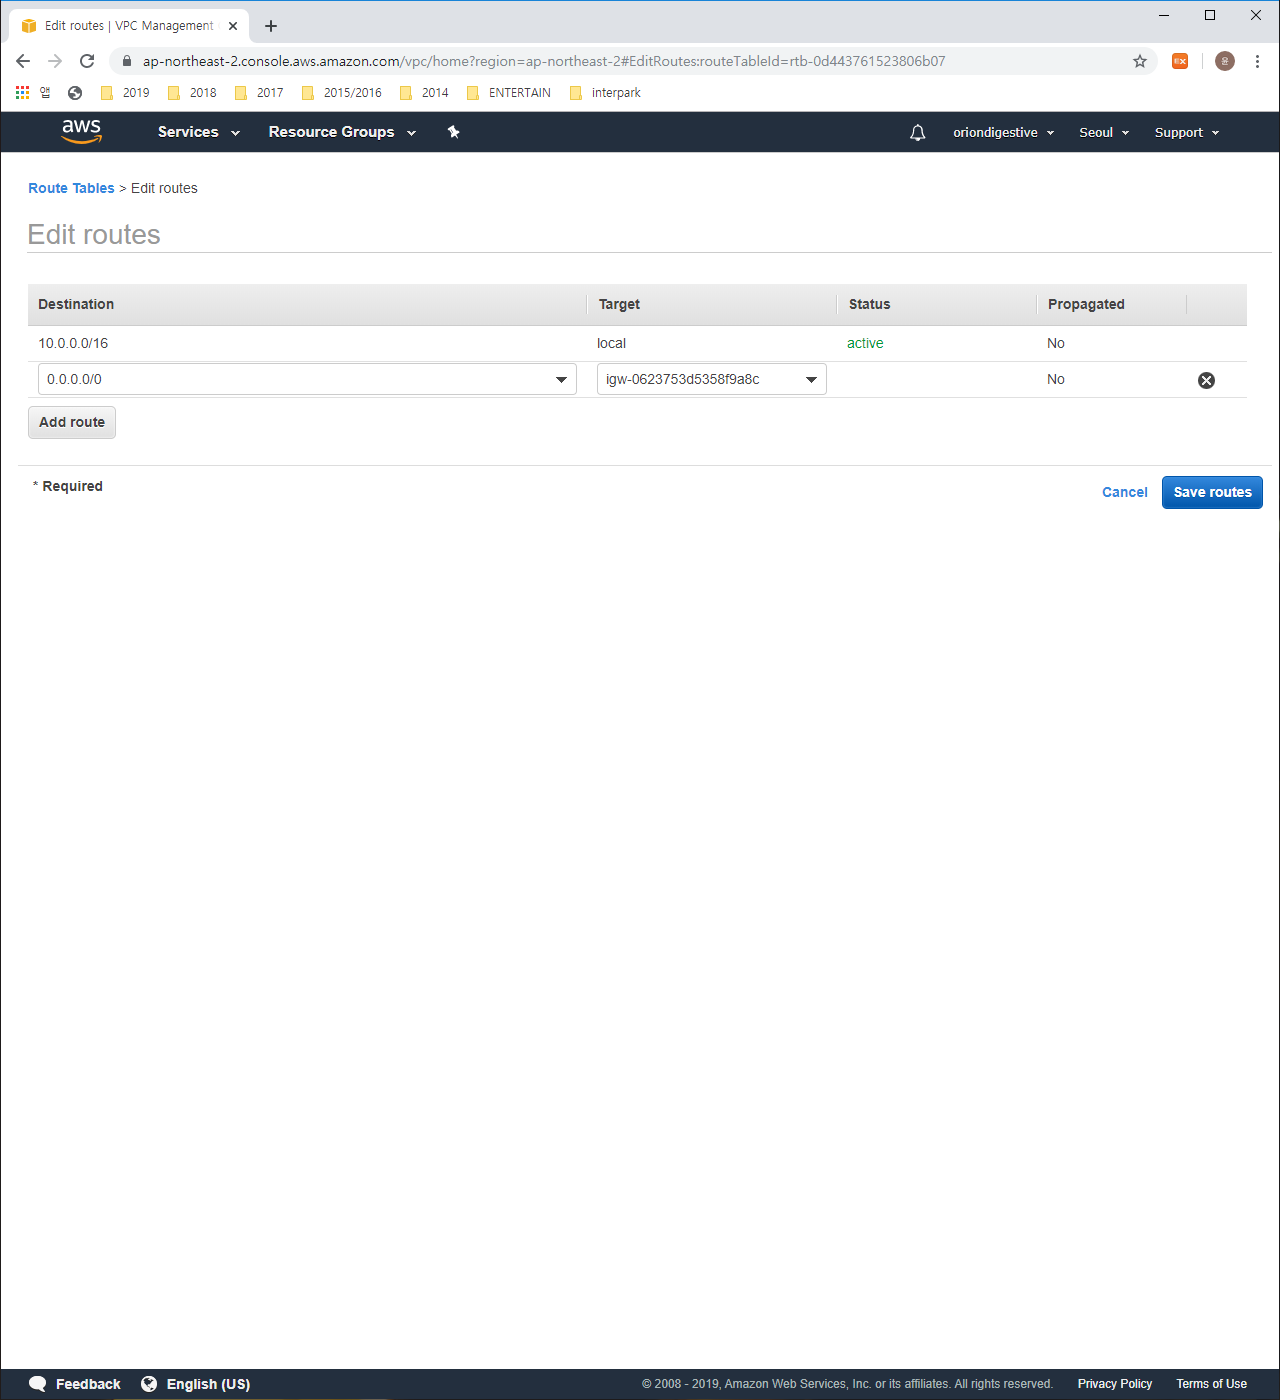
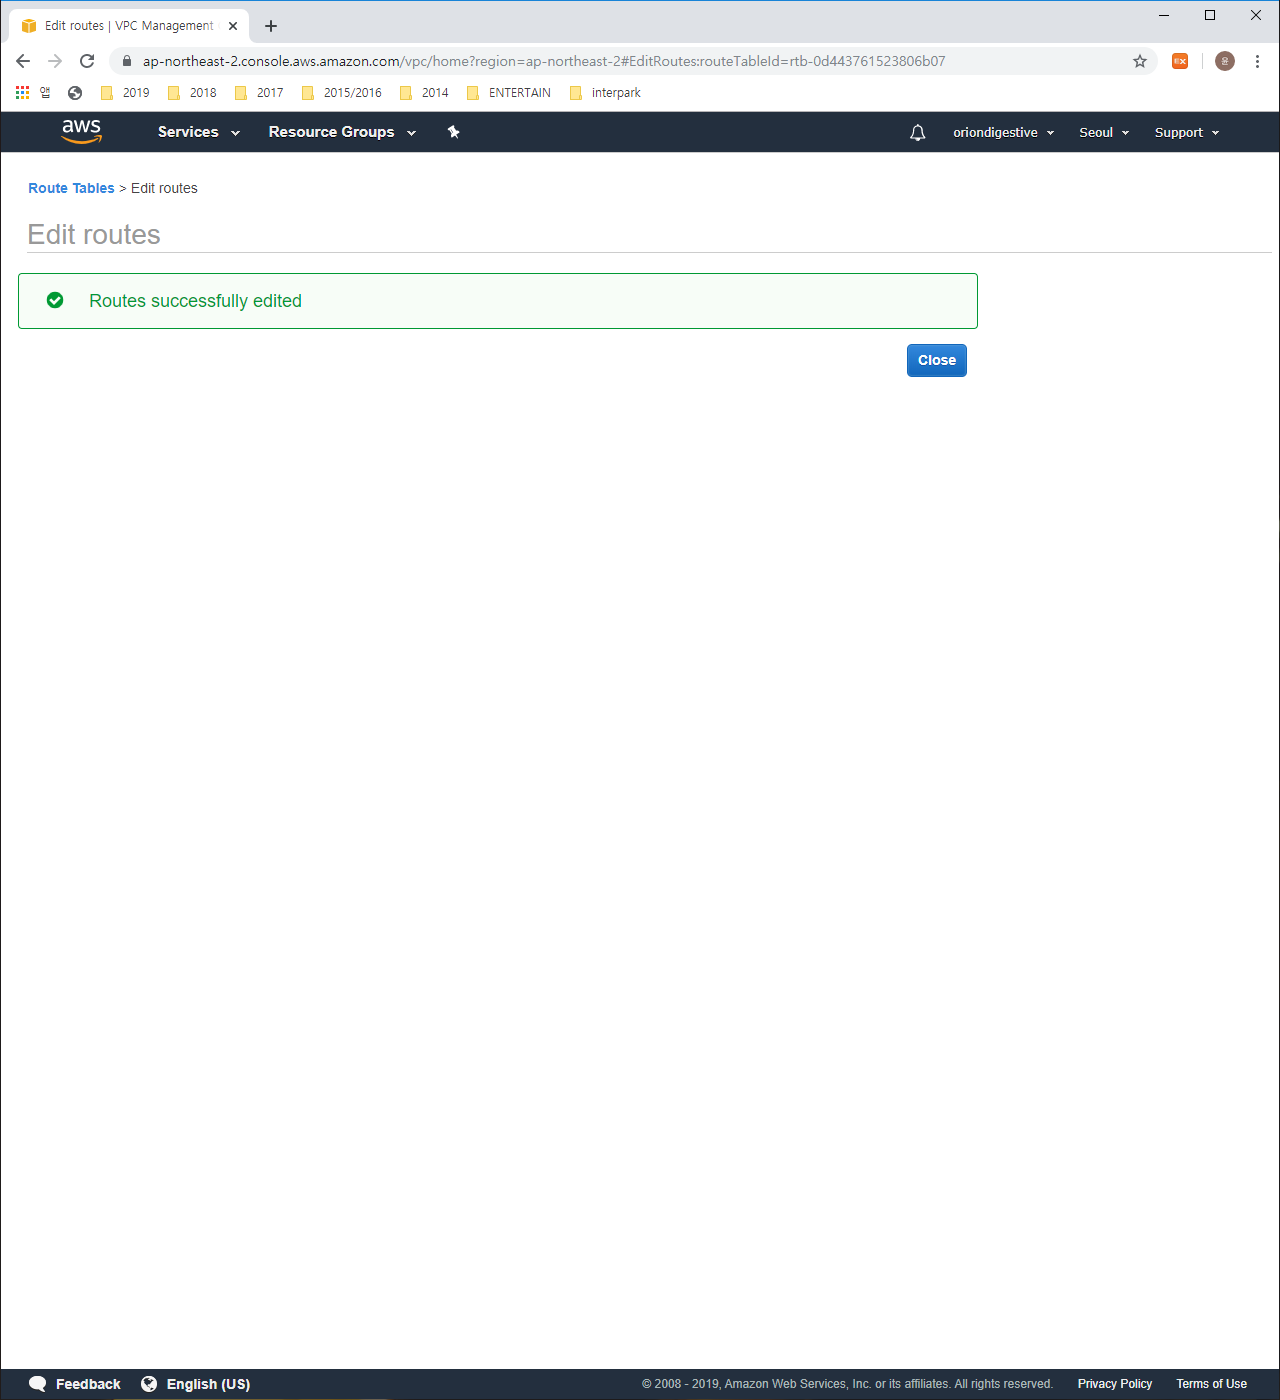
Press the ‘Add route’ button and follow the below process and when you finished, press the ‘save routes’ button.
1 | // rt-public |
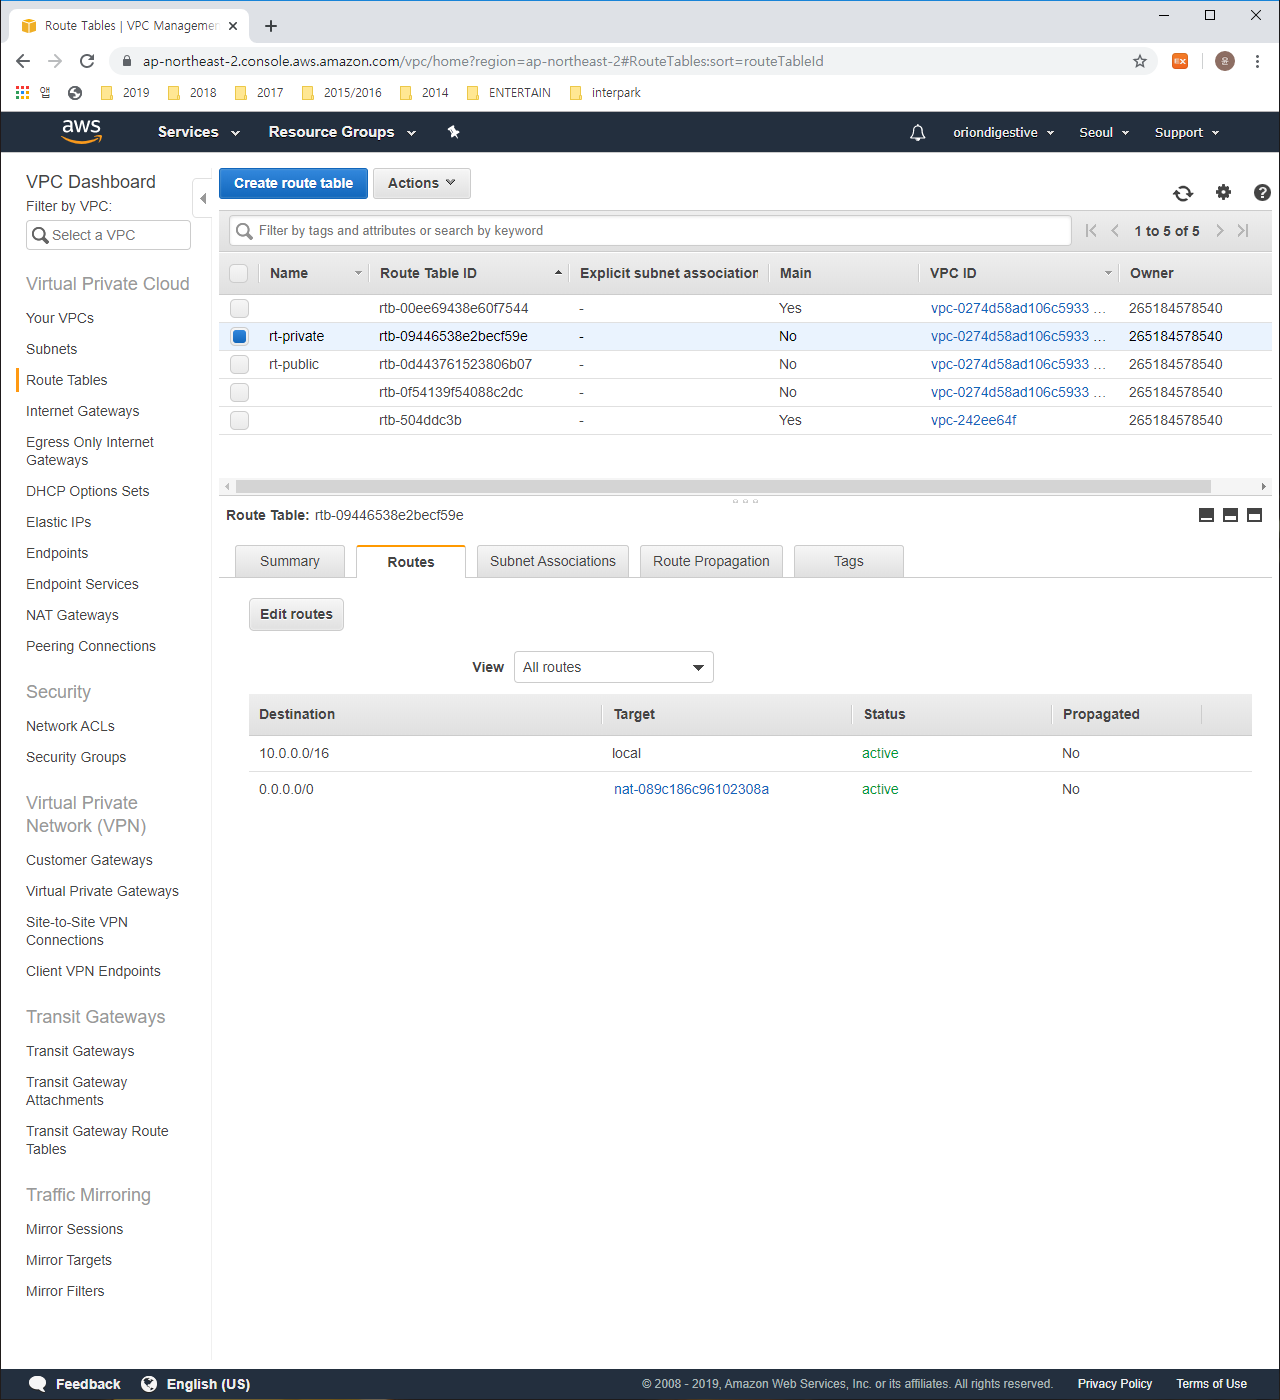
Press the ‘Add route’ button and follow the below process and when you finished, press the ‘save routes’ button.
1 | // rt-private |
7. Subnet, Route table mapping
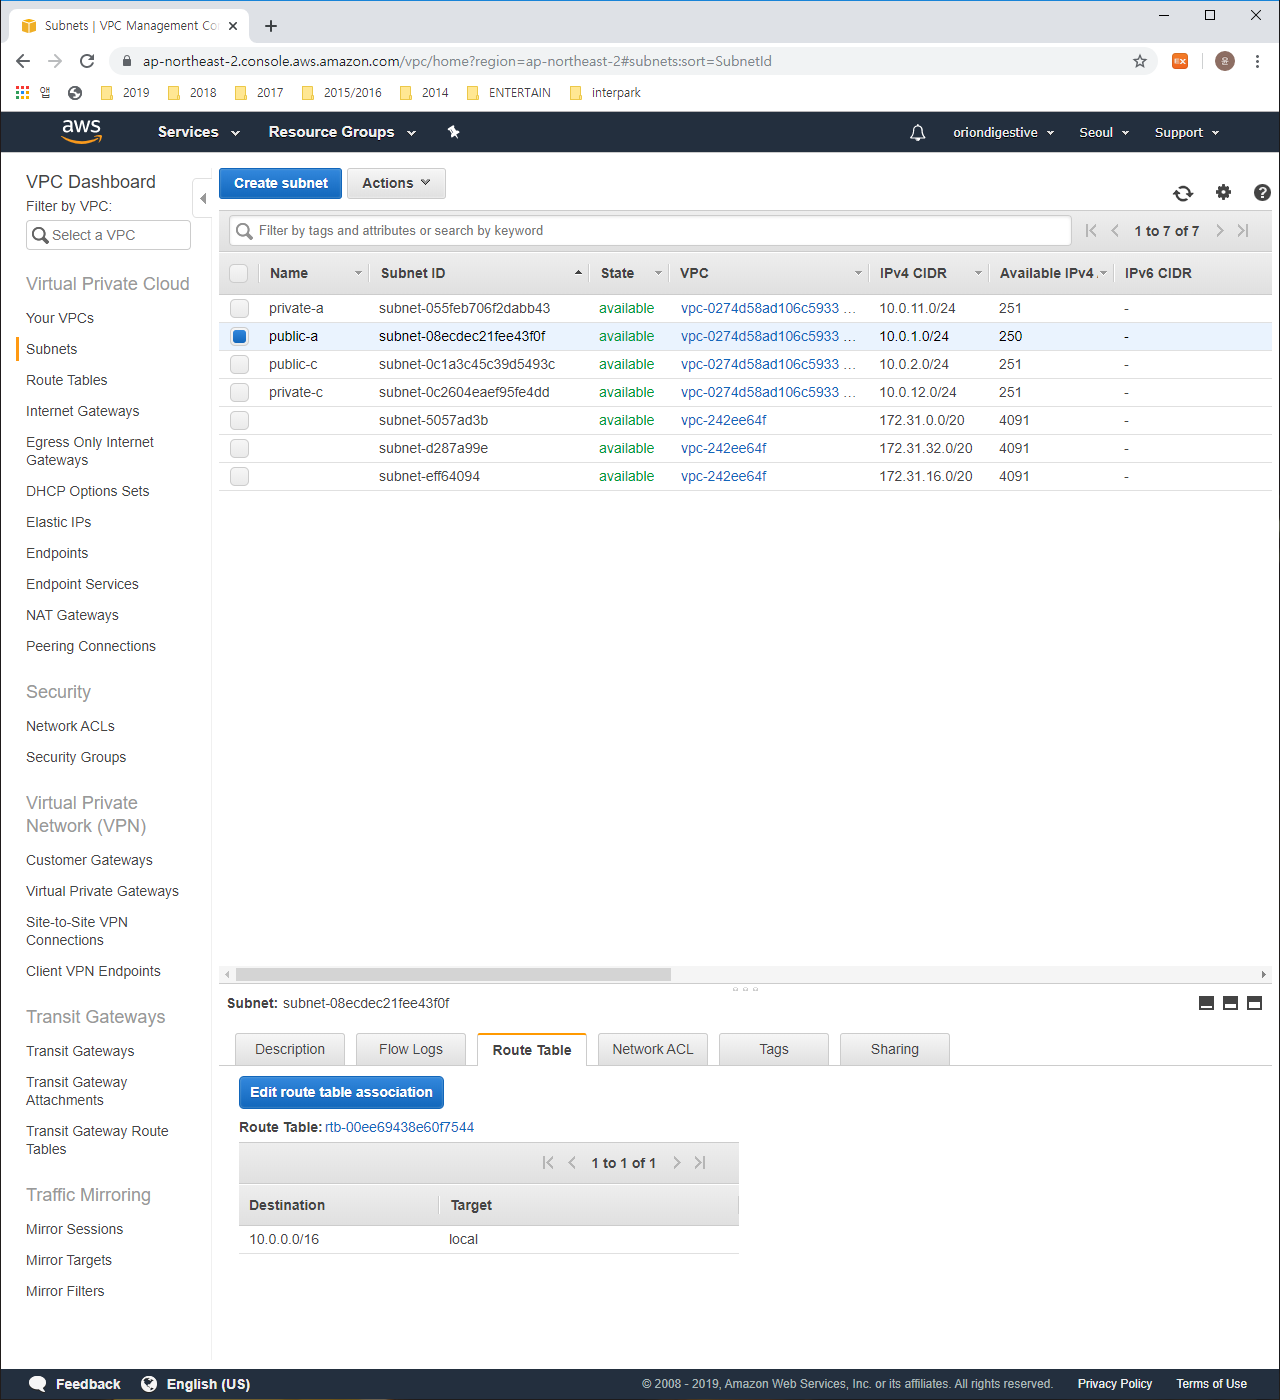
Press the ‘Subnets’ button at the left side menu. Let’s connect the rt-public with public subnet installed internet gateway and connect rt-private with private subnet installed NAT gateway.
1 | Press public-a > Press 'Route Table' tab below > Press 'Edit route table association' button |
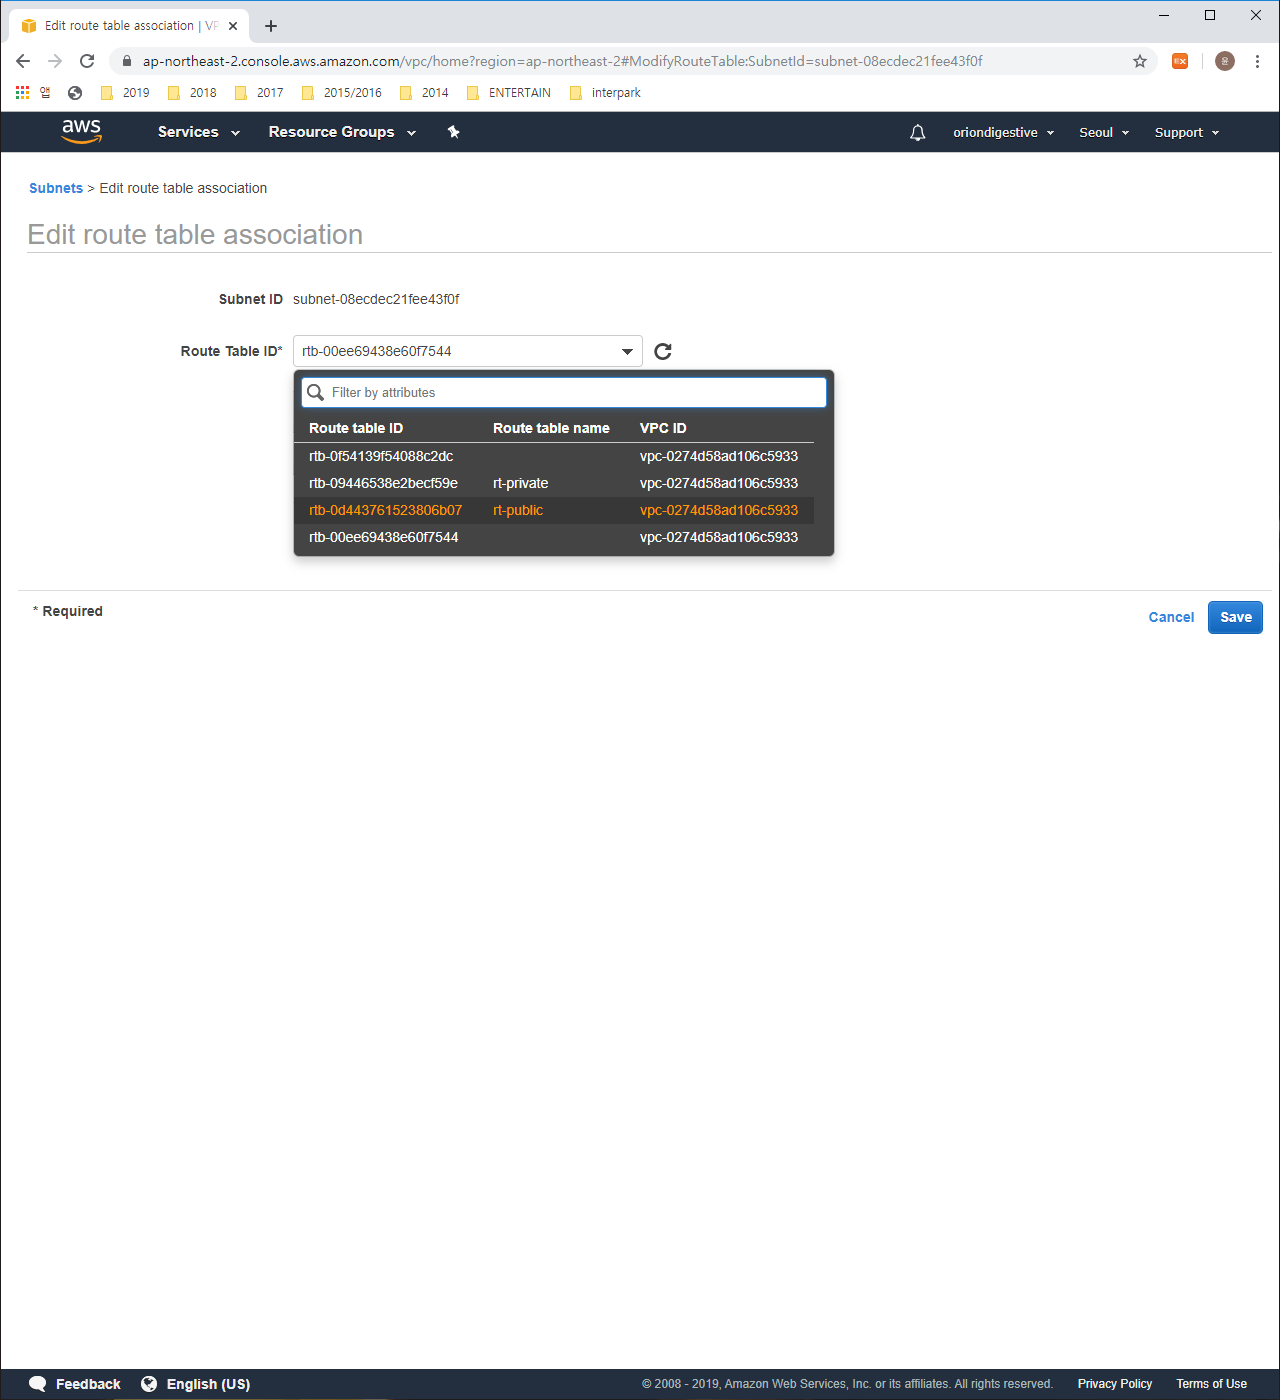
Please change the Route Table ID to ‘rt-public’ and then press the ‘Save’ button.
Let’s connect the route table with every Subnets using same way shown above. and Don’t forget setting the ‘rt-private’ for private subnets not ‘rt-public’. Thank you for reading my articles. Every basic network setting is finished.