Configuration of EC2 instance
Let’s start to configure the AWS EC2 in the subnet when you complete to configure the network.
EC2
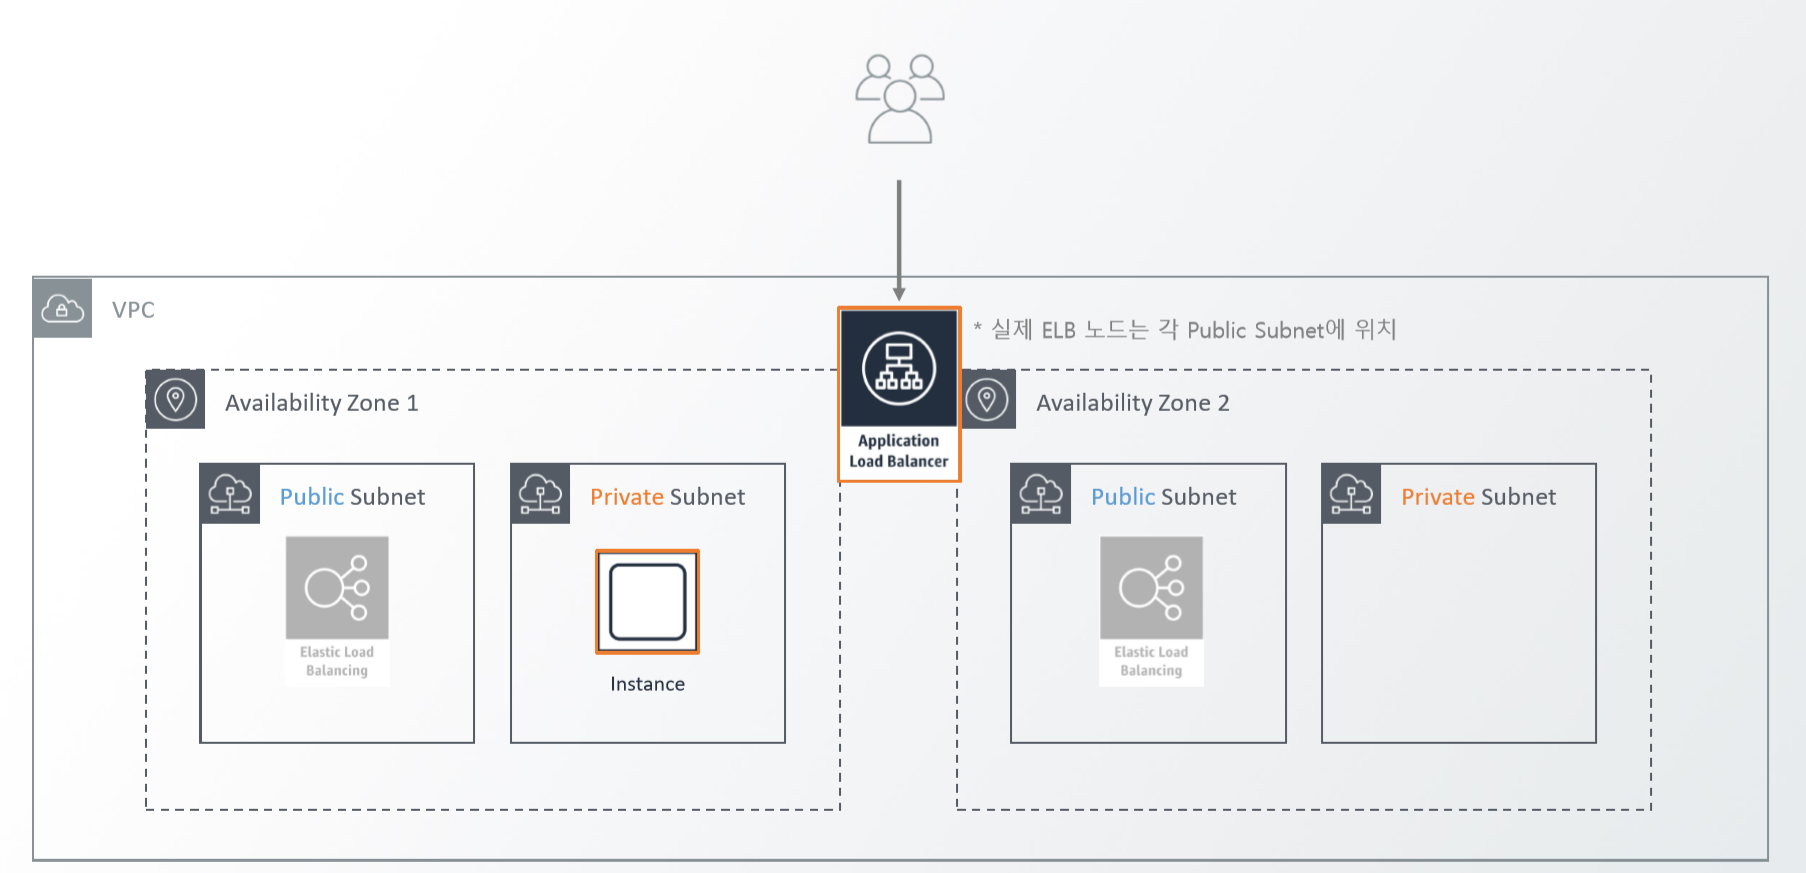
EC2 means the abbreviation of ‘Elastic Compute Cloud’. We can define this using just one word. It’s a computer. but EC2 actually can change every hardware spec like Capacity of SSD, The type of CPU, The Capacity of RAM… It’s literally Cloud Computer. so It can change many hardware things more easiler than normal computer. so now We will install this EC2 at our Subnet made previous article. Let start.
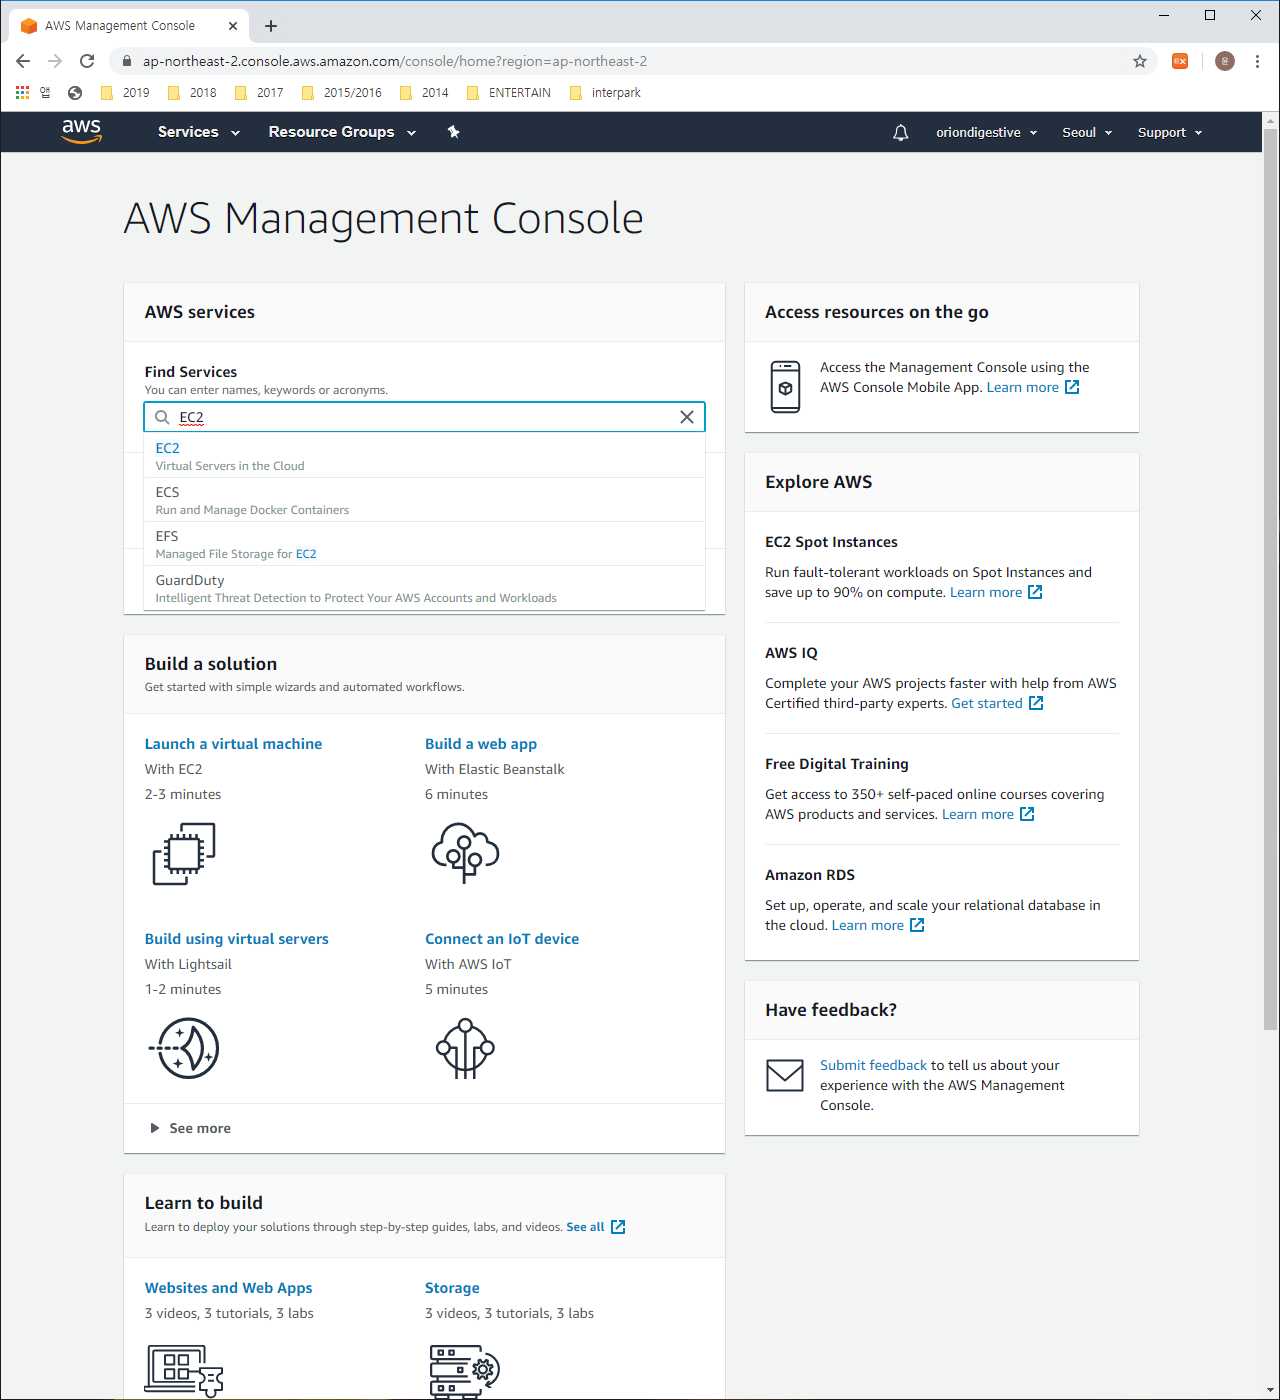
We can access the EC2 Dachboard site using the search function at the AWS Management Console. the above picture is the thing for searching ‘EC2’ and the the below thing is the EC2 Dashboard.
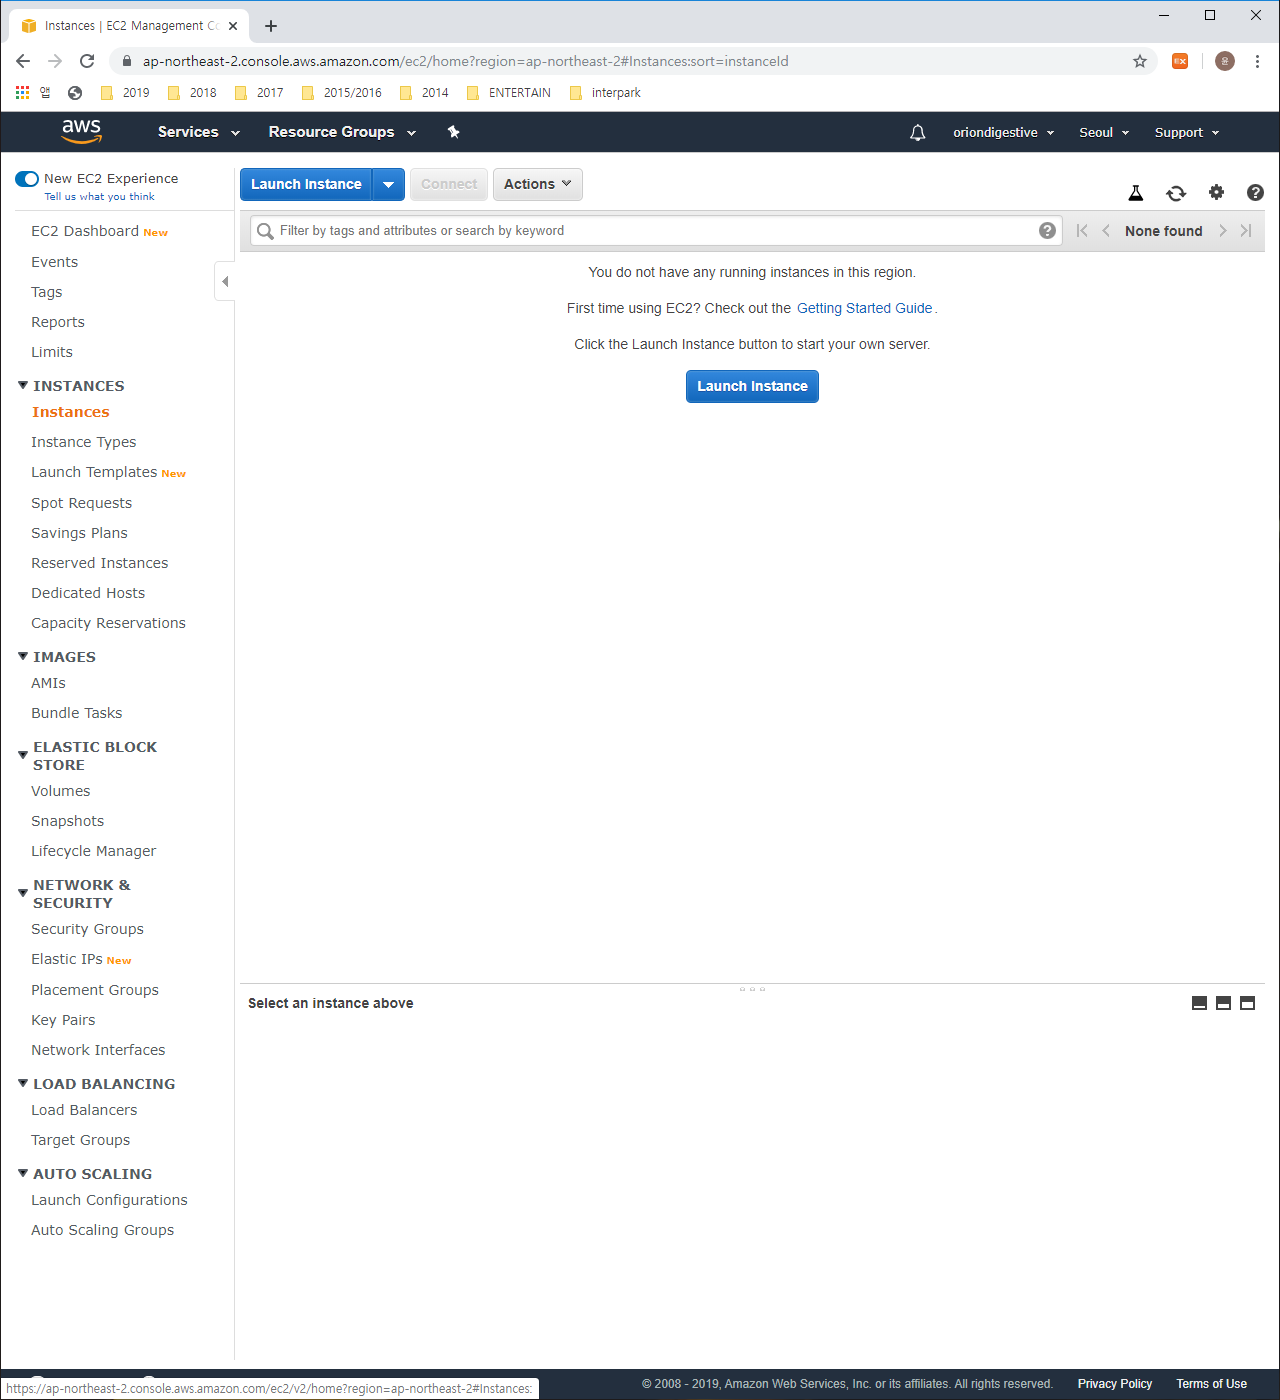
You can see the screen like the above when you click the ‘Instances’ among left side menu. Let’s build the web server with creating new instance. please press ‘Launch Instance’ button.
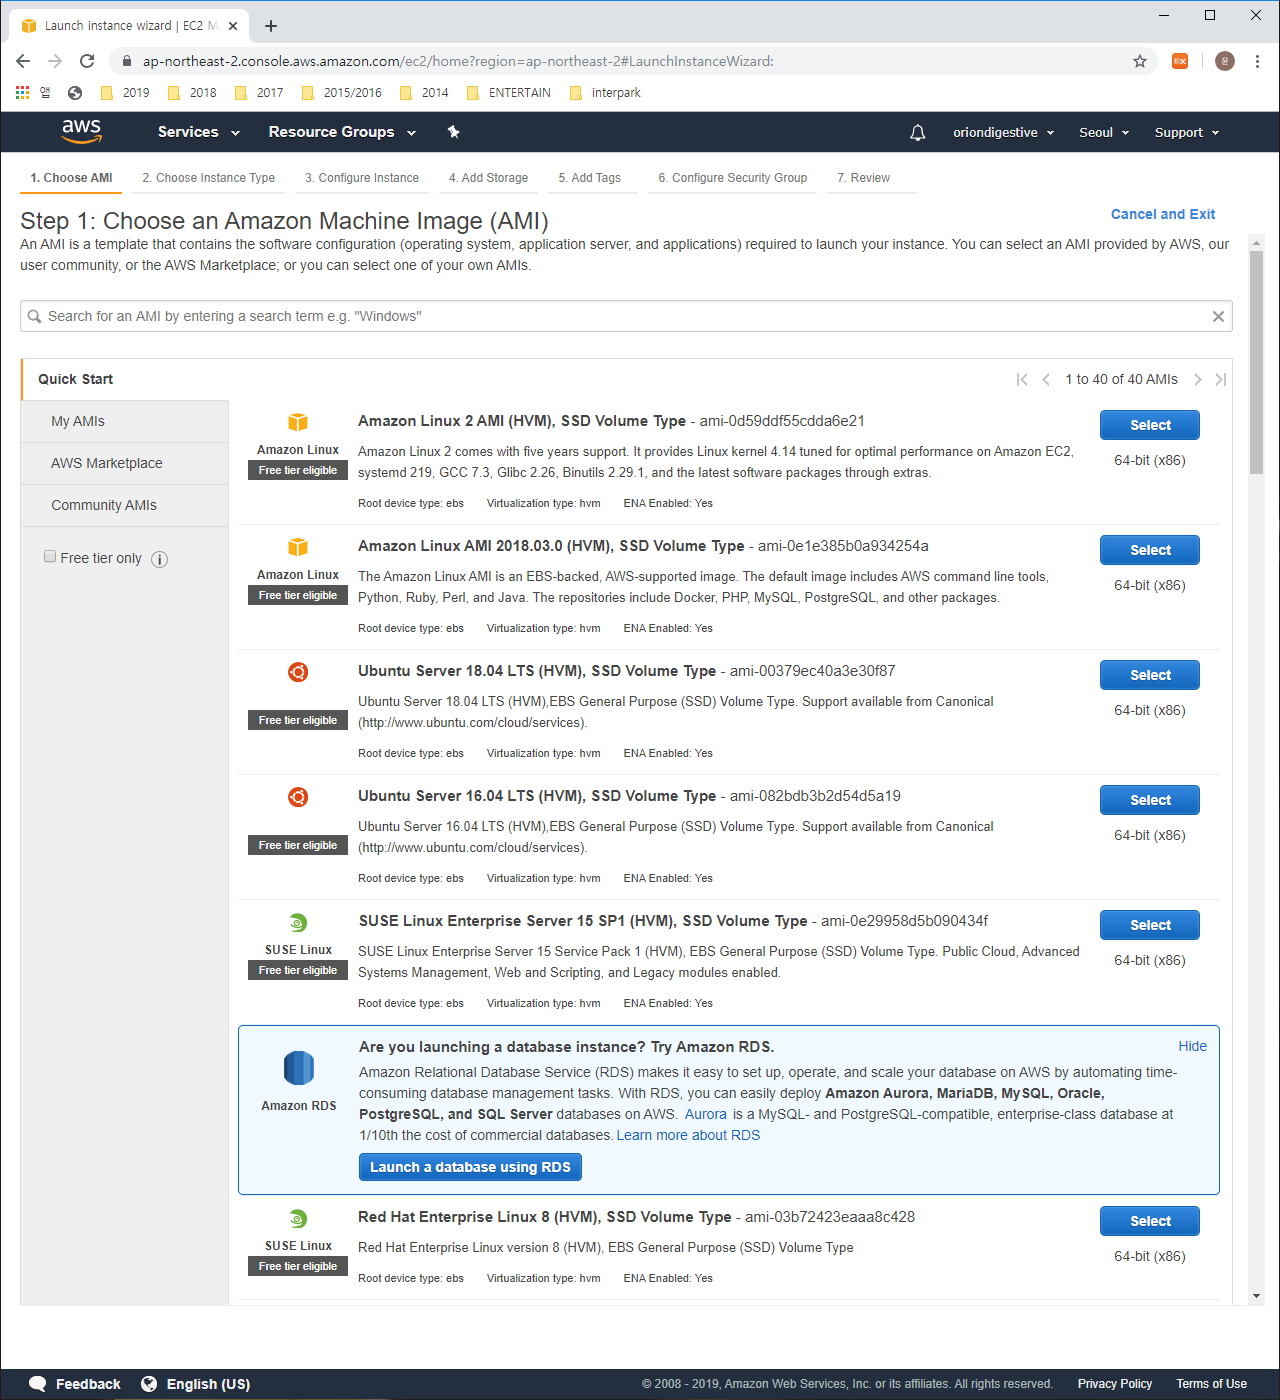
in the above screen, you can see a lot of countless AMI what can install to instance. Acutally AMI is the abbreviation of ‘Amazon Machine Image’. in the AWS system, We can’t install any programs using physical way like CD, USB because AWS is definitely Cloud Service. so AWS already occur this AMI function for installing the programs for customer convenience. We usually use AMI for installing OS like Windows Server or Linux.
Let’s select the second thing called ‘Amazon Linux AMI 2018.03.0 (HVM), SSD Volume Type’
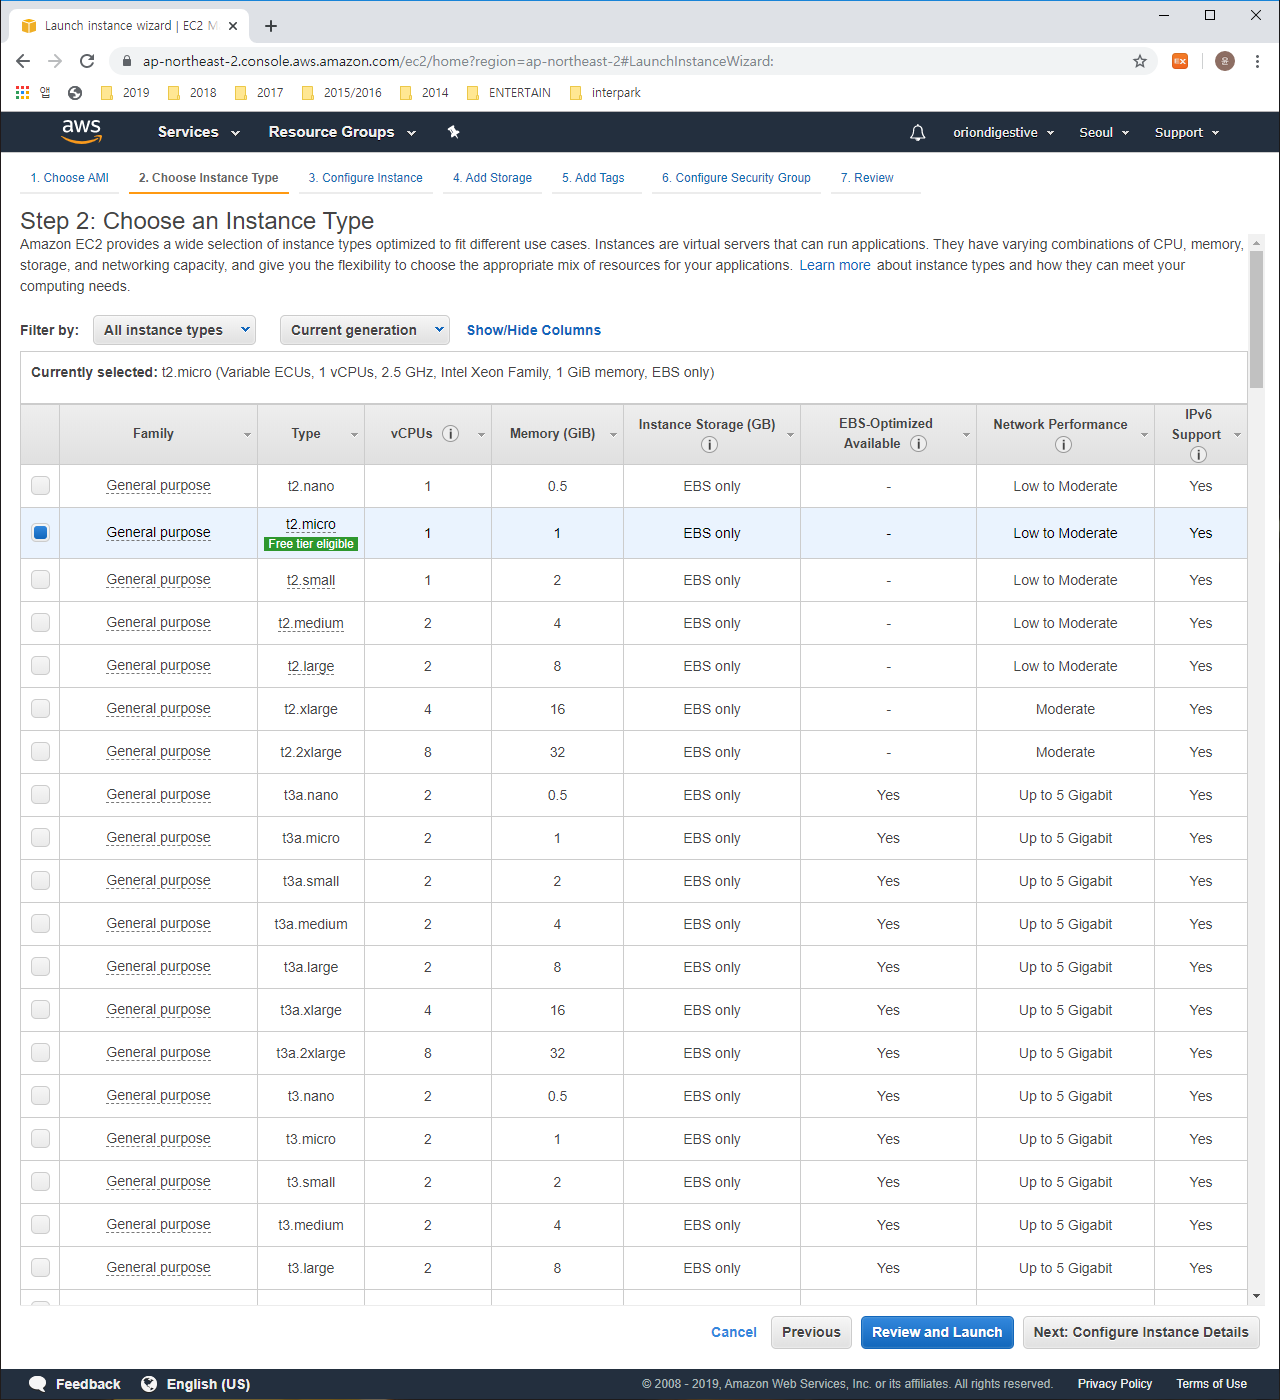
You can choose the various type of instance in one instance either. The types are different as the various hardware spec like ROM, RAM, CPU, GPU. AWS calculate the cost using these usage of therir resource
please select ‘t2.micro’ and then press ‘Next: Configure Instance Details’ button.
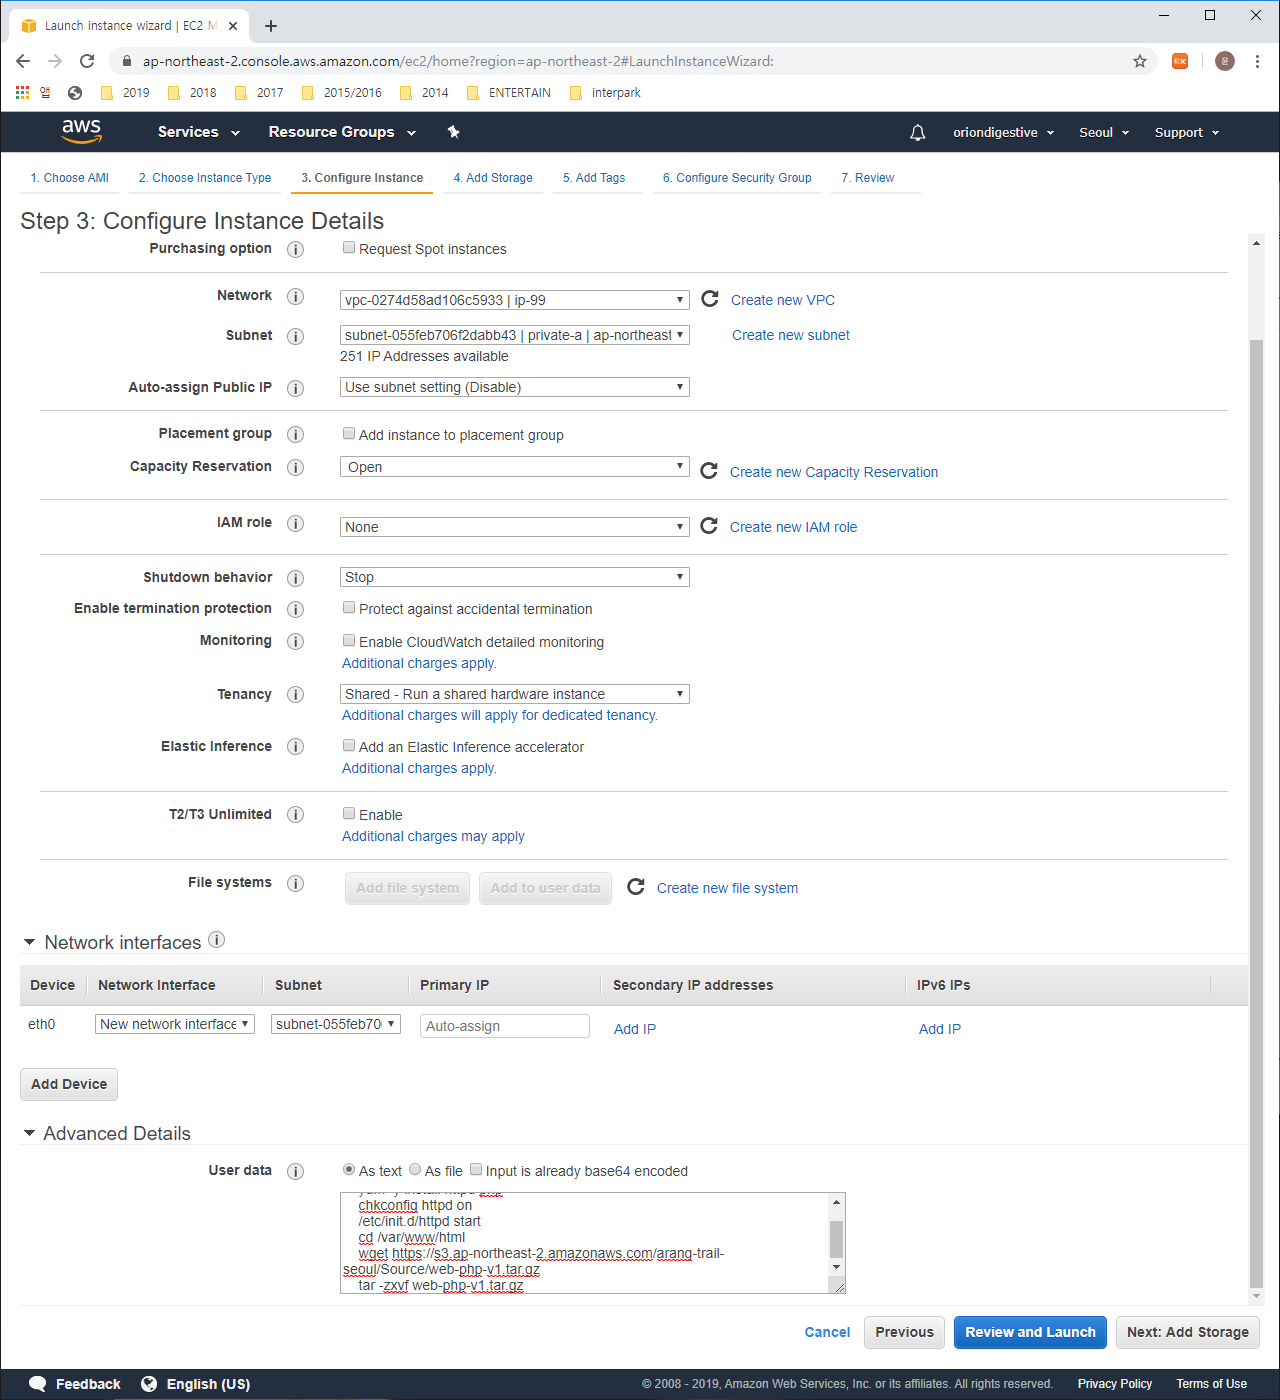
The above screen has many part should be typed but We only touch 3 things. please follow the below codes and then press ‘Next: Add Storage’ button.
1 | Network : vpc-..... | ip-99 |
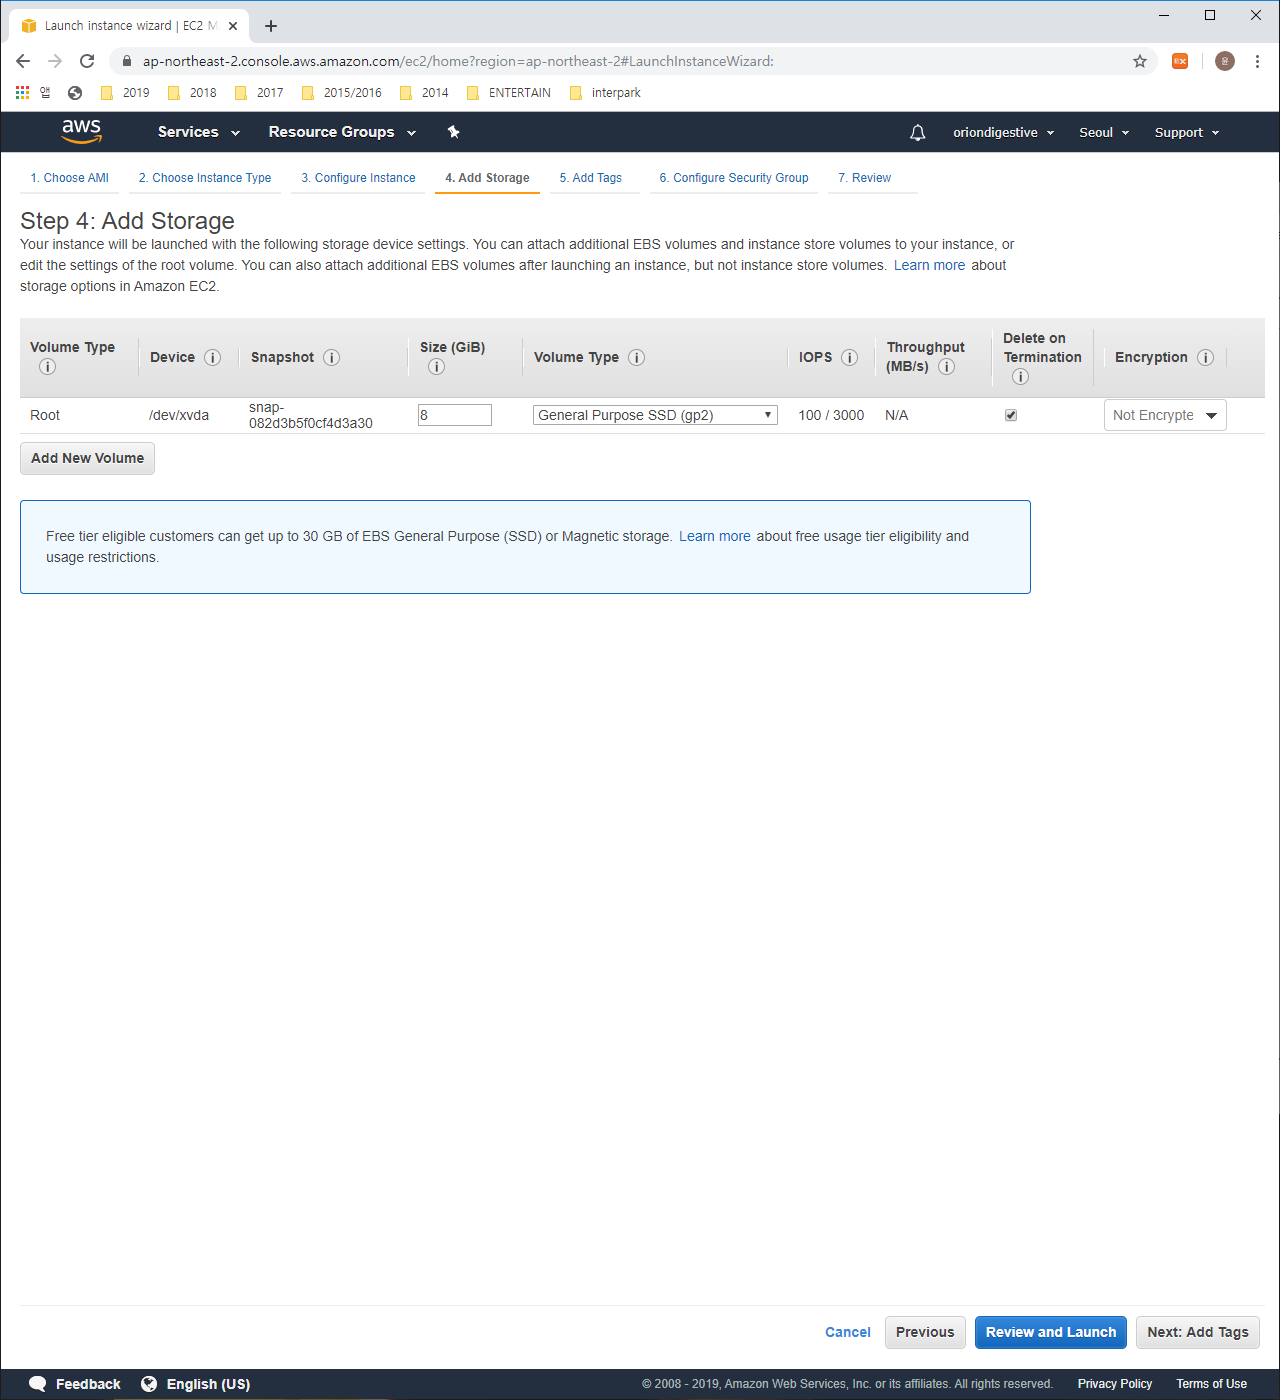
you don’t need to control anything in the above section so press ‘Next: Add Tags’ button without any change.

Press ‘Add Tag’ button
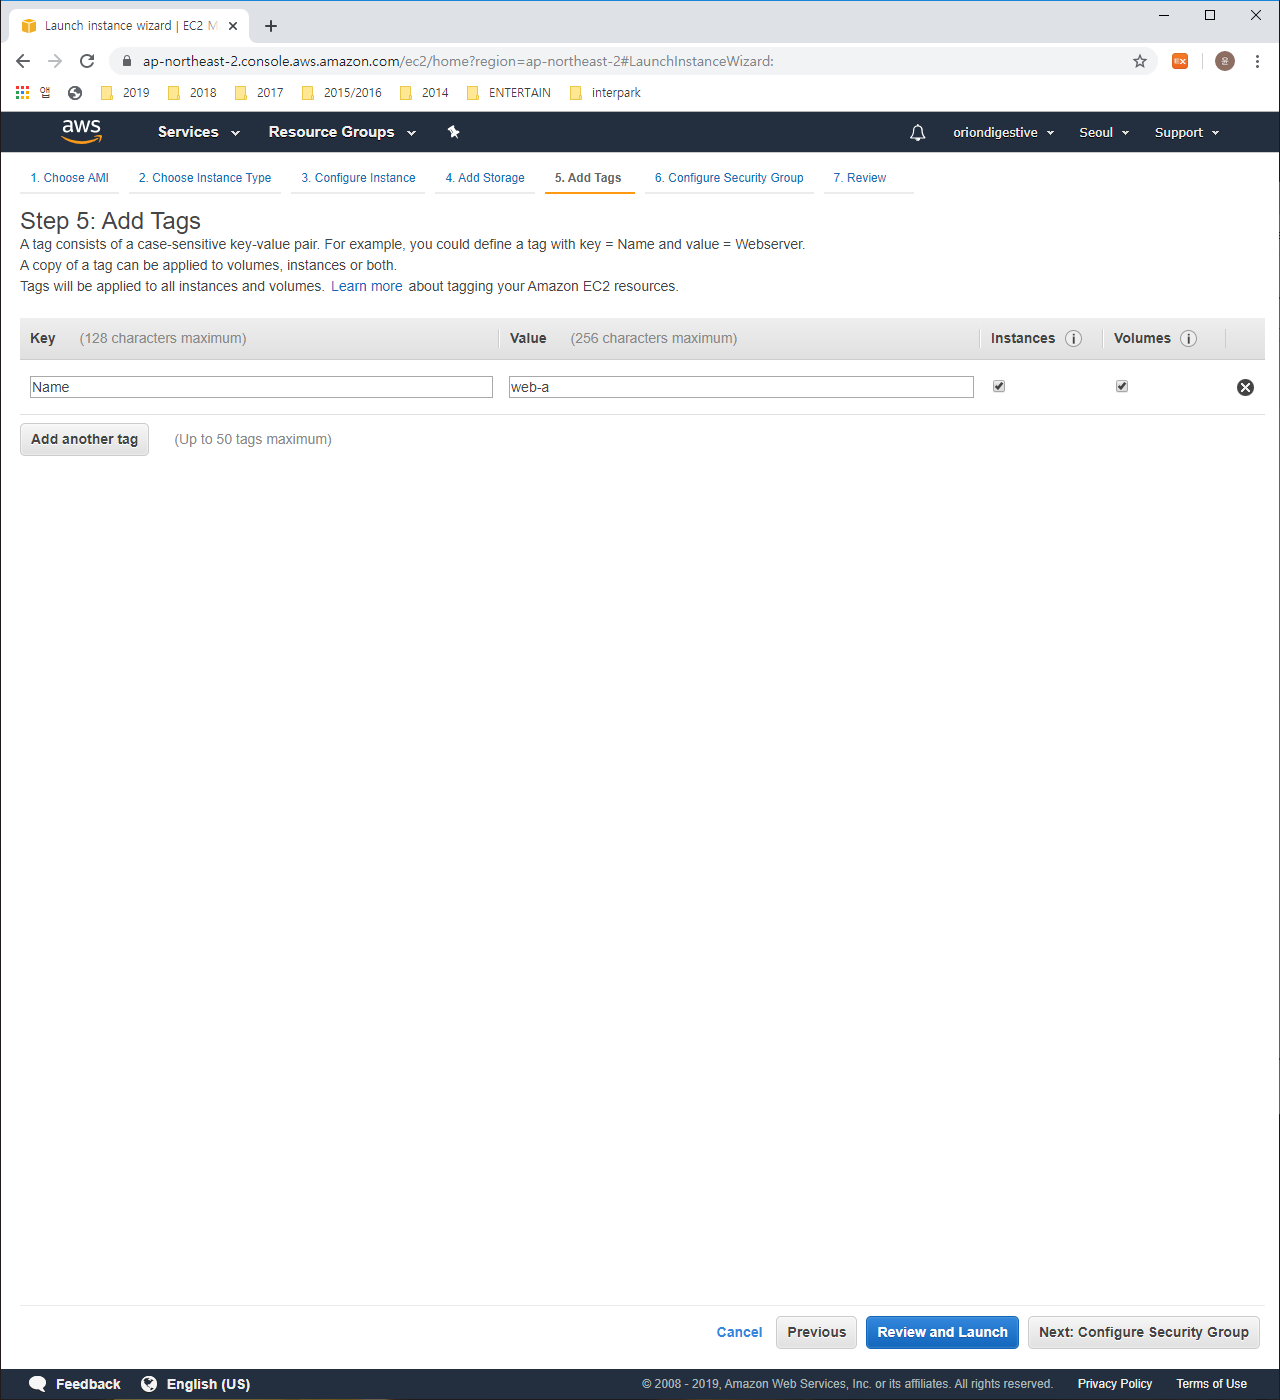
please type like the below and if you finished then please press ‘Next: Configure Security Group’ button
1 | Key : Name |
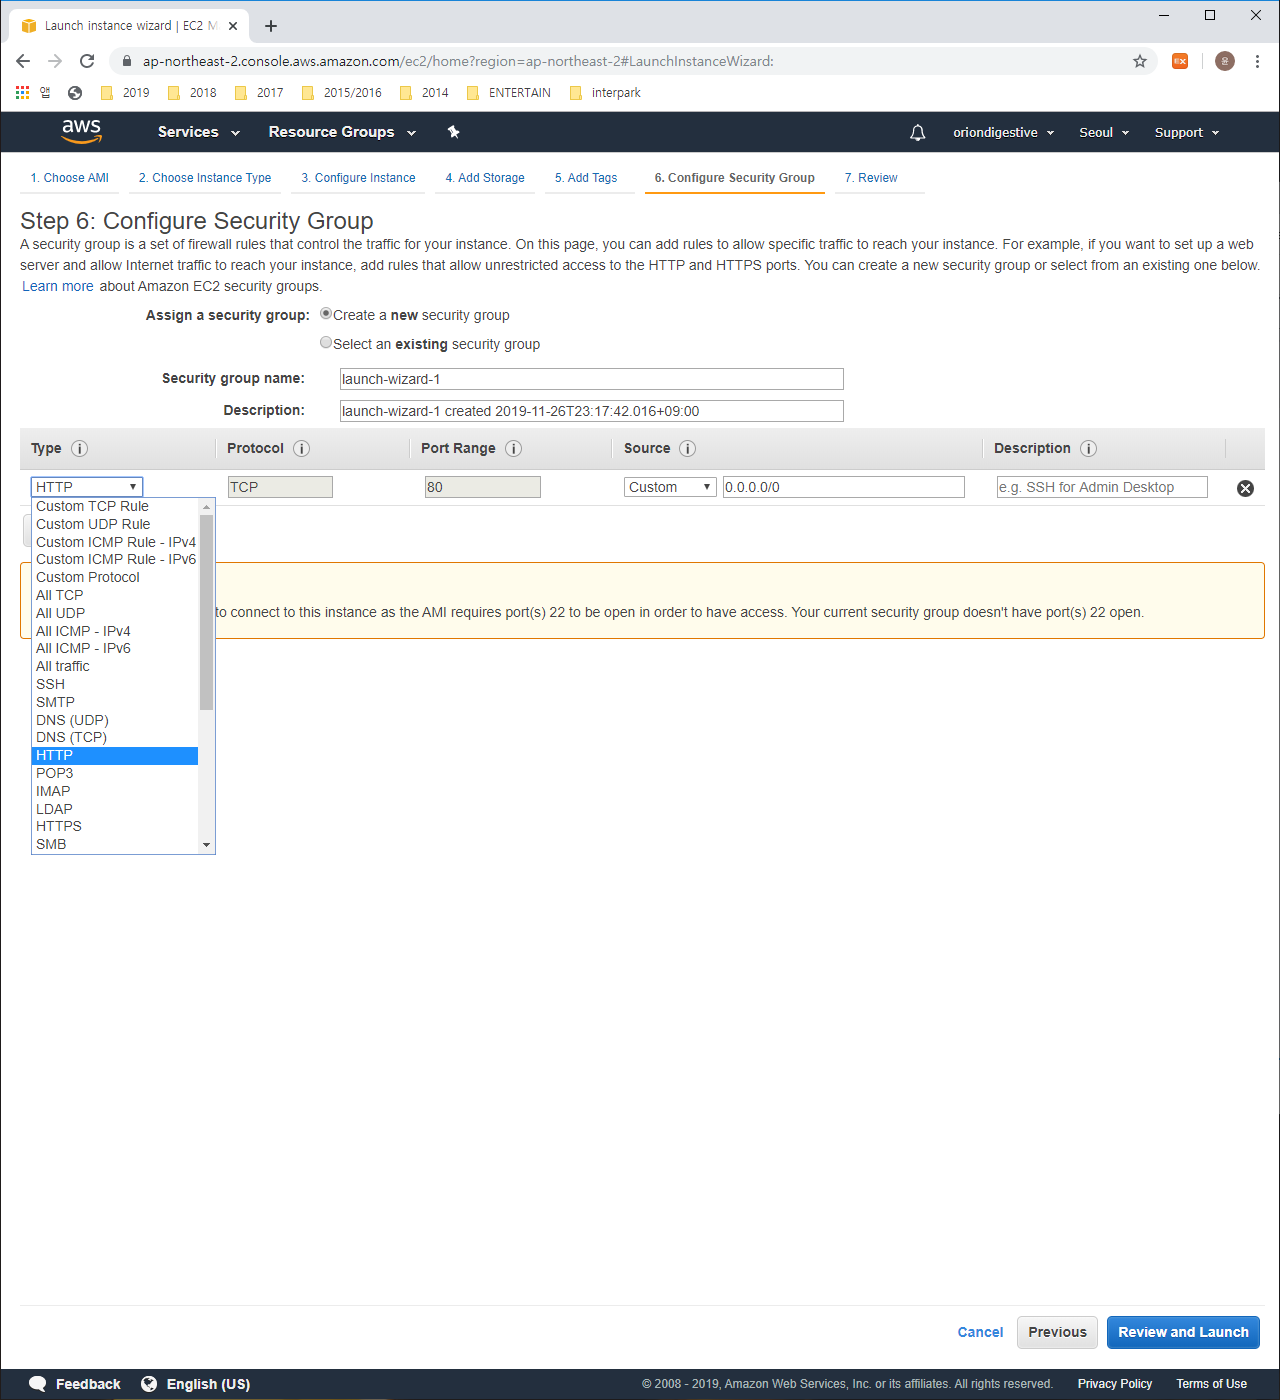
Change the type to ‘HTTP’ and then press the ‘Review and Launch’ button
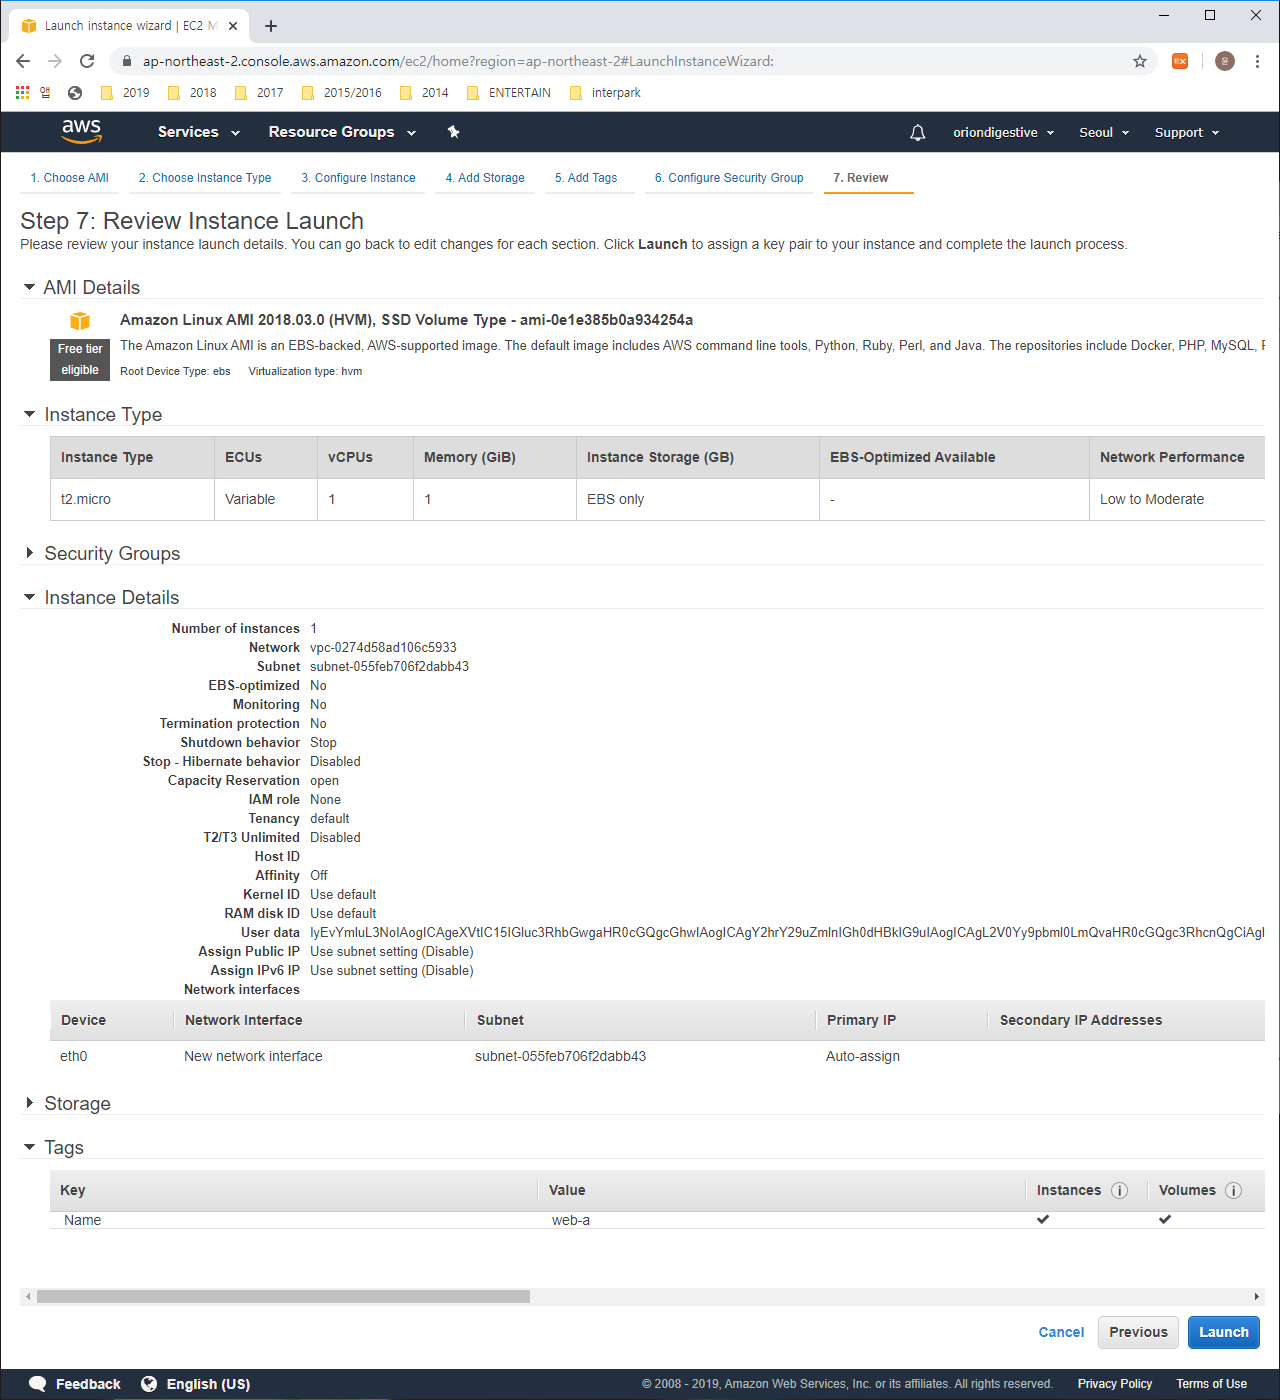
This is for reviewing the setting information you made until now. You don’t have any problems then press ‘Launch’ button
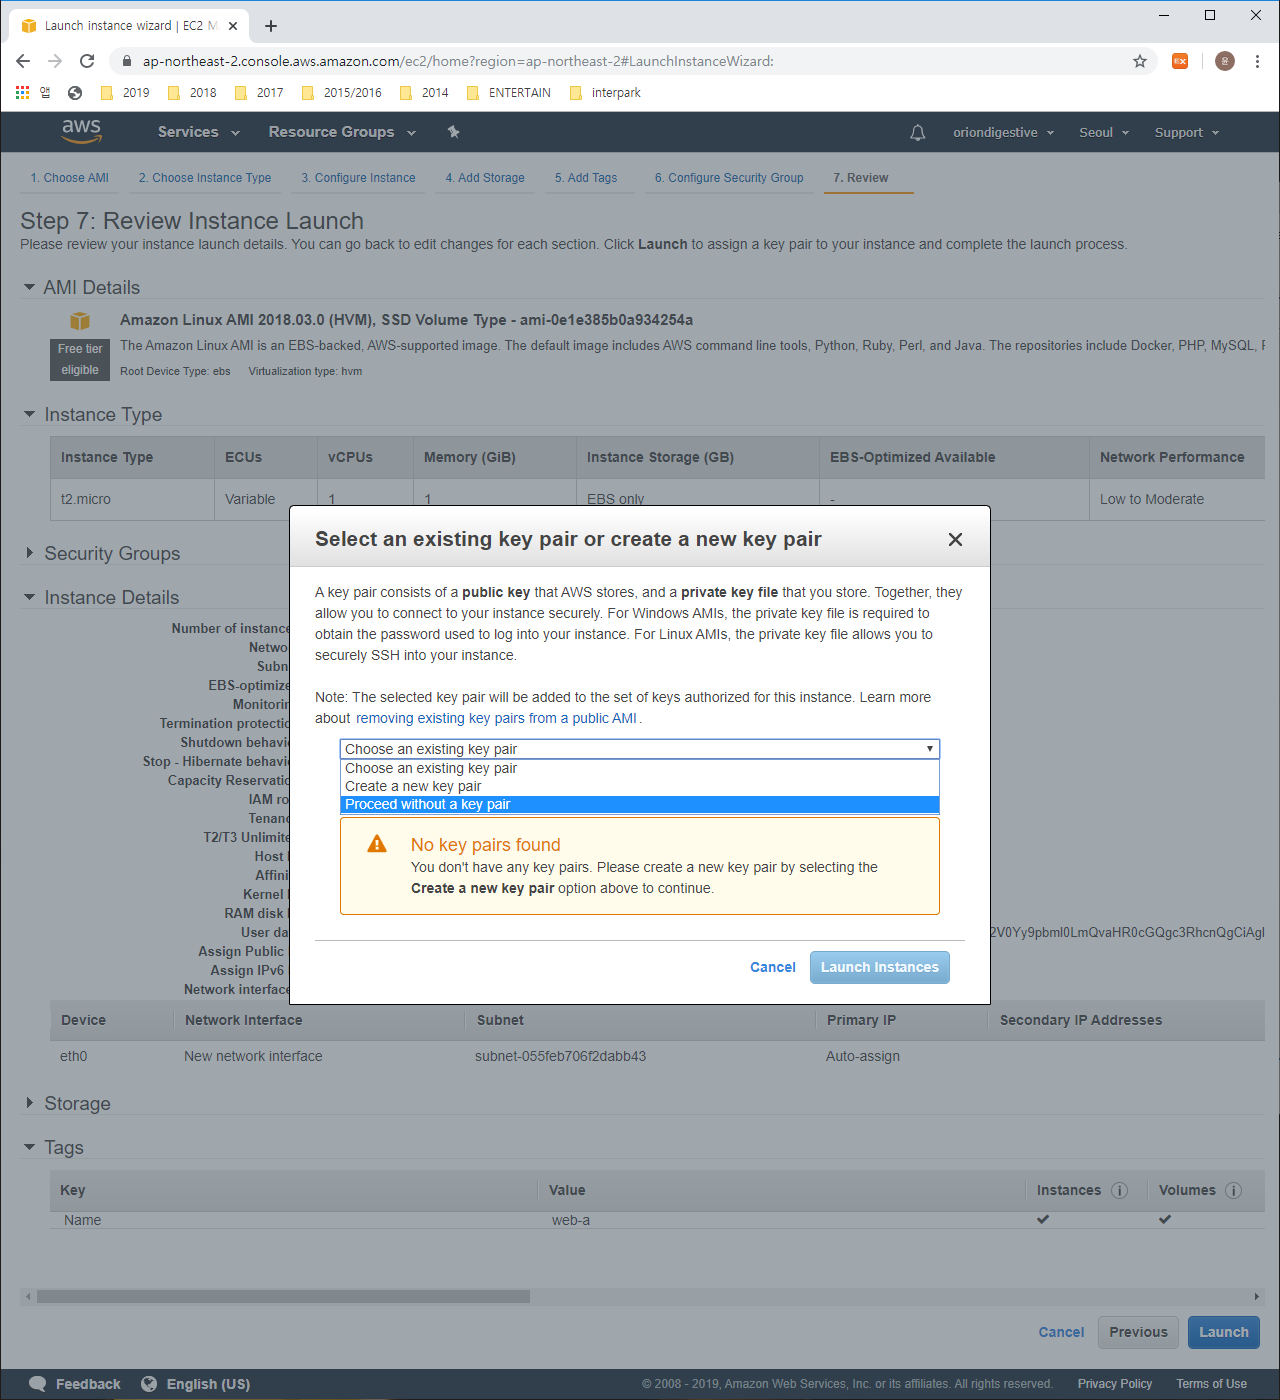
Select ‘Proceed without a key pair’ thing and then please check the checkbox. Let’s press ‘Launch Instances’ button.
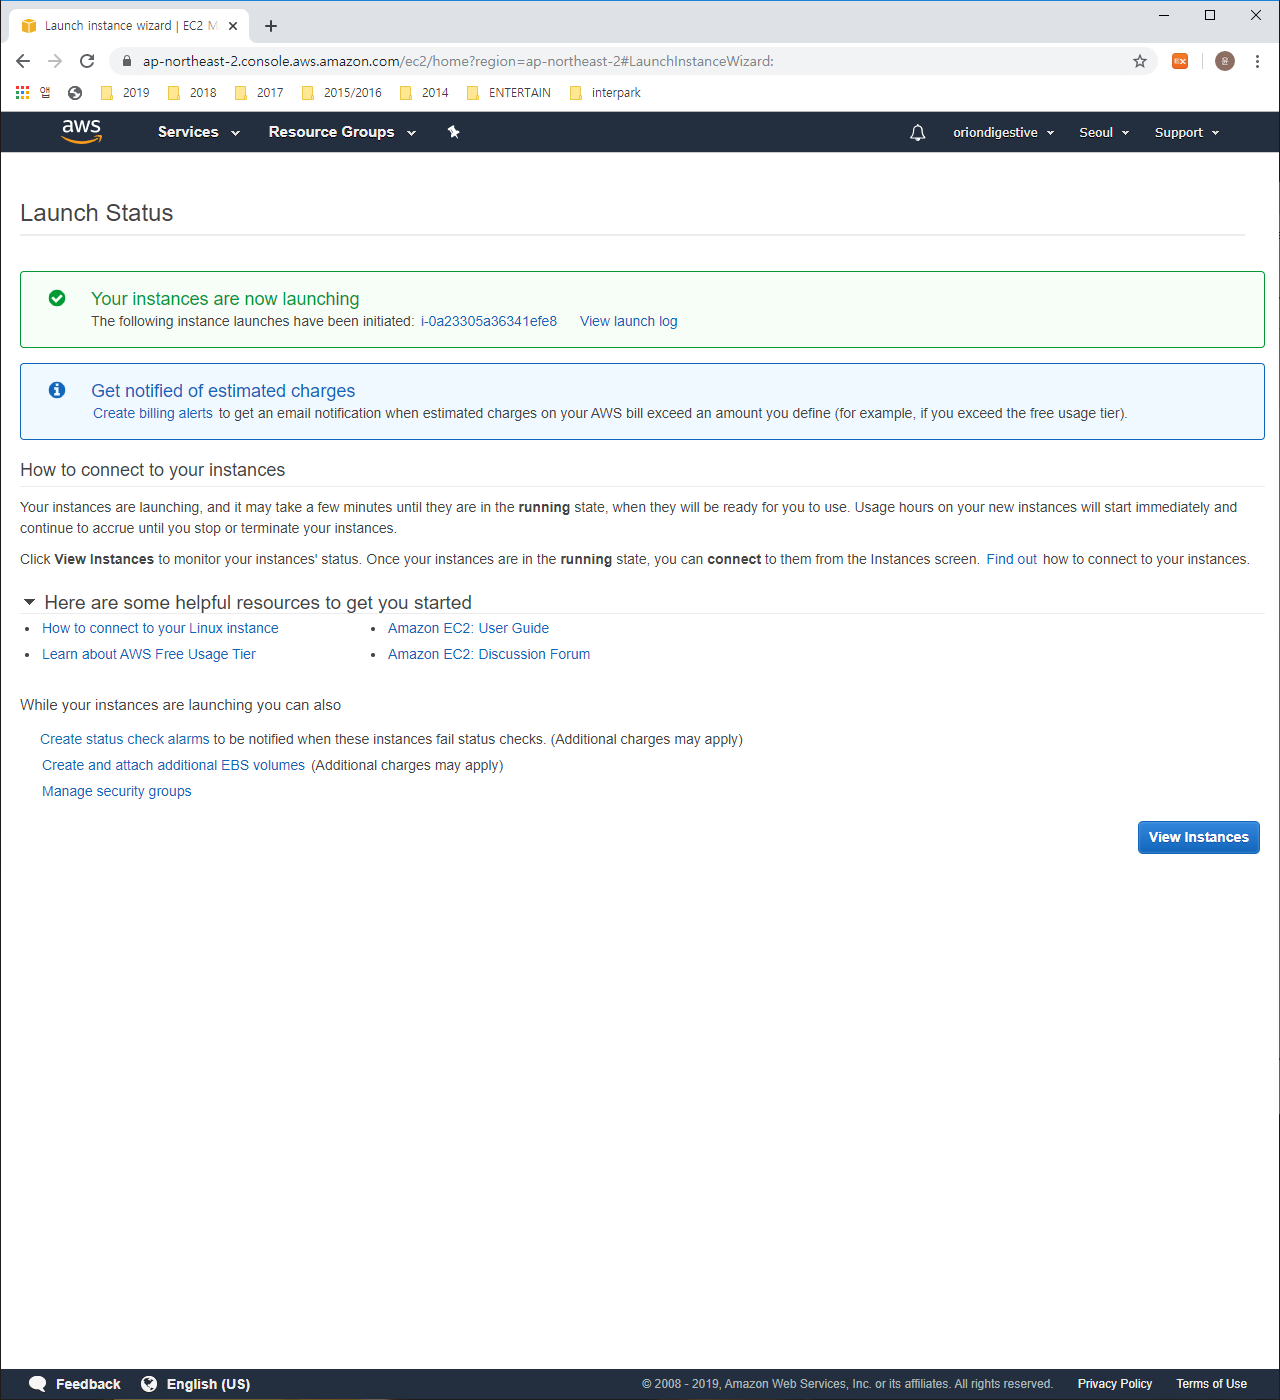
If you can see the above page then you success to install instance with EC2.
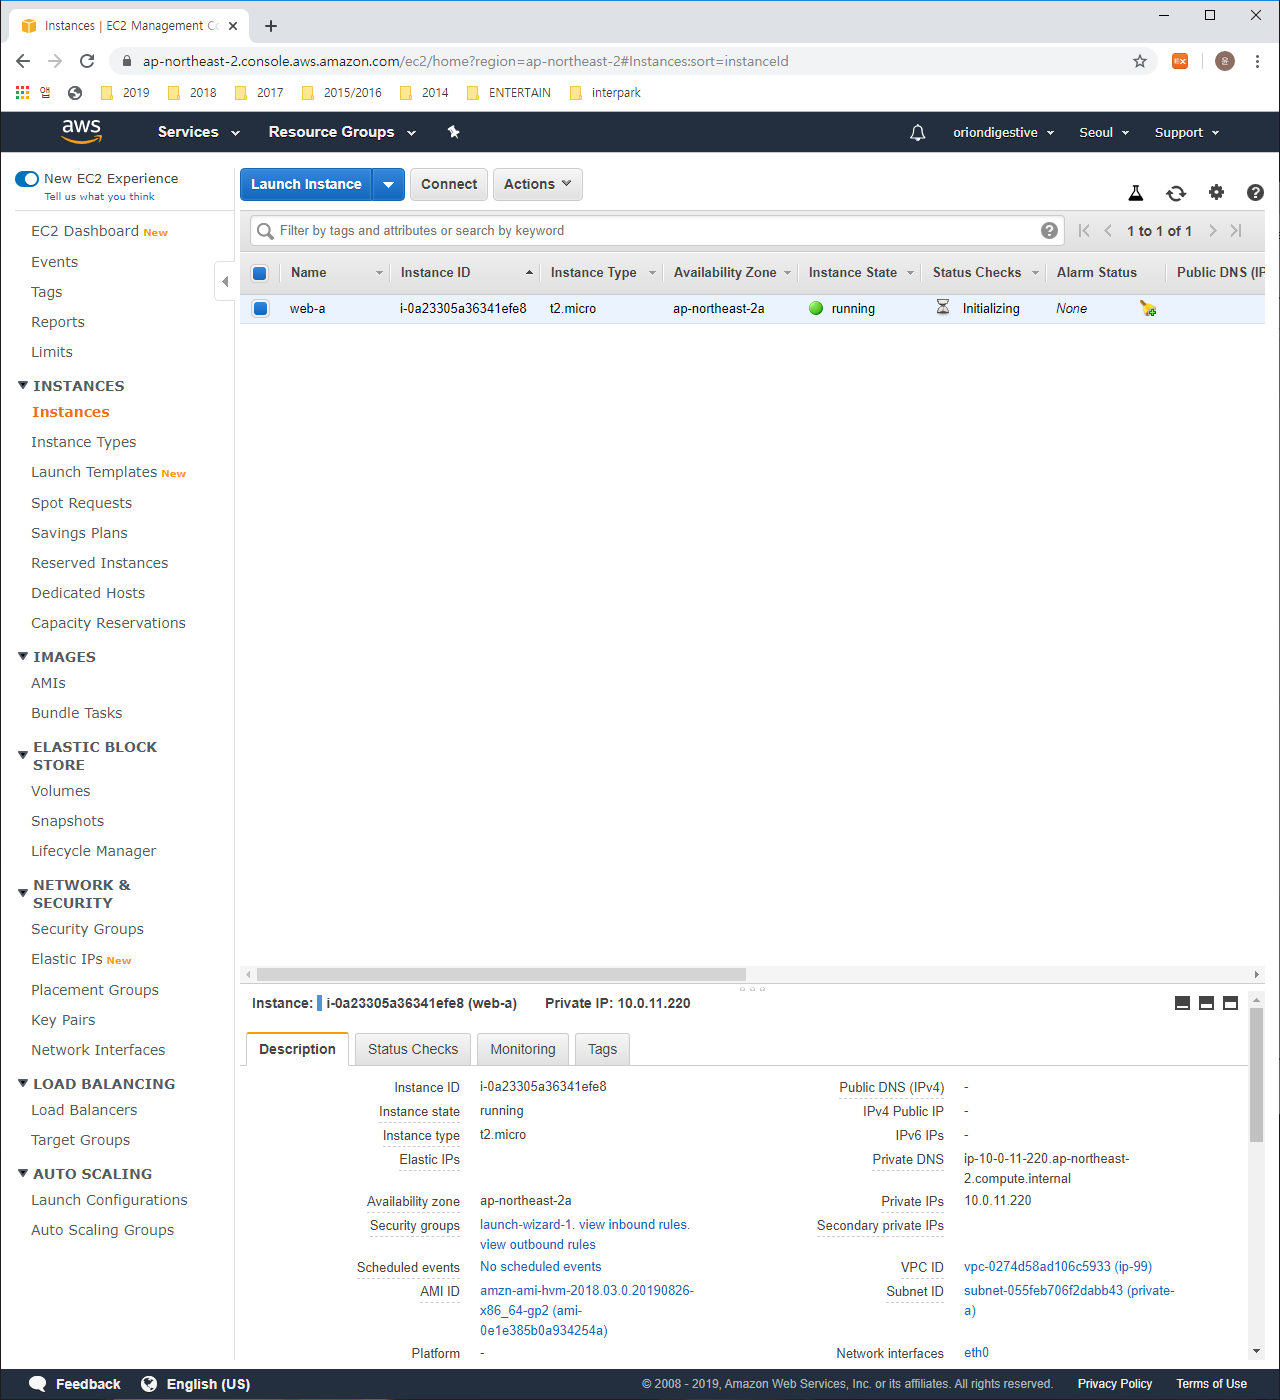
We can check the ‘web-a’ instance is running set by us like the above.
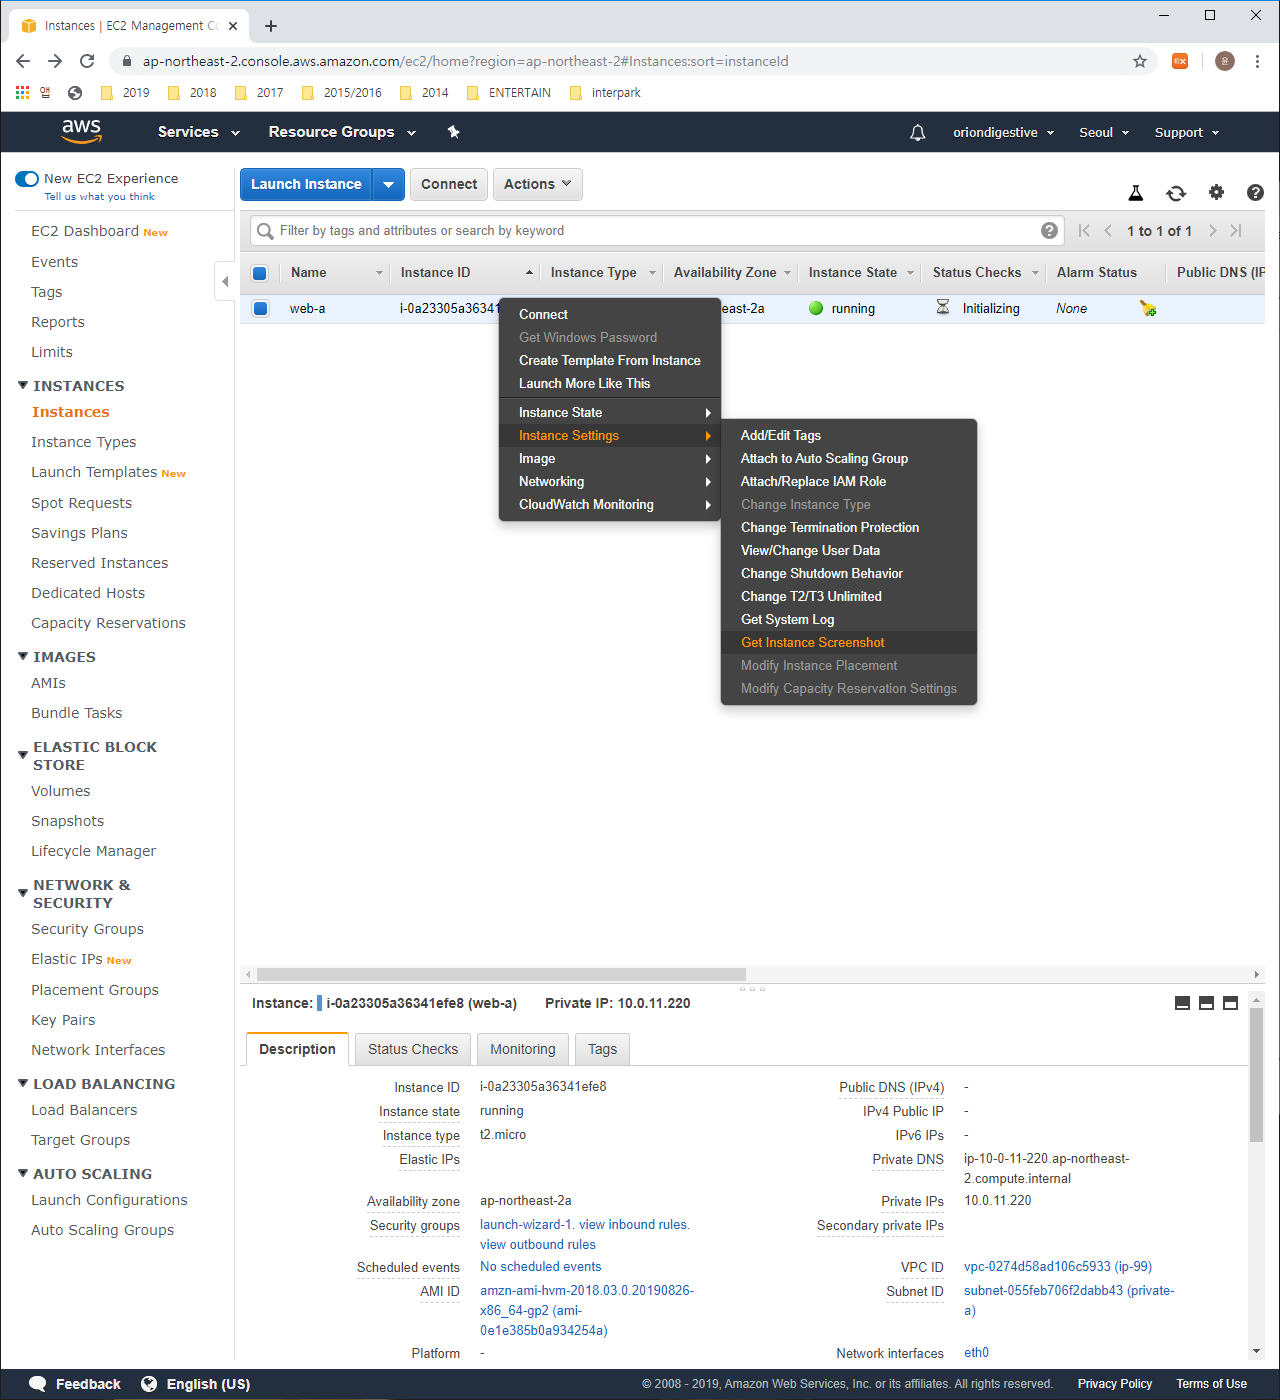
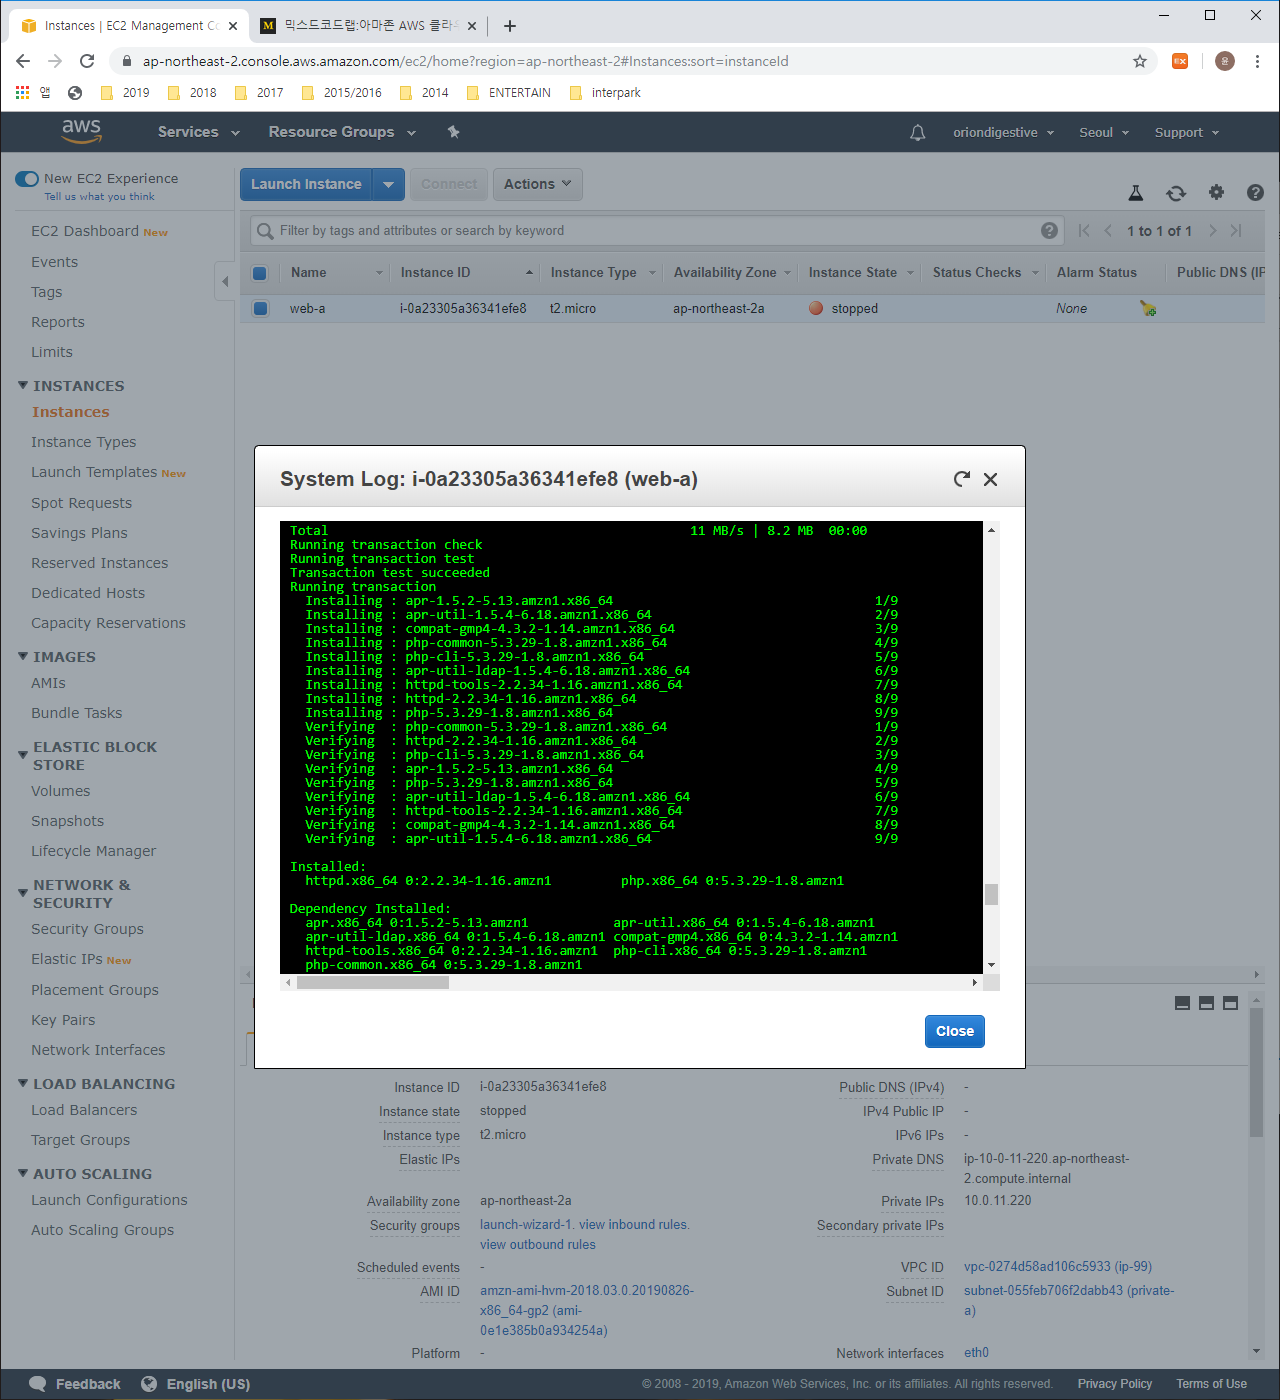
and We can also check whether The instance is operated normally or not at the Instance Settings’s Get Instance Screenshot and System log.